Best Temperature to Bake Cookies: A Guide
Ever wondered what the secret is to baking perfectly delectable cookies? The key lies in finding the best temperature for each type of cookie! In this article, we’ll explore different types of cookies, such as chocolate chip, oatmeal, sugar, and gingerbread, and discuss their specific baking temperatures, as well as other factors affecting the baking process. From preheating the oven to testing its accuracy, get ready to become a cookie-baking expert!
Types of cookies and their baking temperatures
Baking cookies is a favorite activity for many people, bringing joy and mouth-watering delights to their families and loved ones. To ensure the perfect treat, it’s important to know the optimal baking temperature for each type of cookie. In this brief guide, learn about four popular types of cookies – chocolate chip, oatmeal, sugar, and gingerbread – and the best temperatures to bake them at.
1. Chocolate Chip Cookies:
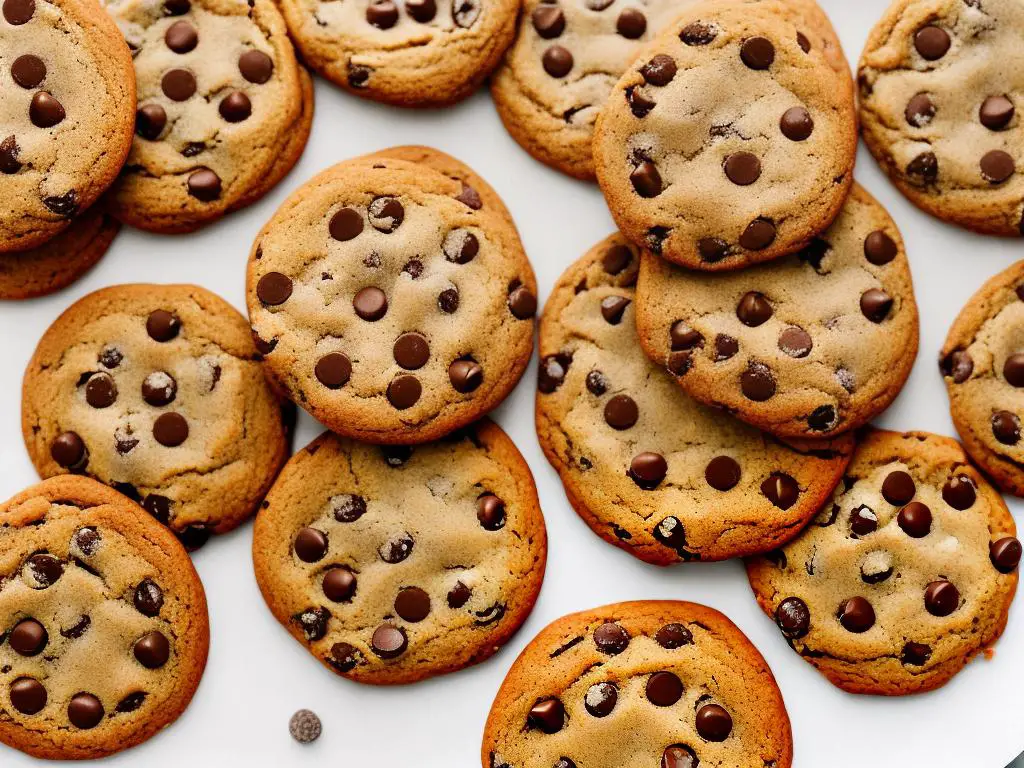
- Classic and beloved, chocolate chip cookies are known for their gooey, melty chocolate morsels and soft, chewy texture.
- Preheat your oven to 350°F (175°C) for baking chocolate chip cookies.
- Be sure to keep an eye on them and remove them from the oven when the edges start to turn a golden brown color. This should take approximately 10-12 minutes, depending on the size of the cookies.
2. Oatmeal Cookies:
- Oatmeal cookies have a great texture and are often enjoyed with raisins, nuts, or chocolate chips. These cookies are both chewy and filling.
- The optimal baking temperature for oatmeal cookies is also 350°F (175°C).
- Bake for 10-12 minutes or until the cookies are a light golden brown at the edges. As with any cookie baking, be careful not to overbake, as the cookies will continue to solidify and become firmer after removed from the oven.
3. Sugar Cookies:
- Sugar cookies are a staple during festive holidays or any time you want a versatile and customizable treat. These cookies offer a perfect canvas for colorful glazes, frosting designs, and sprinkles.
- Bake sugar cookies at 350°F (175°C) for a well-baked, yet soft texture.
- Baking time will vary depending on the shape and size of your sugar cookies. Typically, it takes about 10-12 minutes for the edges to turn a light golden brown color. Be sure to keep a close eye on more intricate cookie shapes to avoid overbaking.
4. Gingerbread Cookies:
- Gingerbread cookies are a traditional holiday favorite, known for their warm spices and dark molasses flavor. They can be soft and chewy or crisp and snappy, depending on your preference.
- For softer gingerbread cookies, bake at 350°F (175°C) for 8-10 minutes.
- If you prefer crispier gingerbread cookies, bake at 325°F (165°C) for 10-12 minutes, until the edges are slightly darker. Keep in mind that the cookies will become crispier as they cool.
To achieve perfect results while baking cookies, it’s essential to know the ideal temperatures for each type of cookie. With this guide in hand, you can confidently bake scrumptious chocolate chip, oatmeal, sugar, and gingerbread cookies. Remember to keep an eye on your cookies during baking, checking for the right texture and golden-brown edge color. Happy baking!
Preheating the oven
Understand the Importance of Preheating
- Preheating prepares the oven by bringing it to the correct temperature, ensuring even heat distribution
- When cookies are placed in a preheated oven, they will begin baking immediately, cooking evenly on both the inside and outside
- Preheating helps your cookies achieve the perfect texture (crispy or chewy) by reducing the amount of time they are exposed to heat
- Skipping preheating can result in cookies that are unevenly cooked, overly browned, or not fully baked in the center
Find the Ideal Temperature for Your Cookies
- Most cookie recipes call for an oven temperature between 325°F and 375°F
- Consult your specific recipe for the recommended oven temperature
- If no temperature is specified, you can safely preheat your oven to 350°F – a common temperature for baking cookies
Remove Oven Racks and Preheat the Oven
- Before preheating, make sure the oven racks are positioned correctly as per your recipe, usually in the middle of the oven
- Remove any extraneous items from the oven (such as extra racks, pans, or utensils)
- Close the oven door securely
- Turn on your oven and set it to the desired temperature, allowing it to preheat for at least 10-15 minutes
Test the Oven’s Temperature (Optional, but Recommended)
- If you have an oven thermometer, hang or place it in the center of the middle oven rack
- After 10-15 minutes of preheating, check the thermometer to ensure the oven has reached the desired temperature
- If the temperature is not accurate, adjust your oven’s temperature setting and allow it to continue heating for another 5-10 minutes before checking again
- Note that oven temperatures can fluctuate, so it’s encouraged to use an oven thermometer to confirm accuracy each time you bake
Bake Your Cookies
- Once the oven has reached the correct temperature and has been preheated for at least 10-15 minutes, it’s time to bake your cookies
- Carefully place your prepared cookie sheet or baking tray onto the center rack of the oven
- Close the oven door securely and set a timer according to your recipe’s recommended baking time
- Keep a close eye on your cookies as they bake, checking them for doneness a minute or two before the suggested time
Oven temperature accuracy
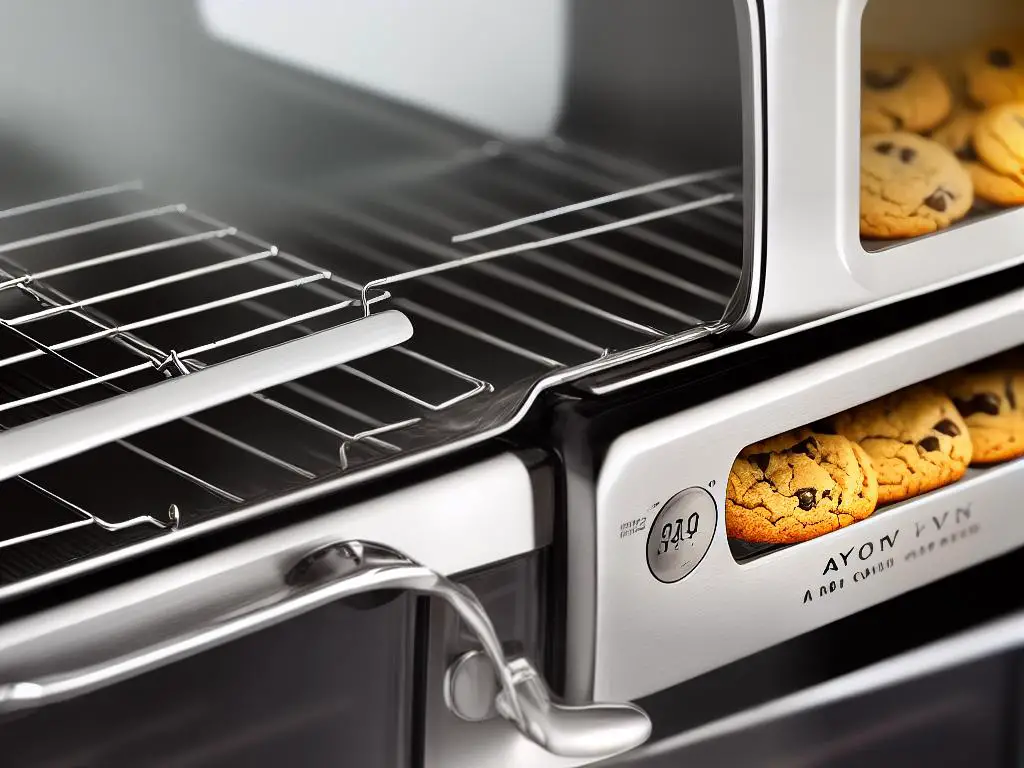
Accurate oven temperature is crucial for perfect baking results, especially when it comes to cookies. This guide will provide a step-by-step process to teach you how to test and calibrate your oven’s temperature for the ultimate cookie-baking experience.1. An oven-safe thermometer that can read at least up to 500°F (260°C).
2. A screwdriver (flathead or Philips, depending on the type of screw used for your oven’s calibration dial)1.1 Set your oven to 350°F (175°C) – this is the standard and most common temperature used for baking cookies.
1.2 Allow the oven to preheat for at least 20 minutes before testing the temperature to ensure that it has reached a stable temperature.2.1 Place the oven-safe thermometer in the center of the oven, preferably on the middle rack.
2.2 Close the oven door and wait for 10 minutes to allow the thermometer to accurately measure the oven’s temperature.
2.3 Check the thermometer’s reading. If it shows 350°F (175°C), your oven is accurately calibrated. If it reads differently, proceed to Step 3.3.1 Consult your oven’s user manual to determine the location of its calibration dial (usually found at the back of the oven or behind the temperature knob).
3.2 If your oven is too hot, turn the calibration dial counterclockwise to lower the temperature. If your oven is too cold, turn the dial clockwise to increase the temperature.
3.3 Adjust the dial in small increments, following the directions given in your oven’s user manual, until you achieve the desired temperature.
3.4 Reassemble the oven and repeat steps 1-2 to confirm that the oven has been properly calibrated.Now that your oven is accurately calibrated, you can now bake cookies with confidence, knowing that your oven’s temperature is set at the optimal conditions. Proper oven temperature is essential for achieving the best results, and by following this guide, you’ve taken an important step in becoming a better baker. Happy baking!
Impact of altitude and humidity on baking
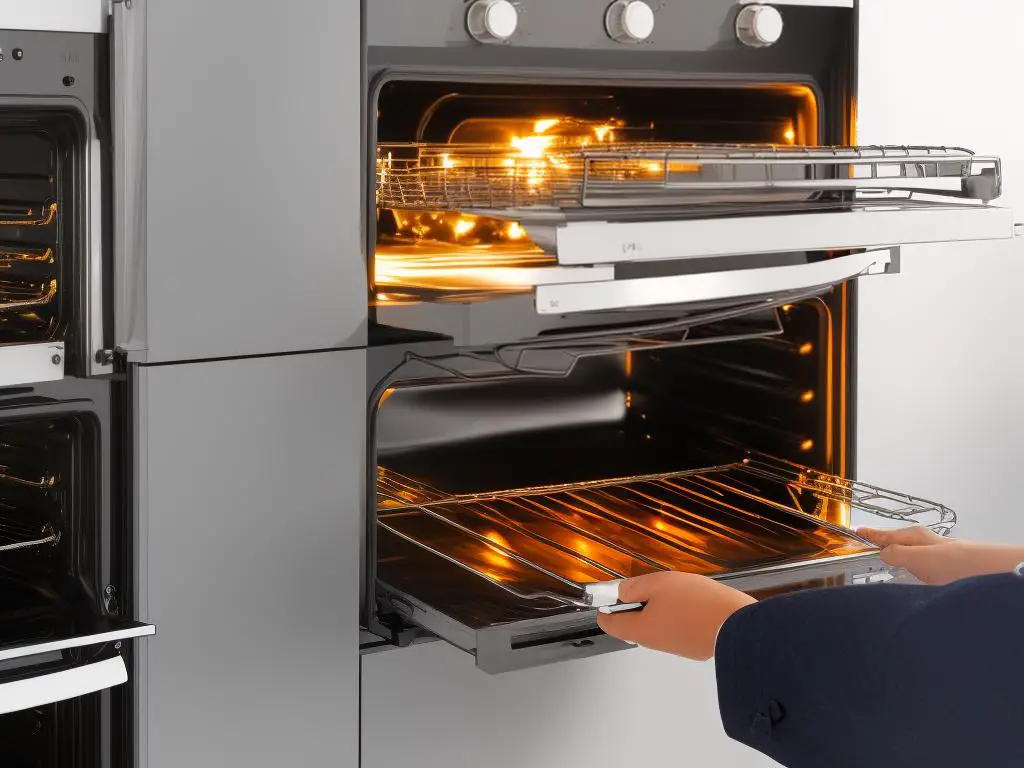
Baking perfect cookies is an art that depends on a variety of factors, including altitude and humidity. This guide will help you explore the impact of these factors and help you find the ideal baking temperature for your cookies. Adjusting your baking temperature and time can result in improved texture, taste, and appearance for your delicious treats.- Understand the effect of altitude on baking:
– At higher altitudes, air pressure is lower, which causes baked goods to rise more quickly than they would at sea level. This can lead to cookies that are overcooked on the outside and undercooked on the inside.
– To counteract this effect, increase the baking temperature by 15-25°F for each 1000 feet of elevation above sea level. This will help set the cookie structure faster and prevent excessive rising.
– Additionally, you may need to decrease the baking time by 1-2 minutes for each 1000 feet of elevation. Keep an eye on your cookies as they bake to ensure they don’t overcook.- Recognize the impact of humidity on baking:
– In high humidity environments, ingredients like flour, sugar, and salt can absorb moisture from the air, resulting in a dough that is sticky and difficult to work with.
– To minimize humidity’s effect on your cookies, store ingredients in airtight containers and only remove the exact amount needed for your recipe when you’re ready to begin mixing.
– You may need to slightly increase the baking temperature by about 5°F to help the cookies set and brown properly.- Adjust your recipe for altitude and humidity:
– Choose a cookie recipe that is known to work well at your altitude or look for recipes specifically developed for high-altitude baking.
– Measure and prepare your ingredients carefully, ensuring that they are not exposed to high humidity for too long before mixing.
– Increase the baking temperature according to your altitude and humidity, as described in steps 1 and 2.
– Monitor your cookies as they bake to ensure they are browning evenly and not overcooking or undercooking. Making a test batch can help fine-tune your baking time and temperature adjustments.Baking cookies at different altitudes and in varying humidity levels can impact the ideal baking temperature. By understanding these factors and adjusting your recipe accordingly, you can achieve the perfect batch of cookies for any condition. Happy baking!

Baking sheets and temperature distribution
Choose the right baking sheet
- Opt for a heavy-gauge, light-colored aluminum baking sheet that evenly distributes heat.
- Avoid dark-colored or non-stick sheets, as they absorb more heat and may cause your cookies to bake unevenly or burn.
- Choose a baking sheet with a flat surface and a slight lip on the sides to keep cookies from sliding off.
Prepare your baking sheet
- Line your baking sheet with parchment paper or a silicone baking mat, which will provide a non-stick surface and help to evenly distribute heat.
- If you are not using a liner, lightly grease your baking sheet with butter or non-stick cooking spray.
Preheat your oven
- Preheat your oven to the recommended temperature mentioned in the cookie recipe.
- The ideal temperature for most cookie types is between 325°F and 375°F.
- Preheating is crucial to ensure that the oven reaches the desired temperature before you begin baking.
Arrange cookies evenly on the baking sheet
- Place cookie dough balls at least 2 inches apart on the baking sheet to allow for even heat distribution and room for the cookies to spread.
- Avoid overcrowding the baking sheet as it can lead to uneven baking and cookies sticking together.
Monitor the oven temperature
- Use an oven thermometer to confirm that your oven maintains the desired temperature during baking.
- Be mindful that oven temperatures can fluctuate and may differ from the temperature set on the dial.
Rotate the baking sheet
- Halfway through the baking time, rotate the baking sheet front to back to promote even baking and browning.
- If you are baking multiple sheets at once, switch their positions (top to bottom and bottom to top) as well during this rotation.
Test for doneness
- Check your cookies for doneness by assessing their color and texture. Most cookies are done when their edges are lightly golden and set, but the center is still soft.
- Gently press the cookie with a fingertip or the back of a spoon to test its firmness.
Cool the cookies
- Remove the baking sheet from the oven and allow the cookies to cool on the sheet for 1-2 minutes.
- Transfer the cookies to a cooling rack to finish cooling completely.
- Proper cooling helps prevent overcooking and allows the cookies to maintain their desired texture.
Troubleshooting cookie baking issues
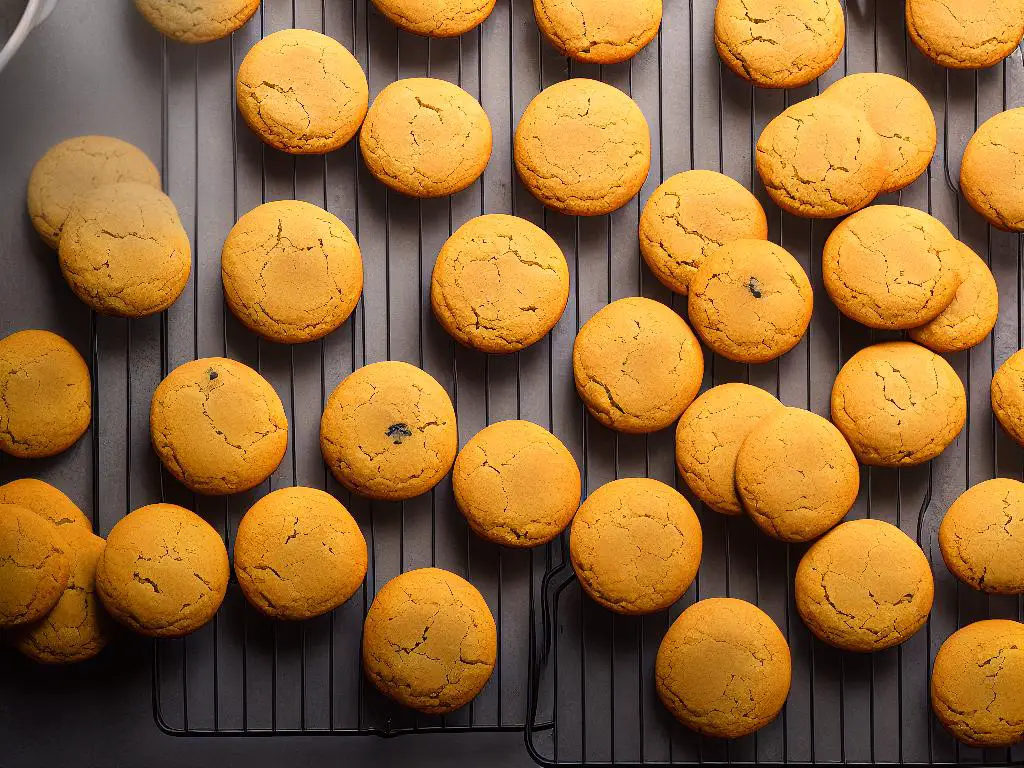
If your cookies spread too much or come out flat, there could be several causes.
- Chill the dough: Before baking, chill your cookie dough for at least 30 minutes to help prevent spreading.
- Measure accurately: Ensure that you’re measuring your ingredients properly, as too little flour or too much sugar, butter, or baking soda can lead to spreading.
- Use the right bakeware: Choose a light-colored, sturdy baking sheet and avoid greasy or non-stick surfaces that can encourage spreading. Use parchment paper or silicone baking mats for easy release and better control over spreading.
- Space cookies appropriately: Give your cookies enough room to expand by placing them at least 2 inches apart on the baking sheet.
If your cookies burn or have dark edges, you may be baking at too high of a temperature or for too long.
- Check your oven’s temperature: Use an oven thermometer to ensure your oven is calibrated correctly. The best temperature for baking cookies is typically between 325°F and 375°F.
- Adjust the baking time: Keep an eye on your cookies and remove them from the oven as soon as the edges start to turn golden brown. Every oven is different, so finding the perfect baking time may take some trial and error.
- Use a lighter-colored baking sheet: Light-colored baking sheets absorb less heat and help prevent burning.
- Rotate the baking sheet halfway through baking: Rotate your baking sheet 180° halfway through the baking time to ensure even baking and prevent over-browning.
If your cookies are browning unevenly, you may need to adjust your oven’s temperature or the position of your baking sheets.
- Check for hot spots: Some ovens have hot spots, which cause uneven browning. To identify a hot spot, bake a batch of cookies and see if any areas are browning faster than others. Adjust your baking sheet’s position to avoid these areas.
- Use a lighter-colored baking sheet: Once again, light-colored baking sheets absorb less heat and offer more even browning.
- Rotate the baking sheet halfway through baking: This will help ensure even baking and browning.
- Adjust your oven’s temperature: If your cookies are consistently browning too quickly or too slowly, you may need to adjust your oven’s temperature up or down accordingly.
By identifying the issues and taking the necessary steps to correct them, you’ll be well on your way to baking perfect cookies every time. Happy baking!
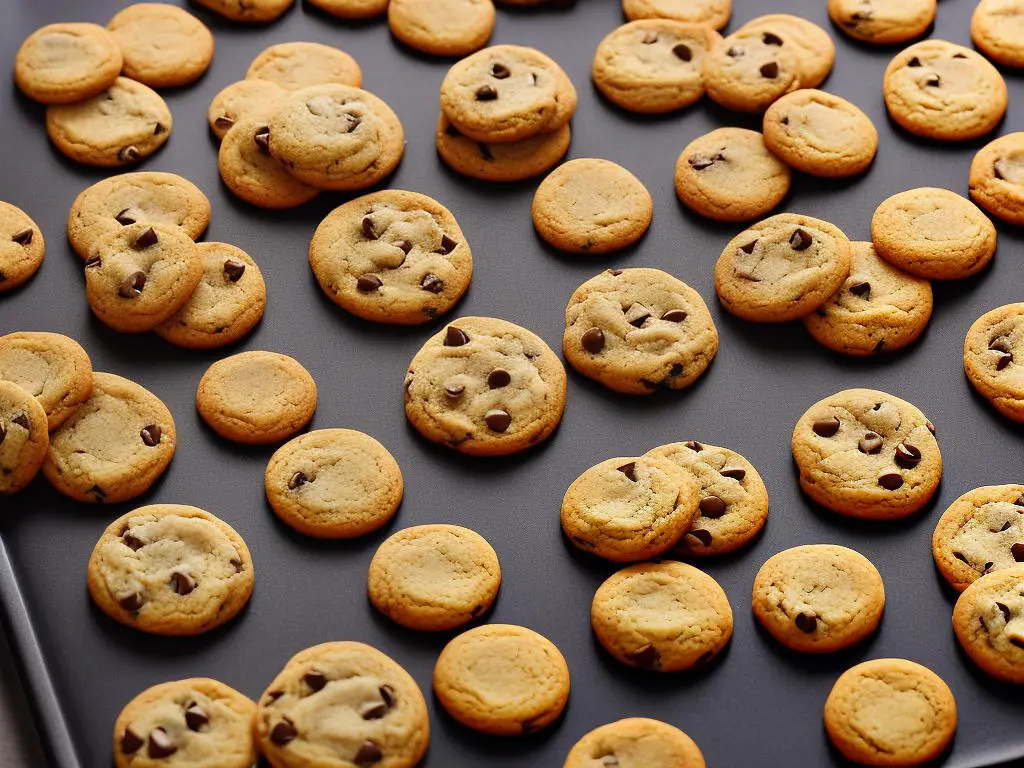
Experimenting with temperature variations
Experimenting with Temperature Variations When Baking Cookies
Objective: To determine the best temperature to bake cookies by trying out various temperatures and observing their impact on texture, flavor, and appearance.
Materials:
- Cookie dough (homemade or store-bought)
- Baking sheets
- Parchment paper or non-stick baking mats
- Oven
- Oven mitts
- Cooling racks
- Spatula
- Timer
- Pen and paper (for taking notes)
Procedure:
- Preheat your oven: Choose a range of temperatures you would like to test, for example, 300°F, 325°F, 350°F, 375°F, and 400°F. Start by preheating your oven to the lowest temperature, 300°F.
- Prepare your baking sheets: Line your baking sheets with parchment paper or non-stick baking mats.
- Scoop the cookie dough: Divide your cookie dough into equal parts based on the number of temperatures you want to test. Scoop equal-sized portions onto the prepared baking sheets, leaving adequate space between each cookie for spreading.
- Bake the cookies: Position a baking sheet in the middle rack of your preheated oven and bake the cookies for the suggested time on the recipe or package, using a timer to keep track.
- Observe and take notes: As the cookies are baking, observe their appearance and any changes in texture. Take notes on the cookie’s color, rise, spread, and overall characteristics. Make sure to note the temperature and baking time for each batch.
- Remove and cool: Use oven mitts to carefully remove the baking sheet from the oven and transfer the cookies to a cooling rack with a spatula. Allow the cookies to cool for a few minutes.
- Taste test: Once the cookies have cooled slightly, taste test them and make notes on the flavor and texture.
- Continue experimenting: After completing the first temperature trial, repeat steps 1-7 for each of the remaining temperatures, adjusting the oven temperature and using a different baking sheet for each trial.
- Compare results: After all temperature trials are complete, review your notes and compare the results. Consider which cookies have the best balance of texture, flavor, and appearance.
- Determine the best temperature: Based on your observations, select the best temperature for baking your cookies. You may even want to repeat the experiment with different types of cookies or varying baking times to further optimize your results.
Conclusion:
By experimenting with various baking temperatures, you can learn how temperature affects the texture, flavor, and appearance of your cookies. This will allow you to adjust your baking method to produce the best results for your personal preferences. Happy baking!
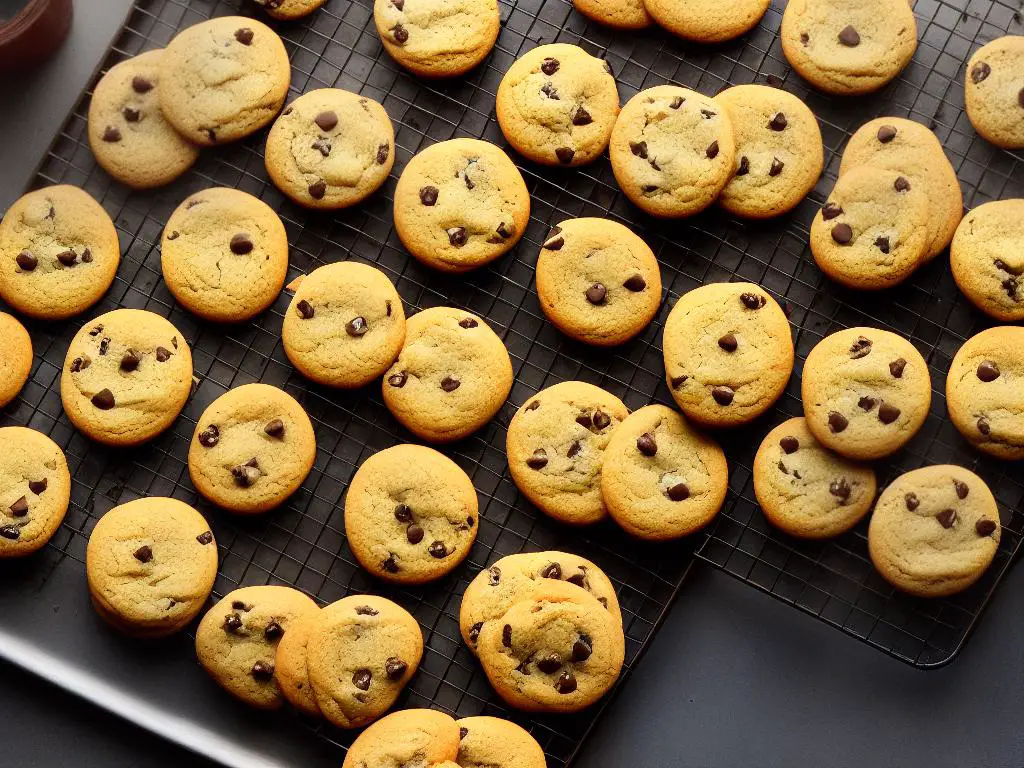
Armed with the knowledge of ideal baking temperatures for various types of cookies, and an understanding of other aspects that influence cookie baking, you are well on your way to creating the perfect batch of cookies every time. Remember, experimentation is key, so don’t be afraid to try baking at different temperatures and tweaking your technique to achieve your ultimate goal – mouthwatering, irresistible homemade cookies. Happy baking!
