Browned Butter Blondies
Get ready to indulge in the rich, caramel-like flavor of browned butter blondies! These delightful treats blend the nutty taste of browned butter with the sweetness of blondies, creating an irresistibly tasty dessert. In this guide, we will walk you through the ingredients and tools needed, browning butter techniques, measuring and mixing, baking techniques, cooling and cutting, variations and add-ins, storage and freshness, and opportunities for practice and experimentation. Dive into the world of baking and master the art of making browned butter blondies!
Ingredients and tools
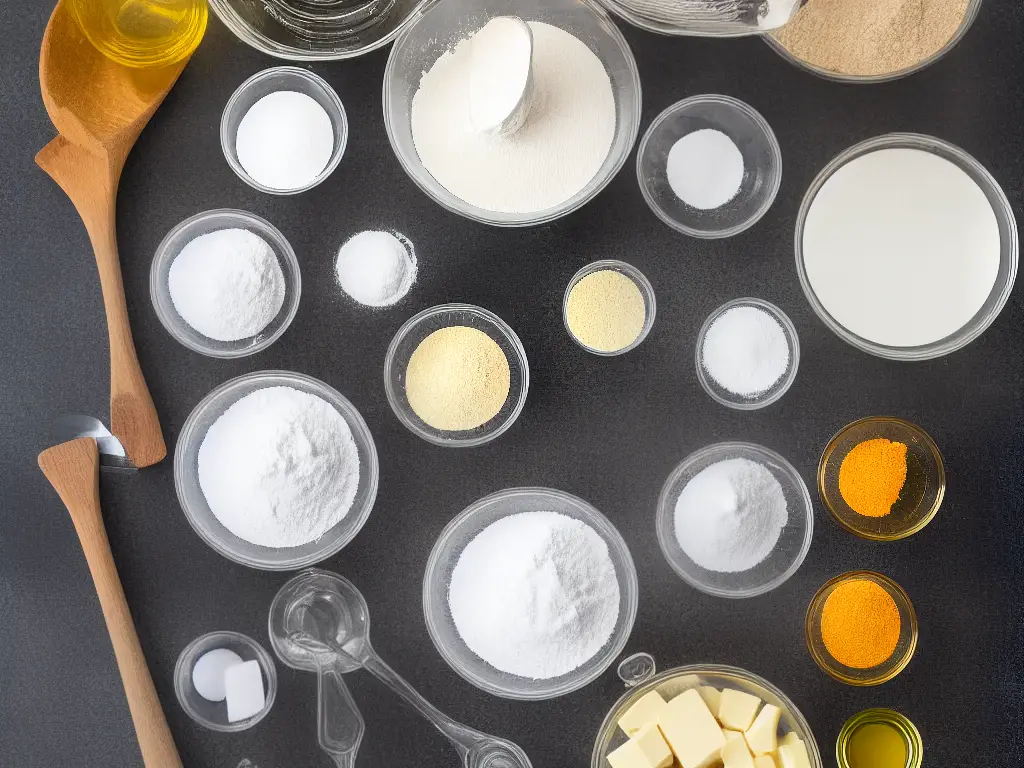
Ingredients and Tools for Browned Butter Blondies:
-
- 1 cup (2 sticks) of unsalted butter
- 1 1/2 cups of packed light brown sugar
- 2 large eggs
- 1 tablespoon of pure vanilla extract
- 2 cups of all-purpose flour
- 1 teaspoon of baking powder
- 1/2 teaspoon of salt
- 1 1/2 cups of mix-ins (optional) – such as chopped nuts, chocolate chips, or butterscotch chips
- 1. 9×13-inch baking pan
- Parchment paper or non-stick spray
- Medium-sized saucepan
- Heat-safe spatula or wooden spoon
- Large mixing bowl
- Whisk
- Rubber spatula
- Measuring cups and spoons
- Cooling rack
- Knife for cutting the blondies
Instructions:
- Prepare the baking pan by lining it with parchment paper or lightly spraying it with non-stick spray. Make sure the parchment paper hangs slightly over the edges, so it’s easier to lift the blondies out once they’re baked.
- In the medium-sized saucepan, melt the butter over medium heat. Continuously stir with the heat-safe spatula or wooden spoon to ensure the butter cooks evenly. The butter will foam, and then the foam will subside. Keep stirring until you see brown bits forming at the bottom of the pan and smell a nutty aroma. Carefully watch the butter as it can easily burn.
- Once the butter has browned, remove the saucepan from heat and let it cool slightly.
- In the large mixing bowl, whisk the light brown sugar and the slightly cooled browned butter together until smooth and well combined.
- Add the eggs, one at a time, whisking until they are fully incorporated into the butter and sugar mixture. Add the vanilla extract and mix until combined.
- In a separate bowl, whisk together the all-purpose flour, baking powder, and salt.
- Gradually add the dry ingredients to the wet ingredients, using a rubber spatula to fold everything together. Once combined, the batter will be thick and smooth.
- If desired, add your preferred mix-ins (such as chopped nuts, chocolate chips, or butterscotch chips) and fold them into the batter.
- Pour the batter into the prepared baking pan and smooth it out evenly with the rubber spatula. Preheat your oven to 350°F (175°C).
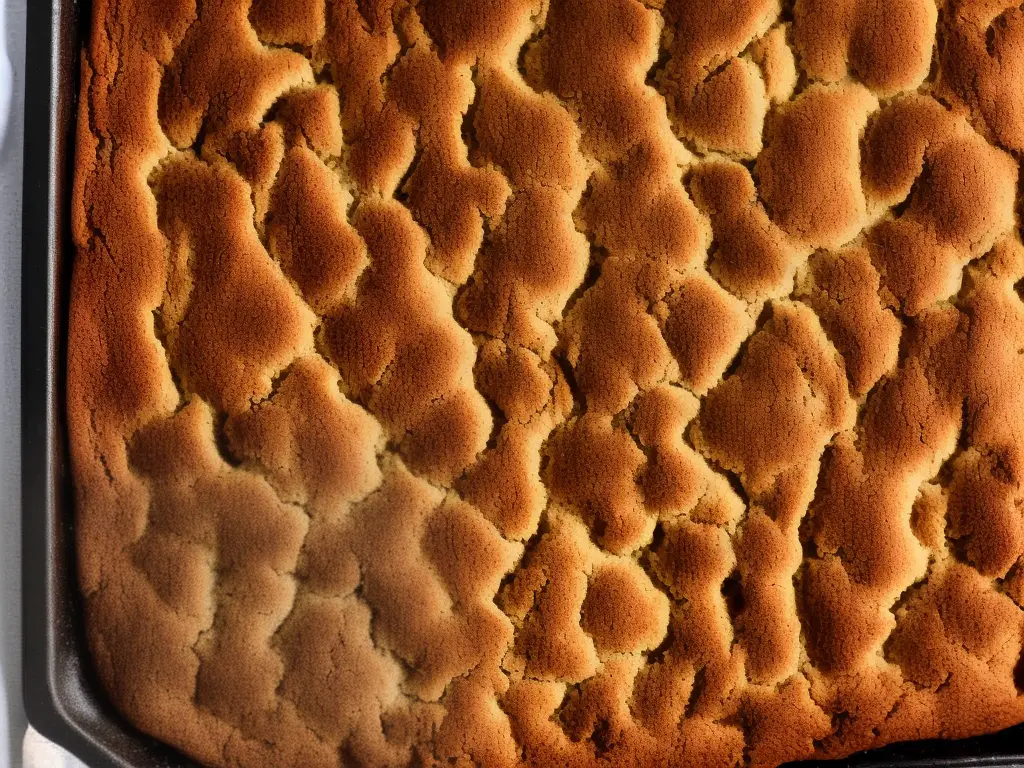
- Bake the blondies for 25-30 minutes, or until the edges are lightly golden and a toothpick inserted in the center comes out mostly clean. Be careful not to overbake, as this will result in dry blondies.
- Remove the pan from the oven and place it on a cooling rack. Allow the blondies to cool completely in the pan before lifting them out using the parchment paper. Cut them into squares using a sharp knife.
- Enjoy your delicious homemade browned butter blondies! Store any leftovers in an airtight container at room temperature for up to 5 days.
Browning butter
Title: Browning Butter for the Perfect Browned Butter Blondies
Browning butter is a culinary technique that involves gently heating butter to develop a rich, nutty flavor and aroma. This process also results in a beautiful golden-brown color, making it an essential step in making delicious browned butter blondies. In this guide, we will provide you with step-by-step instructions on how to create the perfect browned butter and offer tips on how to incorporate it into your blondie recipe.
You will need:
- Unsalted butter (amount based on your blondie recipe)
- A heavy-bottomed saucepan or skillet
- A heat-resistant spatula or wooden spoon
- A heat-safe bowl for cooling the browned butter
Step 1: Prepare your work station
Gather all your materials and have them ready near the stovetop before you begin. Browning butter requires attentive monitoring, so preparing your work station in advance ensures that you can focus on the task at hand without distractions.
Step 2: Cut the butter into even pieces
To ensure consistent heating throughout the entire browning process, cut the butter into small, evenly-sized pieces. This helps the butter melt and brown more evenly, leading to a consistent result.
Step 3: Melt the butter
Place the butter pieces in a heavy-bottomed saucepan or skillet over low to medium-low heat. Using a heat-resistant spatula or wooden spoon, gently stir the butter as it melts. This helps prevent any part of the butter from overheating too quickly, which may lead to burning instead of browning.
Step 4: Watch for color changes and foam
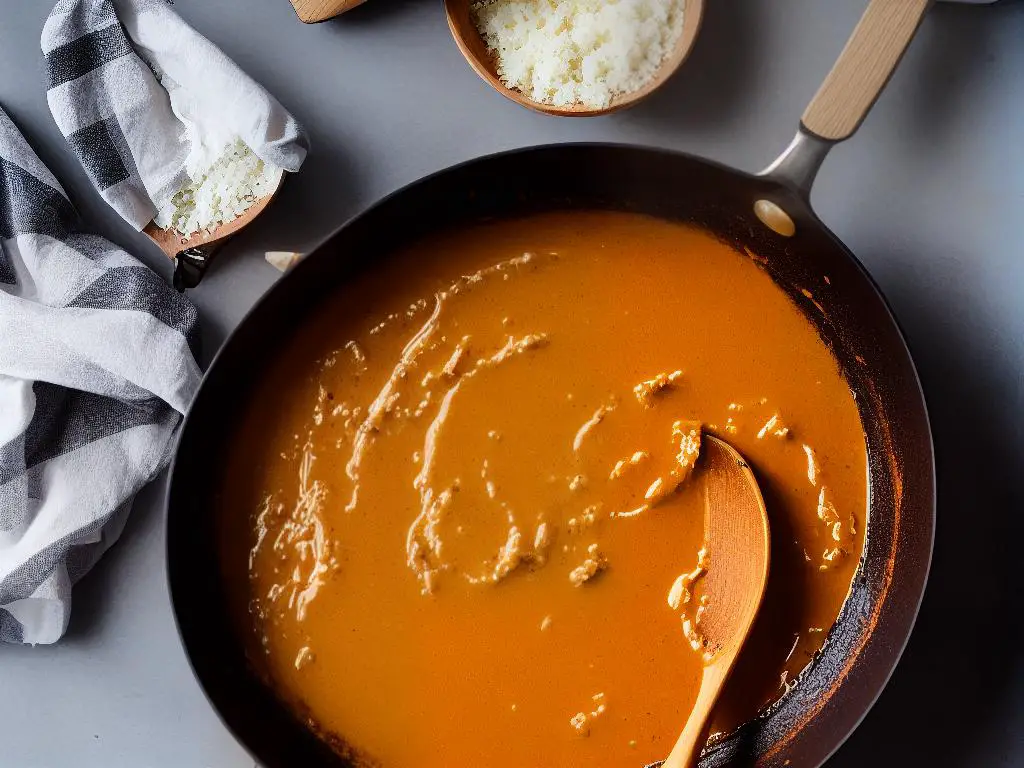
As the butter melts, continue stirring gently. The butter will begin to foam as the water content evaporates, allowing for the milk solids to separate from the fat. Pay close attention to the color changes as the milk solids start to darken. You should see a transition from pale yellow to golden brown and eventually to a deep amber shade.
Step 5: Monitor the butter’s temperature and aroma
The ideal temperature for browning butter is around 250-300°F (120-150°C). You can use an instant-read thermometer to help you monitor the temperature accurately. While measuring the temperature, you will also begin to notice a nutty aroma rising from the butter. This is a sign that the milk solids are caramelizing and browning is taking place.
Step 6: Remove the butter from heat
Once the butter reaches a deep amber color and emits a rich, nutty aroma, immediately remove the saucepan from the heat. Be careful not to overcook the butter, as it can quickly turn from perfectly browned to burnt. The residual heat in the saucepan will continue to brown the butter for a short period, so do not worry if it is slightly lighter in color.
Step 7: Transfer the browned butter to a heat-safe bowl
To prevent the butter from overcooking due to residual heat, quickly transfer the browned butter to a heat-safe bowl. This allows for more controlled cooling and stops the browning process.
Step 8: Allow the browned butter to cool
Before incorporating the browned butter into your blondie batter, let it cool to room temperature. Once it has cooled, you can either use the butter as-is or, if your recipe calls for solidified browned butter, cover the bowl and refrigerate until it reaches the desired consistency.
Conclusion:
Now that you have mastered the art of browning butter, you can use it to create decadent browned butter blondies or other delicious treats where the rich, nutty flavor profile will make a significant impact. Be sure to follow and review your blondie recipe to determine the appropriate amount of browned butter needed and any additional modifications required. Enjoy your perfectly browned butter-enhanced creations!
Measuring and mixing
Browned Butter Blondies Recipe: Measuring and Mixing
The key to creating delicious browned butter blondies is learning the importance of accurate measurements and properly mixing the ingredients together. In this guide, you’ll learn how to measure and mix the browned butter and other components to ensure your blondies turn out perfectly.
Ingredients:
- 1 cup (2 sticks) unsalted butter
- 2 cups all-purpose flour
- 1 teaspoon baking powder
- 1/2 teaspoon salt
- 2 cups packed light brown sugar
- 2 large eggs
- 1 tablespoon pure vanilla extract
- 1 cup semi-sweet chocolate chips
- Optional: 1 cup chopped nuts (pecans or walnuts)
Instructions:
- Preheat your oven to 350°F (175°C). Grease a 9×13 inch baking pan or line it with parchment paper.
- Begin by browning the butter. In a medium saucepan, melt the butter over medium heat. Once it’s melted, continue to cook it, stirring frequently. The butter will bubble and may splatter, so be careful. After 5-8 minutes, the butter will turn a rich, golden brown color and emit a nutty aroma. Remove it from the heat and allow it to cool slightly.
- While the butter cools, measure out the dry ingredients. In a large bowl, add 2 cups of all-purpose flour. Make sure to spoon the flour into your measuring cup and level it off with a straight-edged utensil, like the back of a knife, to ensure accuracy.
- Add 1 teaspoon of baking powder and 1/2 teaspoon of salt to the bowl with the flour. Whisk these dry ingredients together until they’re evenly combined.
- In another large bowl, measure out 2 cups of packed light brown sugar. Press the sugar firmly into your measuring cup, making sure there are no air pockets.
- Once the browned butter has cooled for a few minutes, pour it over the brown sugar in the large bowl. Using an electric mixer or whisk, mix the browned butter and sugar together until well combined and smooth.
- Crack 2 large eggs into a separate small bowl (to ensure no shell pieces get into the mixture). Then, add them to the browned butter and sugar mixture one at a time, mixing well after each addition.
- Measure 1 tablespoon of pure vanilla extract and add it to the mixture. Stir until combined.
- Gradually add the dry ingredients (flour, baking powder, and salt) to the wet ingredients (browned butter, sugar, eggs, and vanilla), mixing until just combined. Don’t overmix at this stage, or your blondies may turn out tough.
- Add 1 cup of semi-sweet chocolate chips and, if desired, 1 cup of chopped nuts to the batter. Gently fold them into the mixture with a spatula or wooden spoon.
Now that you have mastered the importance of accurate measurements and proper mixing, you can pour the blondie batter into your prepared baking pan. Spread it evenly and bake in your preheated oven for 25-30 minutes, or until a toothpick inserted into the center comes out mostly clean. Allow your browned butter blondies to cool before cutting them into squares and serving. Enjoy!
Baking techniques
Title: Baking Techniques: Best Practices for Perfect Browned Butter Blondies
Introduction:
Browned Butter Blondies are a delicious and indulgent treat that combines the rich, nutty flavor of browned butter with a chewy and moist texture. To achieve the perfect blondies, it’s crucial to follow the best baking practices, including the right oven temperature, baking time, and methods to check for doneness. This guide will help you master those techniques and bake amazing blondies every time.
1. Prepare the ingredients:
- 1 cup (2 sticks) unsalted butter, browned
- 1 3/4 cups light brown sugar, packed
- 2 large eggs
- 1 tablespoon pure vanilla extract
- 2 cups all-purpose flour
- 1/2 teaspoon baking powder
- 1/4 teaspoon baking soda
- 1/2 teaspoon salt
- Optional add-ins: chocolate chips, chopped nuts, or dried fruit
2. Preheat the oven and prepare the baking pan:
Preheat your oven to 350°F (175°C) for conventional ovens or 325°F (160°C) for convection ovens. While the oven is heating, line a 9×13 inch baking pan with parchment paper, allowing the paper to overhang the sides for easy removal. Alternatively, grease the pan with butter or non-stick spray.
3. Mix the wet ingredients:
In a large mixing bowl, whisk together the browned butter and light brown sugar until well combined and smooth. Add the eggs and vanilla extract, continuing to whisk until the mixture is smooth and glossy.
4. Combine the dry ingredients:
In a separate bowl, whisk together the flour, baking powder, baking soda, and salt. This ensures that the raising agents are evenly distributed throughout the batter.
5. Combine wet and dry ingredients:
Slowly add the flour mixture to the butter mixture, stirring gently to combine. Be careful not to overmix, as this can lead to tough and dry blondies. Fold in any additional desired add-ins, such as chocolate chips or nuts.
6. Spread the batter and bake:
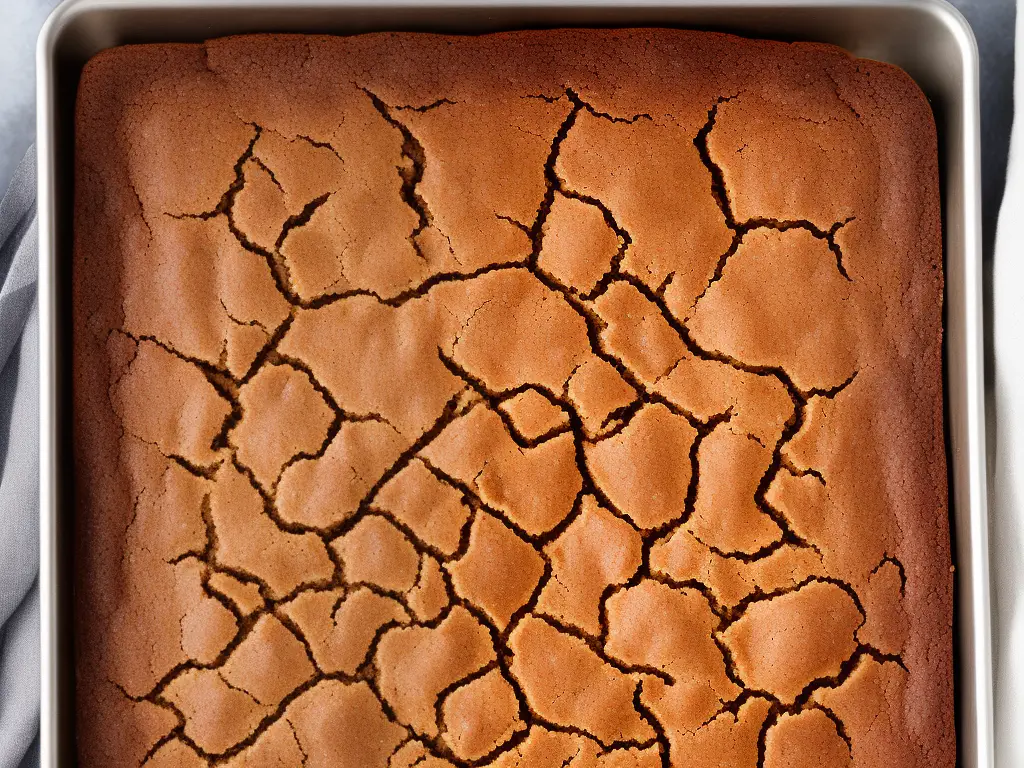
Pour the blondie batter into the prepared baking pan, using a spatula to evenly spread the batter into the corners. Place the pan in the preheated oven and bake for 25-30 minutes, or until the edges start to turn golden brown and slightly pull away from the sides of the pan.
7. Check for doneness:
The ideal way to check for doneness is by using a toothpick or a cake tester. Insert the toothpick into the center of the blondies, and when removed, it should come out with a few moist crumbs attached, but not wet batter. This indicates that the blondies have reached the perfect consistency with a slightly gooey center.
8. Cool and cut:
Allow the blondies to cool in the pan for about 15 minutes before using the parchment paper to lift them out of the pan and onto a wire rack. Let them cool fully before cutting to ensure clean, even squares.
Conclusion:
By following these best practices for baking techniques, you will consistently produce delicious browned butter blondies with the perfect chewy texture. Remember not to overmix the batter and to check for doneness to avoid overbaking. Happy baking!”
Cooling and cutting
How to Cool and Cut Browned Butter Blondies
Follow these step-by-step instructions to ensure your browned butter blondies are cooled and cut perfectly for a stunning presentation.
1. Remove the blondies from the oven:
After baking your browned butter blondies according to the recipe you used, carefully take the pan out of the oven and place it on a heat-resistant surface or a wire cooling rack. Allow your baked blondies to cool in the pan for at least 10 minutes. This allows the blondies to set and hold their shape better when you remove them from the pan.
2. Transfer the blondies to a cooling rack:
To further cool your blondies, it’s best to transfer them onto a wire cooling rack, which allows air to circulate beneath and around your baked treats, promoting more even cooling. To do this, gently run a butter knife or an offset spatula along the edges of the pan to ensure the blondies don’t stick. Place the cooling rack on top of the pan and grip both the rack and the pan tightly. Carefully flip the pan upside down to release the blondies onto the cooling rack. If your blondies stick to the pan, use a butter knife or spatula to help release them.
3. Cool to room temperature:
Allow the blondies to cool on the wire cooling rack for at least 30 minutes to an hour, or until they reach room temperature. Cooling them completely is crucial for cutting neat, even squares, as cutting them while still warm can cause them to fall apart or become too sticky.
4. Prepare your cutting tools:
While your blondies are cooling, prepare a cutting board and a sharp, non-serrated knife. Optionally, you can line your cutting board with parchment paper to ensure that the blondies don’t stick to the surface. Cleaning your knife between cuts will help make cleaner cuts and prevent the blondies from sticking to the knife.
5. Cut into even squares:
Place the cooled blondies on the cutting board. Using a ruler or any straight-edged tool, gently score lines onto the surface of the blondies to mark where you will make your cuts, ensuring that each square is of equal size. Holding the knife parallel to these scored lines, make a gentle sawing motion to cut through the blondies, applying even pressure from one end to the other. Wipe the knife clean after each cut.
6. Optional: Clean up the edges:
If you prefer clean, perfectly shaped squares, use your knife to trim the edges of the blondies, wiping your knife after each edge. In this way, you can make straight and even cuts on each side of the blondie square.
7. Present and enjoy:
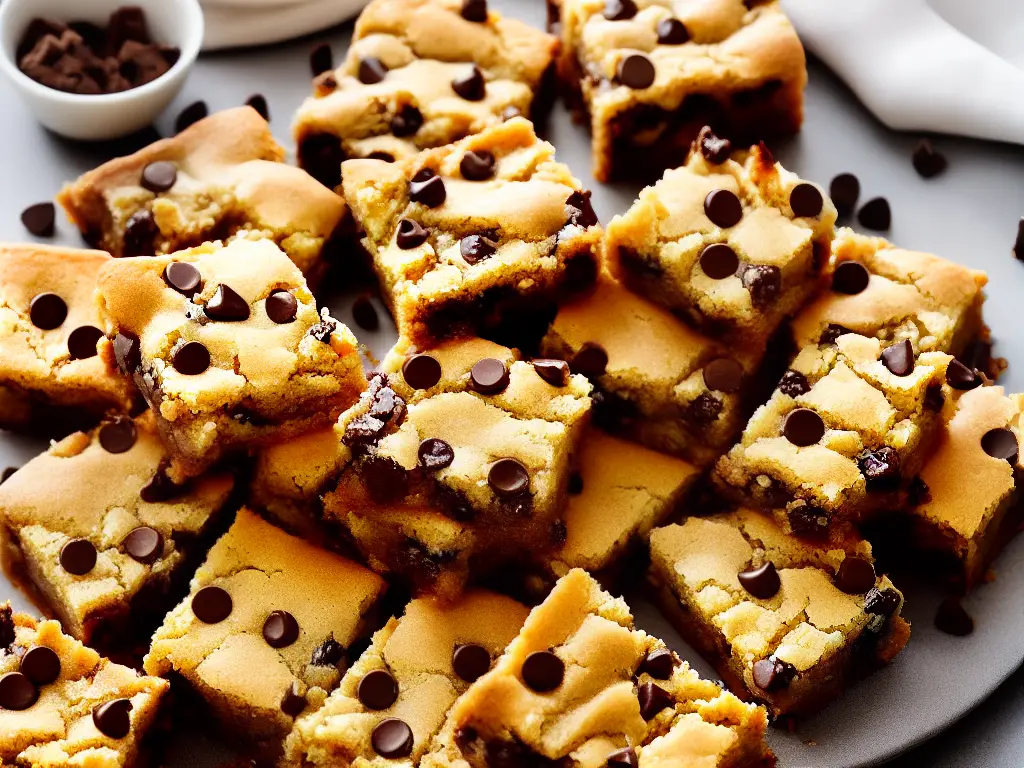
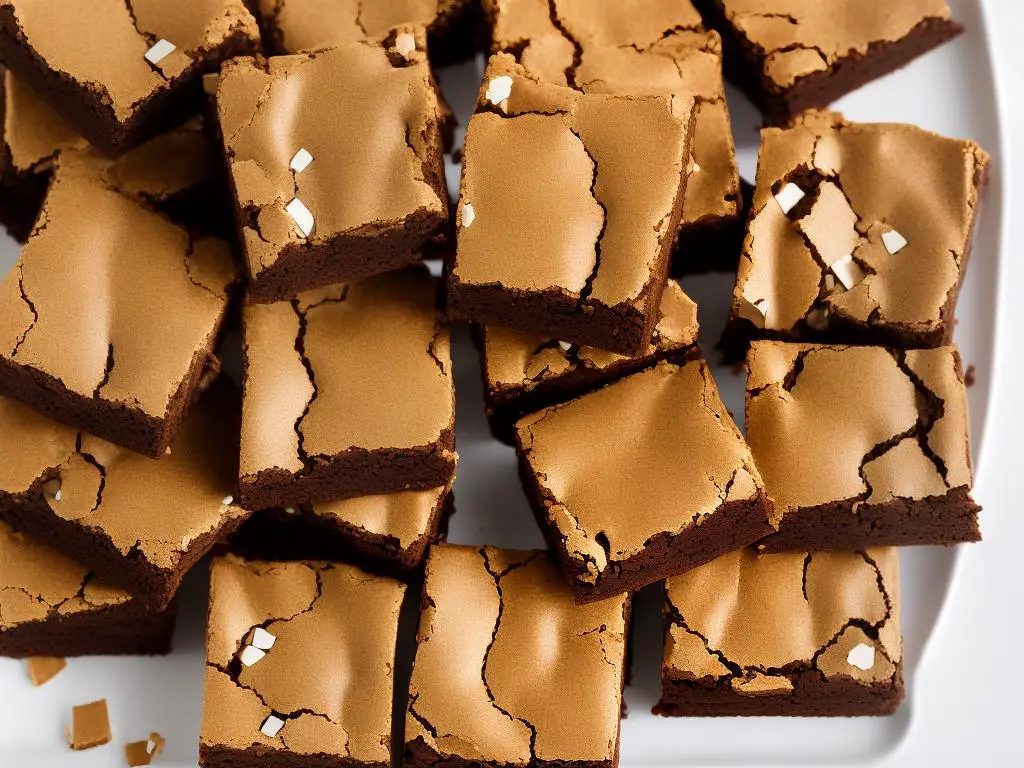
Arrange the cut browned butter blondies on a serving plate, stacked or in rows for an attractive presentation. Revel in your perfectly cooled and cut blondies and enjoy the delicious taste with friends and family!
Variations and add-ins
Title: Browned Butter Blondies: Variations and Add-Ins
Introduction:
Browned butter blondies are a delicious and versatile dessert that can be easily customized with various add-ins and flavor variations. Get creative and make this classic treat even more delectable by incorporating your favorite nuts, chocolates, and other flavorings. Here are some suggestions to help you get started on your own unique browned butter blondie creation.
1. Nutty Blondies:
Add 1 cup of chopped nuts to your browned butter blondie batter. Walnuts, pecans, and almonds all work well, lending a delightful crunch and subtle flavor. You can also try combining different nuts to create a mixed-nut blondie.
2. Chocolate Chip Blondies:
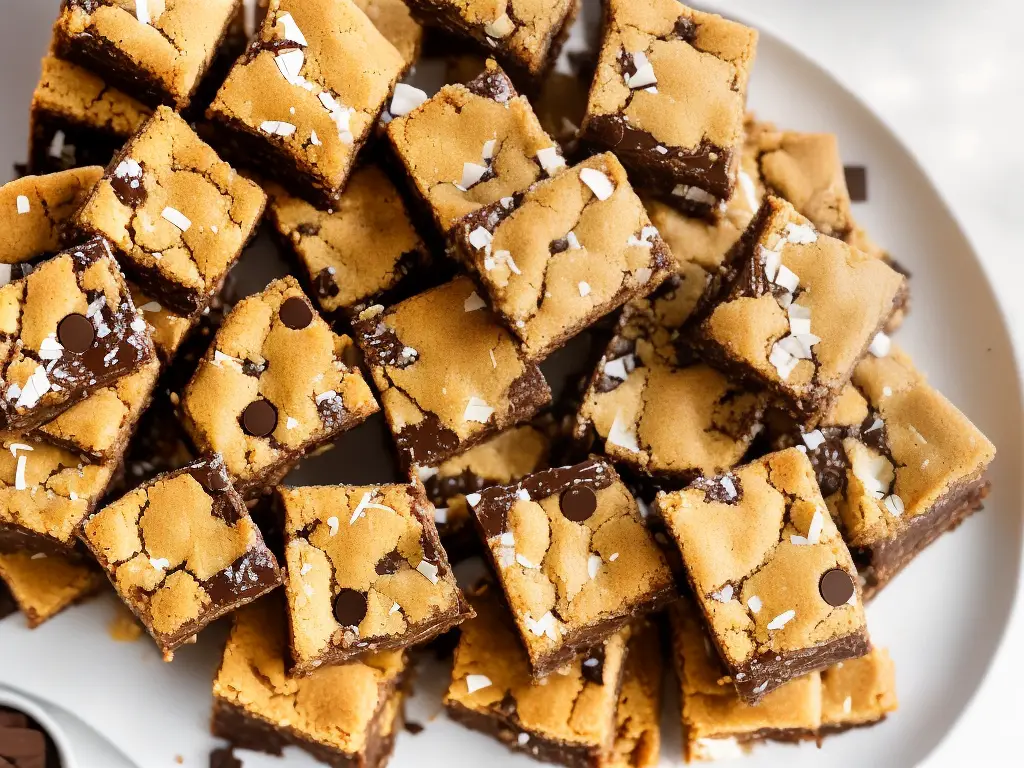
Add 1 cup of chocolate chips (semi-sweet, milk, or white) to your browned butter blondie batter. Dark chocolate chips also pair exceptionally well with the rich, caramelized flavor of browned butter, creating a delicious harmony of tastes.
3. Salted Caramel Blondies:
After preparing your browned butter blondie batter, swirl in 1/2 cup of warmed caramel sauce. Once baked, allow the blondies to cool and drizzle the top with an additional caramel sauce. Sprinkle the top with a pinch of coarse sea salt to enhance the sweet and salty flavor combination.
4. Fruity Blondies:
Add 1 cup of dried fruit such as cranberries, raisins, or chopped apricots to your browned butter blondie batter to create a chewy and fruity treat. For a fresh fruit option, fold in 1 cup of chopped fresh apples or pears, making sure to remove any excess moisture before adding to the batter.
5. Peanut Butter Swirl Blondies:
Prepare your browned butter blondie batter, and then dollop 1/2 cup of creamy peanut butter throughout the batter in the baking pan. Use a knife or skewer to swirl the peanut butter into the batter, creating a marbled effect. This adds a rich, nutty flavor that pairs well with the browned butter base.
6. Toasted Coconut Blondies:
Stir in 1 cup of sweetened, shredded coconut into your browned butter blondie batter. Spread the batter into the baking pan, and sprinkle an additional 1/4 cup of coconut on top. Bake as directed, until the coconut on top is golden and toasted. This tropical twist offers a delightful contrast of textures in each bite.
7. Espresso Blondies:
Add 1 tablespoon of espresso powder or finely ground coffee to your browned butter blondie batter, resulting in a rich, coffee-flavored dessert. For an extra indulgent touch, combine this variation with chocolate chips, creating a mocha-inspired treat.
In conclusion,
These are just a few of the countless variations and add-ins you can incorporate into your browned butter blondies. Don’t be afraid to get creative and mix and match these suggestions, or come up with your own unique flavor combinations. The beauty of browned butter blondies lies in their versatility, allowing you to make this classic dessert your very own.
Storage and freshness
Introduction:
Browned butter blondies are a delicious and indulgent treat that you’ll want to enjoy for as long as possible. To do this, it’s essential to know the proper storage techniques and strategies for maintaining their freshness. In this guide, you’ll learn how to store browned butter blondies, how long they last, and methods for freezing and reheating them.
1. Storing Browned Butter Blondies at Room Temperature:
- Allow the browned butter blondies to cool completely after baking.
- Place the blondies in an airtight container, separating each layer with a sheet of parchment paper to prevent sticking.
- Store the container at room temperature, away from direct sunlight and heat sources.
- Enjoy your blondies within 3-4 days for maximum freshness.
2. Refrigerating Browned Butter Blondies:
- Once the blondies have cooled completely, wrap them individually in plastic wrap or aluminum foil.
- Place the wrapped blondies in an airtight container or a resealable plastic bag.
- Store the container or bag in the refrigerator.
- Consume the refrigerated blondies within 1 week.
3. Freezing Browned Butter Blondies for Long-term Storage:
- Allow the blondies to cool completely after baking.
- Wrap each blondie individually in plastic wrap or aluminum foil, ensuring that they are well-sealed to protect them from freezer burn.
- Place the wrapped blondies in an airtight container or a resealable plastic freezer bag. Label the bag with the date and type of blondie for easy identification.
- Store the container or bag in the freezer. Properly frozen blondies can last for up to 3 months.
4. Thawing and Reheating Frozen Browned Butter Blondies:
- Remove the desired number of blondies from the freezer and unwrap them.
- Allow the blondies to thaw at room temperature for about 1-2 hours, or until they reach your preferred consistency.
- If you prefer warmed blondies, you can reheat them in the microwave in 15-second intervals until they reach your desired temperature. Be careful not to overheat, as this can affect the texture.
- Alternatively, you can reheat thawed blondies in a preheated oven at 300°F for about 5-10 minutes. Keep an eye on them to ensure they don’t overcook or become too dry.
Conclusion:
By following these storage and freshness guidelines, you can enjoy delicious and moist browned butter blondies anytime. Remember to allow your baked goods to cool completely before storing them and always use airtight containers or wrapping to ensure maximum freshness. Happy baking!
Practice and experimentation
Browned Butter Blondies: Practice and Experimentation
1. Gather Your Ingredients:
- 1 cup (2 sticks) unsalted butter
- 2 cups all-purpose flour
- 1 teaspoon baking powder
- 1/4 teaspoon baking soda
- 1/2 teaspoon salt
- 1 1/2 cups packed light brown sugar
- 2 large eggs
- 1 tablespoon pure vanilla extract
- Optional add-ins (chocolate chips, nuts, coconut, etc.)
2. Prepare Your Equipment:
Before beginning, preheat your oven to 350°F (177°C). Grease a 9×13-inch baking pan with butter or non-stick cooking spray and then line with parchment paper, leaving some overhang on the sides for easy removal.
3. Brown the Butter:
– In a medium saucepan, melt the butter over medium heat.
– Continue to cook, stirring occasionally, until the butter is fragrant, and small golden bits start to form at the bottom of the pan. This is the milk solids browning, which gives the butter its nutty taste.
– Once the butter is browned, remove from heat and allow it to cool slightly.
4. Dry Ingredients:
– In a large bowl, whisk together the flour, baking powder, baking soda, and salt. Set aside.
5. Wet Ingredients:
– In a separate bowl, combine the browned butter and brown sugar, mixing until smooth.
– Add the eggs one at a time, mixing well after each addition.
– Stir in the vanilla extract.
6. Combine the Wet and Dry Ingredients:
– Gradually add the dry ingredients to the wet ingredients, mixing until just combined and no large lumps remain. Be careful not to overmix.
– If desired, fold in your choice of add-ins such as chocolate chips, nuts, or coconut.
7. Bake the Blondies:
– Pour the batter into your prepared baking pan, spreading it evenly with a spatula.
– Bake for 25-30 minutes, or until a toothpick inserted into the center comes out clean or with a few moist crumbs attached. Be sure not to overbake to maintain a soft and chewy texture.
– Remove from oven and let the blondies cool completely in the pan.
8. Experiment with Variations:
– Once you’re comfortable with the basic recipe, try experimenting with different mix-ins or toppings. You can:
- Add various types of chocolate chips (white, milk, or dark)
- Mix in chopped nuts such as walnuts or pecans
- Top with a caramel or chocolate drizzle
- Substitute brown sugar with coconut sugar or dark brown sugar for a deeper flavor
- Use whole wheat flour or gluten-free flour for alternative textures and tastes
9. Slice and Serve:
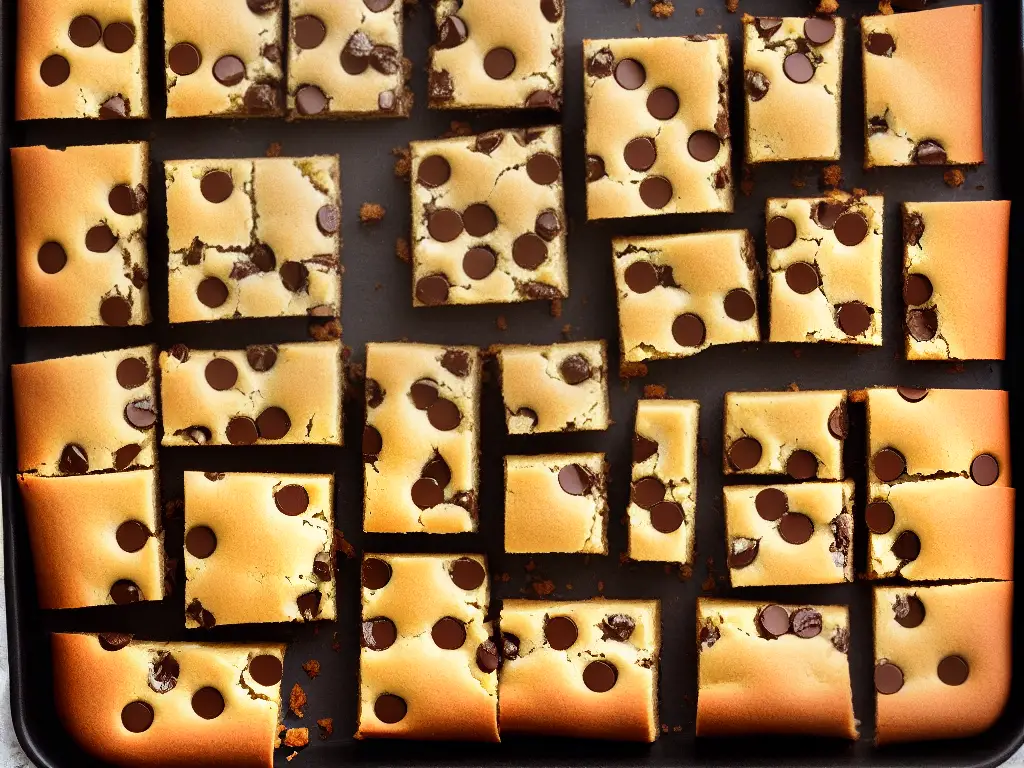
– Once cooled, use the parchment paper overhang to lift the blondies out of the pan and transfer them to a cutting board.
– Cut into squares or bars and enjoy your delicious browned butter blondies!
Remember, practice makes perfect! Continue making these delicious treats, trying different techniques and variations until you find your favorite blend. Good luck, and enjoy your baking journey!
After exploring the ins and outs of making delicious browned butter blondies, you’ll be well equipped to impress your family and friends with your new baking skills. Remember that practice makes perfect, so feel free to experiment with different techniques and variations to find your signature blondie style. The more you bake, the more you’ll learn and grow in the kitchen. From browning butter to baking tips, you are now prepared to create delectable, mouth-watering browned butter blondies that will leave everyone craving more.
