Browned Butter Recipe
Welcome to the world of browned butter, where you’ll uncover the secrets behind its rich and nutty flavors, and learn how its culinary versatility can elevate your dishes. Dive into the history of browned butter, its significance in cooking and baking, and discover how various types of butter play a role in different recipes. With guidance on techniques, factors, and troubleshooting, you’ll become a browned butter expert in no time.
Introductory to Browned Butter
History of Browned Butter
Although it’s unclear where exactly browned butter originated, it is believed to have its roots in French cuisine. The term “beurre noisette” translates to “hazelnut butter” in English. This name comes from the fact that the butter takes on a hazelnut-brown color and develops a nutty aroma during the browning process. It became popular in French and Italian kitchens, and eventually made its way across continents due to its impressive flavor transformation and remarkable versatility.
Culinary Significance
Browned butter is often considered a secret weapon in the culinary world. It has the ability to enhance the flavor of various dishes, both sweet and savory, and provide a richness that is hard to achieve with other ingredients. This humble ingredient also adds a layer of depth and complexity to ordinary meals, transforming them into something extraordinary. Chefs all over the world are constantly exploring unique and new ways to use browned butter in their creations.
How to Make Browned Butter
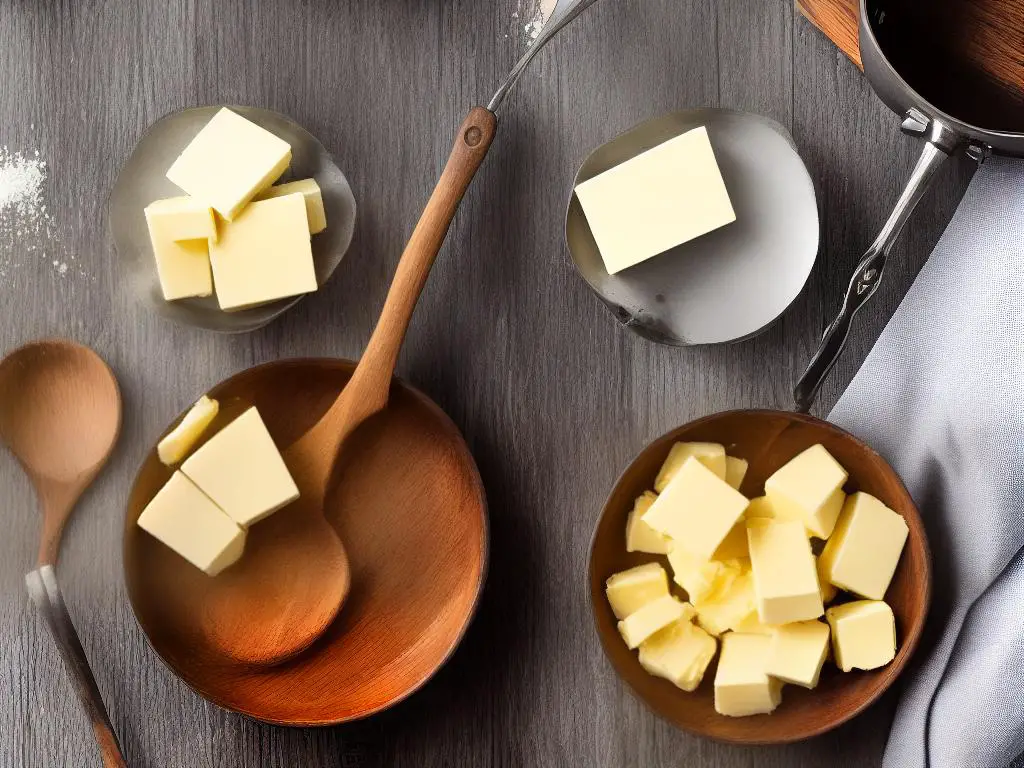
- Start by cutting the unsalted butter into small, even-sized pieces. This will help it melt and brown evenly.
- Heat a light colored heavy-bottomed saucepan or skillet over medium heat. A light colored pan helps in monitoring the butter color easily while browning.
- Add the butter to the pan and let it melt completely, while stirring occasionally.
- Once the butter has melted, it will start to foam up. Continue stirring or swirling the pan to ensure even browning.
- Keep a close eye on the butter as it turns from a pale yellow to a light amber color, and finally to a deep golden brown. The entire process should take around 3-5 minutes.
- Once the butter has achieved its desired color and emits a nutty aroma, immediately remove it from heat and transfer it to a heatproof bowl to stop the cooking process. Browned butter can burn easily, so it’s crucial to take it off the heat at the right moment.
Uses of Browned Butter in Cooking and Baking
- Baking: Browned butter can be added to cake, cookie, and muffin batters, as well as pie crusts and frosting, to add an extra depth of flavor.
- Savory dishes: Tossing vegetables and pasta in browned butter, or using it as a sauce base, enhances the overall taste and richness of the meal.
- Seafood: Drizzling browned butter over fish and shrimp adds a layer of nutty, toasty flavor that complements the natural taste of the seafood perfectly.
- Finishing touch: Use browned butter as a garnish or drizzle it over cooked dishes to add an extra punch of flavor.
Types of Butter & Differences
Types of Butter & Differences
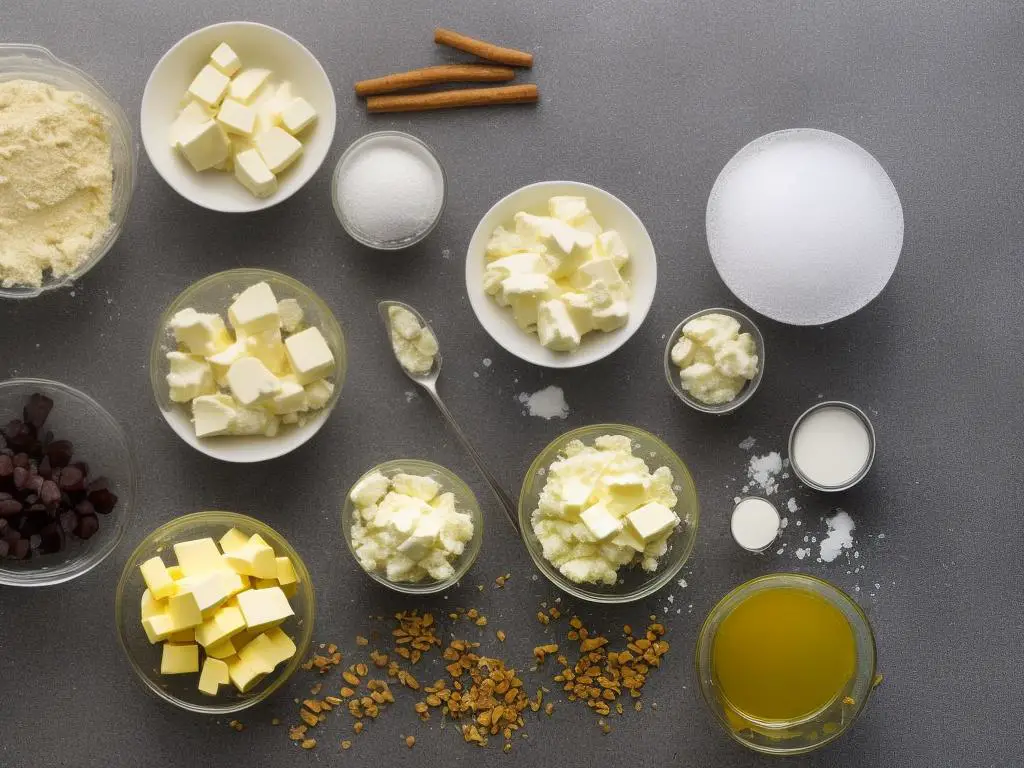
Butter is a crucial ingredient in many recipes, adding flavor, richness, and texture to any dish. It’s essential to understand the different types of butter and their unique characteristics, as this knowledge can help you choose the right butter for your recipes. In this guide, we’ll discuss various types of butter, including unsalted butter, salted butter, grass-fed butter, and clarified butter, and explain their differences.
1. Unsalted Butter
Unsalted butter, also known as sweet cream butter, is made using only two ingredients: cream and sometimes lactic acid. It contains no added salt, making it the most versatile type of butter for cooking and baking. Unsalted butter allows you to control the salt content in your recipes, which is especially important for baking, where precise measurements are crucial for the best results.
2. Salted Butter
Salted butter is simply unsalted butter with added salt. The salt not only adds flavor but also acts as a preservative, giving salted butter a longer shelf life than unsalted butter. Salted butter is ideal for spreading on toast or melting over vegetables, but it’s essential to be careful when using salted butter in recipes that call for unsalted butter, as it can result in a dish that’s too salty.
3. Grass-Fed Butter
Grass-fed butter is made from the milk of cows that primarily graze on grass rather than being fed grain. This type of butter has a unique, rich flavor and is often a deeper yellow color due to the higher amounts of beta-carotene found in the grass the cows eat. Grass-fed butter is also thought to have a higher nutritional value, containing more omega-3 fatty acids and vitamins A, D, and E than conventional butter. You can use grass-fed butter in any recipe that calls for unsalted or salted butter, depending on the grass-fed butter’s salt content.
4. Clarified Butter
Clarified butter, also known as ghee, is created by removing the milk solids and water from regular butter, resulting in a pure butterfat with a higher smoke point. This means that clarified butter is more stable at high temperatures, making it ideal for cooking methods like frying and sautéing. Since the milk solids have been removed, clarified butter has a longer shelf life and is also suitable for those with lactose intolerance. However, clarified butter lacks the creamy flavor of regular butter, so it’s best used in recipes where the butter’s flavor is not the primary focus.
Now that you’re familiar with the different types of butter and their unique characteristics, let’s put that knowledge into practice with a browned butter recipe.
Browned Butter Recipe:
Ingredients:
- 1 stick (1/2 cup) unsalted butter (you can also use salted butter, but adjust the salt content in your recipe accordingly)
Instructions:
- Cut the butter into small, uniform pieces to ensure even melting.
- In a light-colored saucepan or skillet over medium heat, melt the butter.
- Once the butter has melted, begin to stir it gently with a heat-resistant spatula or wooden spoon, allowing the milk solids to cook evenly.
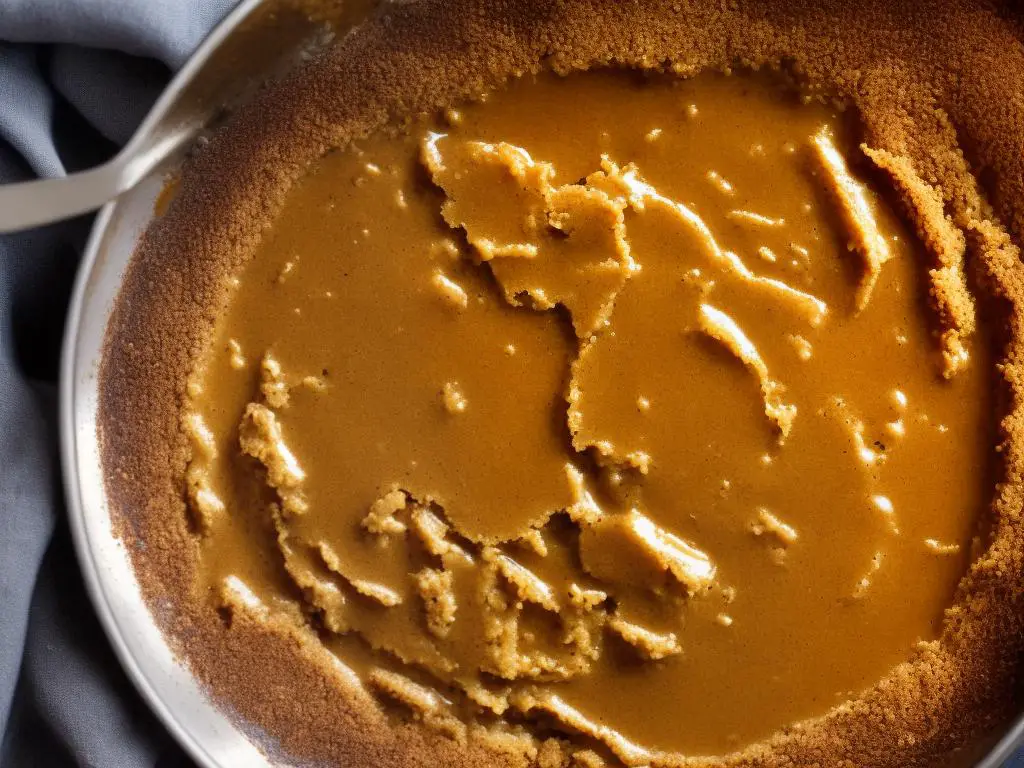
- As the butter continues to cook, it will start to form small, golden-brown specks at the bottom of the pan. These are the milk solids toasting, which creates the deep, nutty flavor unique to browned butter.
- Watch closely, as the butter can go from browned to burnt quickly. Once you notice a rich, nutty aroma and can see the toasted milk solids, remove the butter from the heat.
- If desired, you can strain the browned butter through a fine-mesh sieve to remove the milk solids, but they also add flavor and texture, so this step is optional.
- Use the browned butter immediately or store it in the refrigerator for up to a week. Browned butter can be used in both sweet and savory recipes, such as sauces, baked goods, or as a topping for vegetables or pasta. Enjoy!
Techniques for Making Browned Butter
Title: Techniques for Making Browned Butter: A Guide to Perfectly Browned Butter on the Stovetop and in the Oven
Introduction:
Browned butter, or beurre noisette, is a versatile cooking ingredient that imparts a delightful nutty flavor and rich aroma to any dish, whether it be baked goods, meats, or vegetables. Learn the different techniques to make the best browned butter on the stovetop or in the oven, focusing on heating, melting, and browning for the perfect consistency and flavor.
Stovetop Method:
- Choose a light-colored, heavy-bottomed pan.
- Using a light-colored pan allows for better monitoring of the butter, which is vital for preventing burning.
- A heavy-bottomed pan ensures even heat distribution to reduce the chances of scorching the butter.
- Cut butter into equal-sized small pieces.
- This ensures even melting and prevents uneven browning.
- Heat the pan over medium heat.
- Gradually heating the butter allows the milk solids to brown more evenly.
- Add the butter pieces to the pan and let them melt.
- Stir the butter occasionally with a whisk or wooden spoon to facilitate even melting and browning.
- Watch for signs of browning.
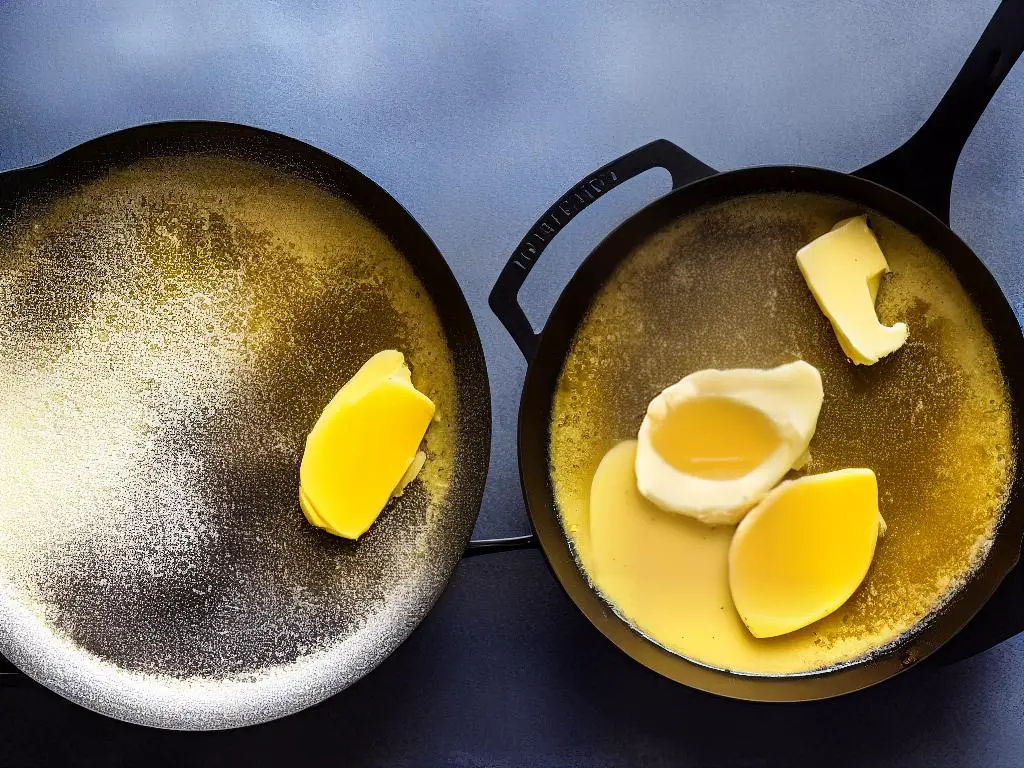
- The melted butter will start to foam, bubble, and eventually the milk solids will sink to the bottom of the pan.
- The bubbling sound will decrease as the water content evaporates.
- Watch for a change in color, as the butter begins to turn golden brown with a nutty aroma.
- Remove the pan from heat as soon as the desired shade of brown is reached.
- Be vigilant during this stage, as browned butter can easily turn into burned butter.
- Use a heat-resistant spatula to scrape the browned bits from the bottom of the pan, as they carry great flavor.
- Pour the browned butter into a heat-proof container immediately to stop the cooking process.
- You can strain the butter through a fine-mesh sieve to remove any large browned bits if desired for a smoother texture.
Oven Method:
- Preheat the oven to 350°F (175°C).
- Cut butter into equal-sized small pieces and place them in an oven-safe dish or baking pan.
- Bake the butter in the preheated oven for approximately 10-15 minutes.
- Check on the butter every 5 minutes to ensure even melting and prevent burning.
- Stir the butter occasionally to promote even browning.
- Watch for signs of browning.
- The melted butter will start to foam, and the milk solids will brown at the bottom of the dish.
- Remove the butter from the oven when it has reached a golden brown color with a nutty aroma.
- Pour the browned butter into a heat-proof container immediately to stop the cooking process.
- You can strain the butter through a fine-mesh sieve to remove any large browned bits if desired for a smoother texture.
Conclusion:
Whether you choose the stovetop or oven method for making browned butter, the key is to keep an eye on the melting and browning process to achieve the perfect flavor and prevent burning. With a little practice, you’ll master the art of making browned butter and be able to add a rich, nutty touch to your favorite dishes.
Key Factors in Browning Butter
Title: Key Factors in Browning Butter: A Guide to Master the Perfect Browned Butter
Browned butter is a flavorful addition to various recipes, adding depth and richness to dishes such as sauces, baked goods, and sautés. It’s vital to understand the key factors in browning butter to achieve desired results consistently. This guide will provide step-by-step instructions to help you master the art of preparing browned butter, focusing on crucial aspects like temperature, timing, and recognizing visual cues.
Ingredients:
- Unsalted butter (the desired quantity, depending on your recipe)
Equipment:
- A heavy-bottomed saucepan or skillet
- A heat-resistant spatula or a wooden spoon
- A heat-proof container or bowl
Instructions:
- Cut the butter: Cut the unsalted butter into small, even-sized pieces to ensure it melts evenly.
- Choose the right pan: Select a heavy-bottomed pan or skillet that will distribute heat evenly while cooking. A light-colored pan is recommended, as it allows you to monitor the butter’s color change accurately.
- Heat the pan: Place the pan over low to medium heat. Ensure the heat isn’t too high; otherwise, the butter may burn instead of browning properly.
- Melt the butter: Add the butter pieces to the pan and allow them to melt slowly, stirring frequently with a heat-resistant spatula or a wooden spoon.
- Observe the changes: As the butter melts and heats up, it will start to foam. Continue stirring, and keep an eye on the butter’s color. The solids will separate from the fat and begin to settle at the bottom of the pan.
- Monitor the temperature: The ideal temperature for browning butter is between 250°F (120°C) and 300°F (150°C). Using a cooking thermometer can help you maintain the correct temperature.
- Recognize visual cues: The key to browning butter is identifying the visual cues that indicate the optimal browning level. Watch for the following signs:
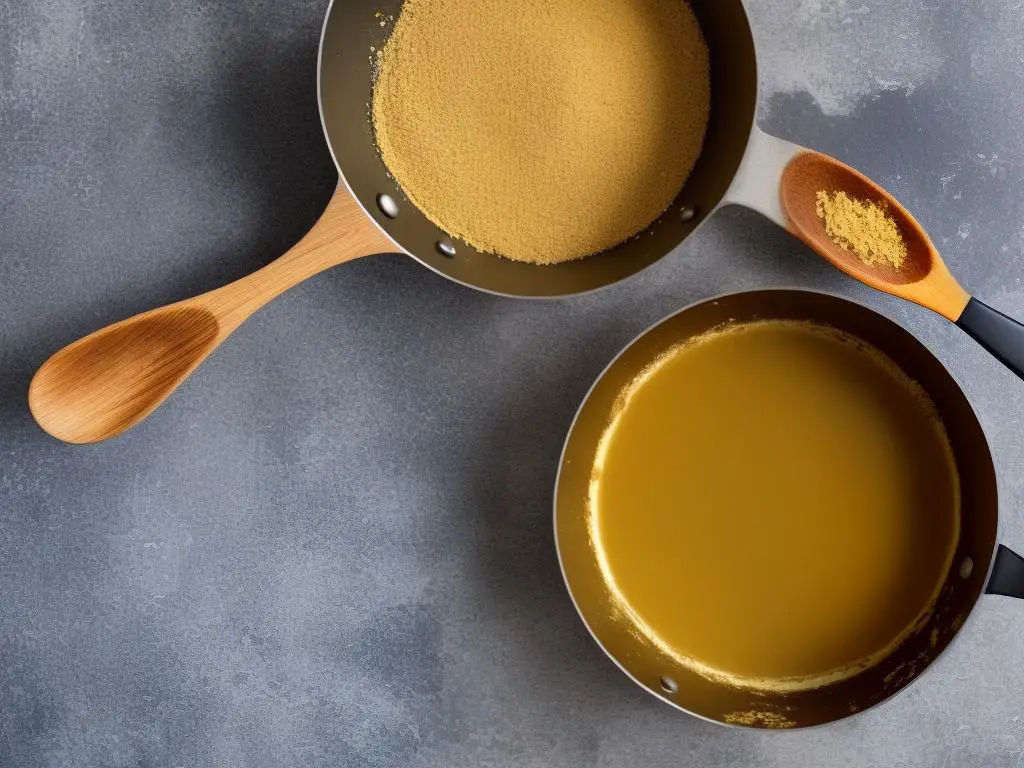
- The bubbling or foaming will start to subside, and the butter’s color will turn from light yellow to golden brown.
- The aroma will change from the typical buttery scent to a more nutty or toasted aroma.
- The solids at the bottom of the pan will turn a light to medium brown.
- Timing: The total cooking time can range from 5 to 15 minutes, depending on the butter’s quantity and the heat level. Pay close attention to the visual cues rather than relying solely on timing.
- Remove from heat: Once the butter reaches a golden brown hue and gives off a nutty aroma, immediately remove it from the heat to prevent burning.
- Transfer to a heat-proof container: Carefully pour the browned butter into a heat-proof container, ensuring you scrape the pan to collect all the browned solids. Be cautious, as the browned butter will be extremely hot.
- Utilize in recipes: Allow the browned butter to cool slightly before incorporating it into your desired dishes. Browned butter can be used in place of regular melted butter in various recipes for enhanced flavor.
Conclusion:
By understanding and mastering the key factors in browning butter, you can easily create this delicious, versatile ingredient for your culinary creations. Remember to focus on temperature, timing, and watching for visual cues, and you’ll consistently produce perfectly browned butter every time.
Troubleshooting Problems & Mistakes
Title: Troubleshooting Problems & Mistakes when Making Browned Butter
Introduction: Browned butter adds a rich and nutty flavor to various dishes and baked goods. However, it can be slightly tricky to get it just right. To help you master this technique, we’ve compiled a list of common mistakes and ways to troubleshoot them while making browned butter.
1. Burning the Butter
- Mistake: Overheating the butter and causing it to burn rather than brown.
- Solution: Make sure to use a light-colored and heavy-bottomed pan which allows for even heat distribution and better control in monitoring the browning process. Heat the butter on medium-low heat and stir it continuously to avoid burning. Pay close attention to the color changes, and remove it from the heat once it reaches a golden brown color and releases a nutty aroma.
2. Uneven Browning
- Mistake: Leaving some parts of the butter uncooked, leading to an uneven flavor profile.
- Solution: As the butter melts, swirl it around to distribute the heat and browning evenly. When browning occurs primarily on the bottom, be sure to scrape and mix it up regularly to ensure color consistency and that you do not end up with burned bits.
3. Butter Separation
- Mistake: Overheating or not stirring consistently, causing butter to separate into oil and solids.
- Solution: Start by melting the butter on medium-low heat, stir gently but continuously, and watch for the formation of brown specks at the bottom of the pan. These specks indicate that the milk solids are browning, and proper stirring helps integrate them with the fat for a homogenous mixture.
4. Overcooking the Milk Solids
- Mistake: Allowing the milk solids to cook too long, causing bitterness and a burnt taste.
- Solution: Keep a close eye on the brown specks forming at the bottom of the pan. Once they reach your preferred level of brownness, immediately transfer the browned butter to a heatproof bowl to stop the cooking process.
5. Salvaging Burnt Butter
- Scenario: Your butter has already burnt, and you want to salvage what you can.
- Solution: If the burnt area is minimal, carefully skim off any blackened specks with a spoon, avoiding the layer of browned butter beneath. If the burnt flavor has infiltrated the entire batch, unfortunately, it’s best to discard it and start anew.
In conclusion, making browned butter requires your full attention and a bit of practice. By following these troubleshooting tips and staying diligent, you will soon master the art of browning butter and enhancing your favorite recipes with its rich, nutty flavor.
Safety Precautions
Title: Safety Precautions & Hygiene while Making Browned Butter
Introduction: Browned butter, also known as Beurre noisette, is a versatile ingredient that adds a deep, nutty flavor to various dishes. However, making browned butter involves proper handling and kitchen safety precautions to avoid accidents and ensure hygiene. This guide will discuss the potential hazards, safety measures, and hygiene tips to ensure a successful browned butter-making experience.
1. Understand the potential hazards:
- Hot butter can cause severe burns if not handled with care.
- Overheating the butter can result in a fire hazard.
- Unhygienic preparation can lead to contamination and foodborne illness.
2. Kitchen safety precautions:
- Always use a heavy-bottomed saucepan or skillet to ensure even heat distribution and prevent the butter from burning.
- Keep a heat-resistant spatula or wooden spoon handy to continuously stir the butter.
- When melting the butter, use low to medium heat to have better control over the browning process.
- Turn off the stove as soon as the butter reaches a light golden brown color to avoid overcooking.
- Use oven mitts or a thick towel to handle the saucepan. Hot butter can cause severe burns if it comes into contact with the skin.
- Keep a lid or fire extinguisher nearby in case of a grease fire. Never use water to extinguish a grease fire as it can cause the fire to spread.
3. Proper food handling techniques:
- Start with clean hands and a clean work surface. Wash your hands with warm, soapy water for at least 20 seconds before handling any food.
- Ensure the butter is properly stored in a refrigerator before use. If using frozen butter, allow it to thaw in the refrigerator before melting.
- Use a clean saucepan and spatula for melting the butter.
- If you need to set the spatula down during the cooking process, use a clean plate or rest it on the saucepan’s handle, if possible.
- Avoid touching your face, hair, or other surfaces while making browned butter to prevent contamination.
- Transfer the browned butter to a clean jar or container with a tight-fitting lid. Store it in a cool, dark place or refrigerate for longer storage.
Conclusion:
Making browned butter requires some finesse, but by following the safety precautions and hygiene tips outlined above, you can ensure a safe and enjoyable cooking process. Proper handling and attentiveness will help prevent accidents and result in a delicious, versatile ingredient that can elevate your dishes to new heights.
Photo by anniespratt on Unsplash
Recipes Using Browned Butter
Browned Butter, also known as Beurre Noisette, is a versatile ingredient that can add a rich and nutty flavor to various dishes.
It is essentially butter that has been cooked until the solids inside start to brown, creating a deep and delicious taste. This ingredient can enhance both savory dishes and sweet desserts. Here are some popular recipes using browned butter:
1. Browned Butter Roasted Vegetables
- 1 lb mixed vegetables (carrots, Brussels sprouts, sweet potatoes, etc.)
- 4 tbsp browned butter
- Salt and pepper, to taste
Instructions:
- Preheat your oven to 400°F (200°C).
- Cut the vegetables into even bite-sized pieces.
- Drizzle with browned butter and toss to coat.
- Season with salt and pepper.
- Roast on a baking sheet for 20-25 minutes, turning occasionally until vegetables are tender and browned.
2. Browned Butter Mashed Potatoes
- 2 lbs potatoes, peeled and cubed
- 1/2 cup browned butter
- 1/2 cup milk or cream
- Salt and pepper, to taste
Instructions:
- Boil the potatoes in salted water until fork tender.
- Drain the potatoes and return them to the pot.
- Add browned butter and milk/cream.
- Mash the potatoes until smooth or desired consistency.
- Season with salt and pepper.
3. Browned Butter Sage Pasta
- 8 oz pasta of choice
- 4 tbsp browned butter
- 2 tbsp sage leaves, finely chopped
- 1/4 cup grated Parmesan cheese
- Salt and pepper, to taste
Instructions:
- Cook pasta according to package instructions.
- Drain the pasta, reserving 1/4 cup of the cooking water.
- In a large skillet, heat the browned butter.
- Add the chopped sage and cook for 1-2 minutes.
- Add the cooked pasta and reserved cooking water to the skillet and toss to coat.
- Remove from heat and stir in the Parmesan cheese.
- Season with salt and pepper.
4. Browned Butter Chocolate Chip Cookies
- 1 cup browned butter, cooled
- 1 cup granulated sugar
- 1 cup packed brown sugar
- 2 large eggs
- 1 tbsp vanilla extract
- 2 1/2 cups all-purpose flour
- 1/2 tsp baking soda
- 1/2 tsp baking powder
- 1/2 tsp salt
- 2 cups chocolate chips
Instructions:
- Preheat your oven to 350°F (180°C).
- In a large bowl, cream together the browned butter, granulated sugar, and brown sugar.
- Add the eggs one at a time, mixing well after each addition.
- Stir in the vanilla extract.
- In a separate bowl, whisk together the flour, baking soda, baking powder, and salt.
- Gradually add the dry ingredients to the wet ingredients, mixing until combined.
- Fold in the chocolate chips.
- Drop spoonfuls of dough onto lined baking sheets.
- Bake for 10-12 minutes or until the edges of the cookies are lightly golden.
5. Browned Butter Glazed Carrots
- 1 lb carrots, peeled and sliced
- 3 tbsp browned butter
- 2 tbsp brown sugar
- Salt and pepper, to taste
- Chopped parsley, for garnish
Instructions:
- Steam the carrots until they are tender but still retain some crunch.
- In a skillet, combine the browned butter and brown sugar over low heat.
- Add the cooked carrots to the skillet and toss to coat.
- Season with salt and pepper.
- Cook for 3-4 minutes until the glaze thickens and the carrots are coated.
- Garnish with chopped parsley before serving.
By incorporating browned butter into your cooking, you can elevate the flavors in your dishes and create satisfying, flavorful recipes that are sure to impress your family and friends.
Storage & Preservation
Title: Storage & Preservation of Browned Butter
Browned butter is a deliciously nutty, toasted-flavor ingredient used in many recipes, such as baked goods, sauces, or even as a finishing drizzle on cooked vegetables. To make the most out of your browned butter, it’s important to know the best methods for storing and preserving it. Here are some easy-to-follow steps to store and preserve the flavor, quality, and shelf life of your browned butter.
Materials needed:
- Browned butter
- Airtight container or jar with lid
- Plastic wrap or aluminum foil (optional)
- Refrigerator
- Freezer
Instructions:
- Prepare the browned butter: Follow your favorite recipe to make a batch of browned butter. Ensure that it is cooked to the desired consistency and color, with the milk solids turning a rich golden-brown.
- Allow to cool: Once the browned butter is prepared, allow it to cool to room temperature. This will help prevent condensation from forming inside your container, which can lead to spoilage.
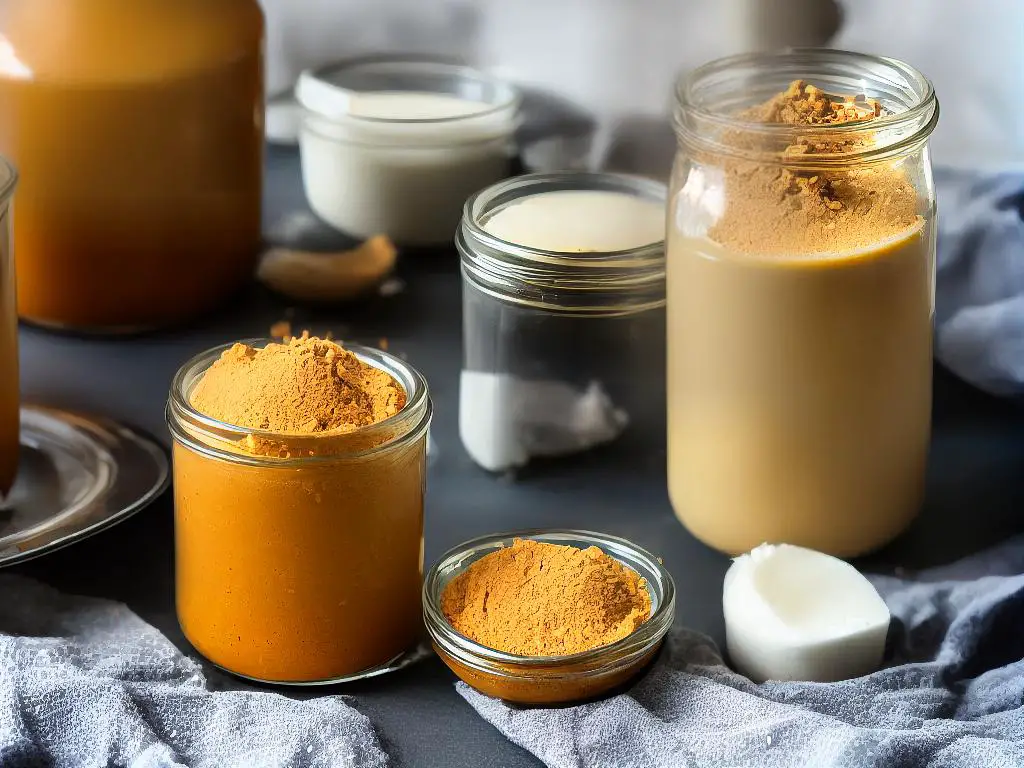
- Choose an appropriate container: Select an airtight container or jar with a lid that is large enough to hold the browned butter. Glass jars with tight-sealing lids are ideal, as they will prevent the butter from absorbing any odors from other foods in your fridge or freezer.
- Transfer the browned butter: Carefully pour or spoon the cooled browned butter into your chosen container. Ensure that there is minimal air space at the top by filling the container as much as possible.
- Seal the container: Place the lid on the container and ensure that it is sealed tightly. If you are using a jar, be sure to screw on the lid firmly. For additional protection, you can cover the top of the container with a piece of plastic wrap or aluminum foil before placing the lid.
- Label and date the container: Use a permanent marker or adhesive label to note the date you prepared the browned butter, as well as any additional information such as the recipe used. This will help you keep track of the butter’s age and freshness.
- Refrigerate or freeze the browned butter: For short-term storage (up to 1 month), store the sealed container of browned butter in the refrigerator. For long-term storage (up to 6 months), place the container in the freezer. Be sure to allow some space around the container for proper air circulation and to prevent any risk of breaking due to expansion when freezing.
- Thaw the frozen browned butter: When you are ready to use your preserved browned butter, remove it from the freezer and place it in your refrigerator to thaw. This may take a few hours or overnight, depending on the amount of butter you have. Once thawed, it should be used within a week.
- Enjoy your preserved browned butter: Use your stored browned butter in your preferred recipes or as a finishing touch to your favorite dishes. Be sure to always check for any signs of spoilage or off-odors before using.
Conclusion:
By following these simple steps, you can extend the shelf life of your browned butter and enjoy its rich and nutty flavors in your cooking. Proper storage and preservation techniques will ensure that your browned butter maintains its quality and taste, making it a versatile and delicious addition to your culinary repertoire.
As you embark on your journey with browned butter, remember to keep kitchen safety and proper food handling techniques in mind. By following the tips and tricks presented here, you’ll be able to create a myriad of delicious recipes using browned butter, and store it safely to ensure its quality and flavor are preserved for future culinary adventures. Happy browning!
