Essential Cookie Baking Tips for Delicious Results
There’s nothing quite like the smell of freshly baked cookies wafting through your home. Whether you’re a novice baker or an experienced cookie connoisseur, this comprehensive guide will provide you with tips and insights to elevate your cookie baking skills. From selecting the right ingredients and understanding different types of cookies to mastering basic techniques and experimenting with new recipes, you’ll be well on your way to creating delectable treats that are sure to impress.
Selecting the Right Ingredients
Baking delicious cookies is an art that requires patience, practice, and the right ingredients. Using high-quality, fresh ingredients can make a significant difference in the taste, texture, and appearance of your cookies. In this guide, we will discuss the importance of using the best ingredients and tips on selecting them for a perfect batch of cookies.Flour: The foundation of your cookies- Opt for unbleached, all-purpose flour, which has a balanced protein content that provides the right structure for most cookies.- Always check the expiration date to ensure freshness.- Store flour in a cool, dry place, away from direct sunlight and heat, to maintain its quality.Sugar: The sweetener that impacts the texture- Granulated white sugar is the most common choice for cookies. However, using brown sugar, which contains molasses, can add flavor and create a chewier texture.- Always choose pure cane sugar for the best results.- Check for the sugar’s freshness by ensuring it’s free of clumps and hard lumps.Butter: The key to rich, buttery flavor- Go for unsalted, high-quality butter from a trusted brand. The butter’s quality greatly impacts the flavor and texture of your cookies.- Choose butter with a fat content of at least 80% for the best results.- Always use fresh butter by checking expiration dates, as old butter can have an undesirable taste and odor.Eggs: The binding agent that provides structure- Always use fresh, refrigerated large eggs for cookie baking.- Choose organic or free-range eggs whenever possible, which often have better flavor and quality.- Check the freshness by placing the egg in a bowl of water. If it sinks, it’s fresh; if it floats, it’s not.Baking soda & baking powder: The leavening agents- Use fresh baking soda and baking powder, as expired or stale leavening agents can affect the cookies’ rise and texture.- Store them in cool, dry places with tightly sealed lids to keep moisture out.- Always use aluminum-free baking powder to avoid a metallic taste in your cookies.Chocolate: The star ingredient in many cookie recipes- Look for high-quality chocolate with a cocoa content of at least 60% for a rich and intense flavor.- Choose chocolate from reputable brands for consistent quality.- Store chocolate in a cool, dry place away from strong odors, as it can absorb smells, affecting its taste.Vanilla extract: The flavor enhancer- Use pure vanilla extract instead of imitation, as it provides a richer, more complex flavor.- Store vanilla extract in a dark, cool place to maintain its quality and prevent evaporation.Nuts, dried fruits, and other mix-ins- Always use fresh nuts, as stale nuts can impart an unpleasant taste to your cookies. Store nuts in an airtight container in the refrigerator for maximum freshness.- Choose dried fruits that are plump and moist, indicating their freshness.- Do not hesitate to try a variety of mix-ins like chocolate chips, toffee pieces, or coconut flakes to enhance your cookies’ taste and texture.By selecting high-quality, fresh ingredients, you are setting yourself up for success in baking delicious cookies that both look and taste irresistible. Be mindful of the tips provided above, and enjoy the exceptional results in your cookie creations. Happy baking!
Understanding Different Types of Cookies
There are numerous types of cookies, each with their own unique characteristics and techniques. In this guide, we will explore some of the most popular cookie types, including:
1. Drop Cookies:
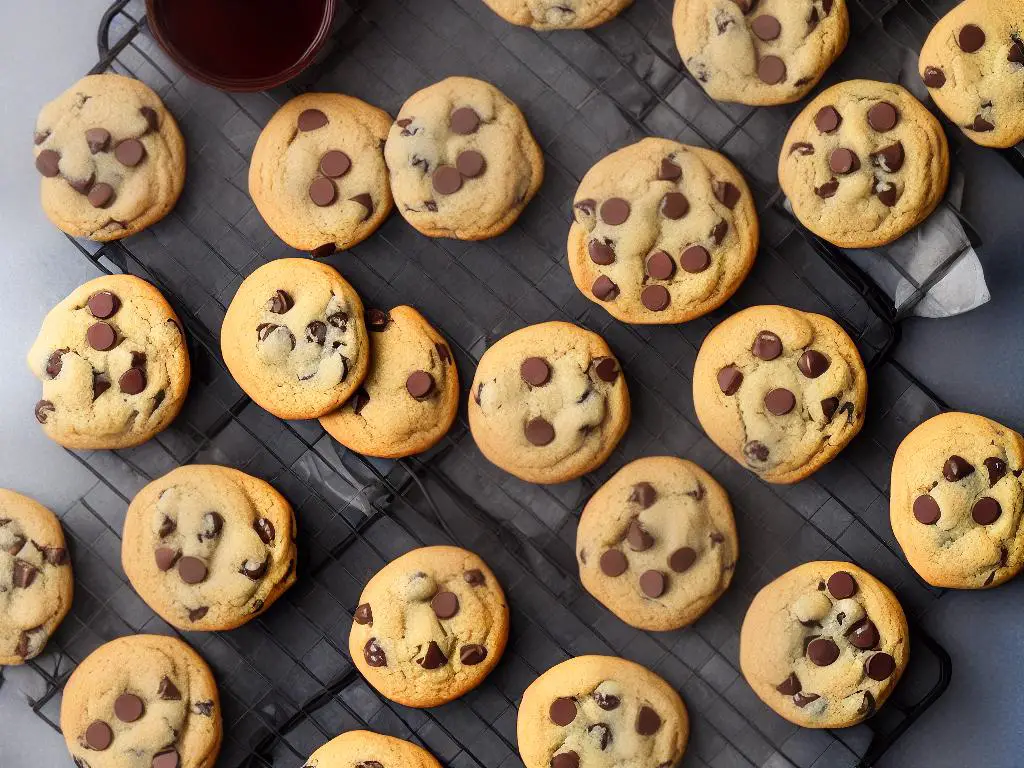
Drop cookies are probably the most common type of cookies. They are made by dropping spoonfuls of dough onto a baking sheet and baking them in the oven. Some popular examples include chocolate chip cookies, oatmeal cookies, and snickerdoodles.
Baking tips for drop cookies:
- Use a cookie scoop or tablespoons to keep the size of each cookie consistent.
- Give ample space between each dough drop on the baking sheet to prevent them from spreading into each other.
- Slightly under-bake drop cookies to ensure they stay moist and chewy.
2. Rolled Cookies:
Rolled cookies are made by rolling out a dense, chilled dough onto a flat surface and cutting out shapes using cookie cutters. Examples of rolled cookies include sugar cookies and gingerbread cookies.
Baking tips for rolled cookies:
- Chill the dough before rolling to make it easier to handle.
- Always use a well-floured surface and rolling pin to prevent sticking.
- Remove excess dough from around the cookie shapes before transferring them to a baking sheet.
3. Slice-and-Bake Cookies:
Slice-and-bake cookies are made by shaping the dough into cylindrical logs, chilling them, and then slicing the log into thin rounds before baking. Popular examples include shortbread cookies and pinwheel cookies.
Baking tips for slice-and-bake cookies:
- Make sure the dough log is uniformly shaped and chilled to maintain consistent cookie sizes.
- Use a sharp knife to make clean, even slices.
- Rotate the log slightly after each cut to prevent it from becoming flattened on one side.
4. Refrigerator Cookies:
Refrigerator cookies are a subcategory of slice-and-bake cookies. Their dough is usually stored in the refrigerator for an extended period of time, making it possible to slice and bake fresh cookies on-demand. Examples include chocolate chip cookie dough logs and slice-and-bake sugar cookies.
5. Bar Cookies:
Bar cookies are made by spreading dough or batter into a rectangular pan and baking it, then cutting the baked result into smaller rectangular or square pieces. Common examples include brownies, blondies, and lemon bars.
Baking tips for bar cookies:
- Line your pan with parchment paper or foil to make it easy to lift out the baked cookie and avoid sticking.
- Use a straight-edged knife or spatula to cut the bars evenly.
6. Molded Cookies:
Molded cookies are made by shaping dough into individual molds or by using cookie stamps to create patterns or designs on the surface of the cookie. Some popular molded cookies include spritz cookies and thumbprint cookies.
Baking tips for molded cookies:
- Chilled dough will hold its shape better during the molding process.
- Apply light pressure when using cookie molds to avoid sticking.
7. No-Bake Cookies:
No-bake cookies skip the baking process and typically rely on ingredients that will firm up after being combined and chilled. Examples include chocolate oatmeal no-bake cookies and peanut butter no-bake cookies.
Baking tips for no-bake cookies:
- Follow the recipe instructions for cooking any ingredients that need to be heated.
- Line a baking sheet or plate with parchment paper to prevent sticking.
- Chill the cookies in the refrigerator until they are firm enough to handle.
Mastering Basic Cookie Baking Techniques
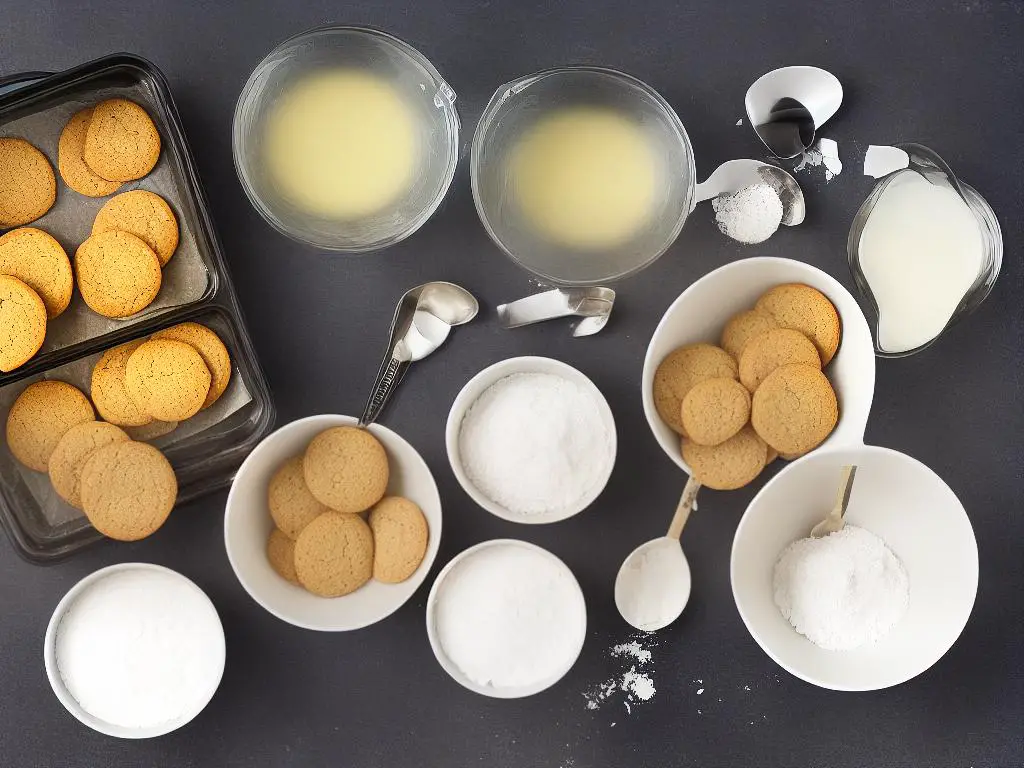
Gather your ingredients and tools: Before you start baking your cookies, make sure you have all your ingredients and necessary tools at hand. This includes measuring spoons and cups, mixing bowls, a baking sheet with parchment paper, and an oven preheated to the required temperature.Creaming the butter and sugar: One of the most important techniques in cookie baking is creaming the butter and sugar together. To do this, start with room temperature butter and place it in a large mixing bowl. Using an electric mixer or a wooden spoon, start to blend the butter until it’s smooth and creamy. Gradually add sugar to the butter, continuing to mix until the mixture is light and fluffy. This process helps to incorporate air into the cookie dough, creating a tender and soft texture.Adding eggs and vanilla: Once the butter and sugar mixture is light and fluffy, it’s time to add your eggs and vanilla extract. Break the eggs one at a time into a separate bowl, then add them to the butter-sugar mixture, mixing well after each addition. Stir in the vanilla extract until combined.Sifting the dry ingredients: In a separate bowl, sift together the dry ingredients, which typically include flour, baking powder, baking soda, and salt. Sifting helps to remove any lumps and evenly distributes the leavening agents for a more uniform texture in your cookies.Combining wet and dry ingredients: Gradually add the sifted dry ingredients into the butter-sugar mixture, mixing just enough to combine them. Be careful not to overmix, as this can lead to tough and dense cookies. Folding in mix-ins: If your recipe calls for mix-ins, such as chocolate chips, nuts, or dried fruits, fold them in gently using a spatula or wooden spoon. This will ensure an even distribution of the mix-ins throughout the dough without deflating the air you have incorporated earlier.Chilling the dough (if necessary): Some cookie recipes, like sugar cookies or shortbread, require chilling the dough before baking. This helps the cookies maintain their shape and prevents them from spreading too much while baking. Wrap the dough in plastic wrap and refrigerate it for at least 30 minutes or up to 24 hours.Scooping and shaping the dough: Use a cookie scoop or spoon to portion out even amounts of dough onto the prepared baking sheet. You can also use your hands to shape the dough into balls or other desired shapes, depending on the recipe.Baking the cookies: Place the baking sheet in the preheated oven and bake the cookies for the suggested time in the recipe. Keep an eye on them to prevent overbaking. Cookies are usually done when the edges are slightly golden and the center looks set.Cooling and storing: Remove the cookies from the oven and let them cool on the baking sheet for a few minutes before transferring them to a wire rack to cool completely. Once cooled, store the cookies in an airtight container to keep them fresh.
Perfecting Cookie Dough Consistency
If you’re passionate about baking cookies, you know that achieving the perfect dough consistency is key to a successful batch. Whether you’re a beginner or an experienced baker, understanding the ideal dough consistency for different types of cookies and how to fix common dough issues is crucial. In this guide, we will provide tips and tricks to help you perfect your cookie dough consistency and ensure your cookies turn out delicious and delightful!Before starting, it’s essential to understand the specific dough consistency required for your chosen cookie type. Generally, cookie dough can be categorized into four main types:- Soft: These cookies, such as sugar cookies and snickerdoodles, need a relatively soft and smooth dough to maintain their shape during baking.- Chewy: Oatmeal raisin cookies and some chocolate chip cookies fall into this category. The dough should be sticky and dense to ensure a nice, chewy texture.- Crispy: Thin and crispy cookies like gingersnaps require a dough that’s firmer and slightly crumbly.- Puffy: Made from a lighter, airy dough that will puff up during baking, these cookies may include whoopie pies or certain chocolate chip cookie variations.- Use butter at room temperature: For most cookies, using butter that’s too soft or melted can lead to a flat, greasy dough. Let the butter sit at room temperature for about 1 hour before using it, so it’s soft enough to mix with sugar but not too soft to lose shape.- Measure your flour properly: Scooping flour directly from the bag with your measuring cup can lead to using too much flour, resulting in a dry, crumbly dough. Instead, gently spoon the flour into your measuring cup and level it off using a knife.- Check the recipe: Some cookies may call for specific ingredients and ratios to achieve the desired consistency. Be sure to use the correct type of flour, sugar, and liquid (such as milk or water) as per the recipe to avoid consistency issues.- Cream butter and sugar: Properly creaming these ingredients together creates tiny air pockets that contribute to the cookie’s texture. Use an electric mixer to cream the butter and sugar together until light and fluffy, around 3-5 minutes.- Don’t overmix: Overmixing your dough will build up gluten, which can make the cookies tough and chewy. Mix your ingredients only until combined, and stop as soon as the dough comes together.- Dry, crumbly dough: If your dough is too dry, it may not come together or may result in overly crisp cookies. To fix this issue, add a small amount of liquid (such as milk or water) a teaspoon at a time, mixing gently until the dough reaches the desired consistency.- Sticky, gooey dough: Sticky and gooey dough can be challenging to work with, and may result in overly soft cookies. To address this, add a tablespoon of flour at a time, mixing until the dough can be easily shaped by hand. Be cautious not to add too much flour, or you may risk making the cookies too dry.- Dough too soft: If your dough is too soft, chill it in the refrigerator for about 30 minutes to 1 hour. The cold temperature will help it firm up, making it easier to shape and maintain form during baking.Before baking your entire batch of cookies, bake a test cookie to check if the dough consistency is right. This will give you the opportunity to make any necessary adjustments to the dough before committing to the whole batch.Achieving the perfect cookie dough consistency is vital for delicious cookies and a satisfying baking experience. By understanding the desired dough consistency for your cookie type, using the right ingredients and mixing techniques, and knowing how to fix common dough issues, you’ll be on your way to creating scrumptious cookies that everyone will love!
Utilizing Proper Baking Tools
Step 1: Gather essential bakeware
To bake cookies successfully, you need the right bakeware to ensure even baking and prevent sticking. Here are some essential cookie baking tools:
1. Baking sheets: Flat, rimless baking sheets allow for even heat distribution and provide enough space for cookies to spread properly. Choose heavy-duty aluminum or stainless steel sheets for the best results.
2. Silicone baking mats or parchment paper: These prevent cookies from sticking to the baking sheet and provide easy cleanup. Silicone mats are reusable, while parchment paper is disposable.
3. Cooling racks: Wire cooling racks allow air to circulate around your baked cookies, helping them cool evenly and quickly.
Step 2: Assemble your mixing tools
The following tools will help you mix your cookie dough efficiently:
1. Mixing bowls: Make sure you have at least one large and one medium-sized mixing bowl. Opt for bowls made of stainless steel, glass, or ceramic that are deep enough to prevent ingredients from spilling.
2. Handheld or stand mixer: A mixer makes it easy to combine ingredients and obtain the right dough consistency. A handheld mixer is more portable and affordable, while a stand mixer is suitable for heavy duty and frequent use.
3. Silicone spatulas and wooden spoons: Use these tools to fold in your ingredients, scrape the sides of the bowls, and mix your dough manually.
4. Whisk: A whisk is necessary for whipping liquids such as egg whites and cream, as well as blending ingredients like cocoa powder.
Step 3: Collect accurate measuring equipment
Proper measurements are crucial for achieving the desired taste and texture of cookies. Gather the following measuring tools:
1. Measuring cups: Separate sets of measuring cups for dry and wet ingredients are important. Dry measuring cups come in varying sizes with flat rims while wet measuring cups have a spout for pouring. Plastic or stainless steel cups are preferred.
2. Measuring spoons: Use measuring spoons for smaller quantities of ingredients, like baking powder, spices, and extracts. Stainless steel spoons are durable and accurate.
3. Kitchen scale: For precision and consistency, a digital kitchen scale can be used to measure your ingredients by weight instead of volume. This is especially important for ingredients like flour and sugar.
4. Oven thermometer: An oven thermometer ensures that your oven is heating to the correct temperature, as oven temperatures may vary or be inaccurate. Accurate oven temperature is crucial for evenly baked cookies.
Step 4: Preheat your oven and get baking!
Now that you’ve gathered all your essential baking tools, it’s time to start baking your cookies! Always follow the recipe’s instructions and ensure that your oven is preheated to the correct temperature. Be ready to adjust baking times based on your specific oven’s temperature and performance. Good luck, and enjoy your freshly baked cookies!

Oven Temperature and Baking Time
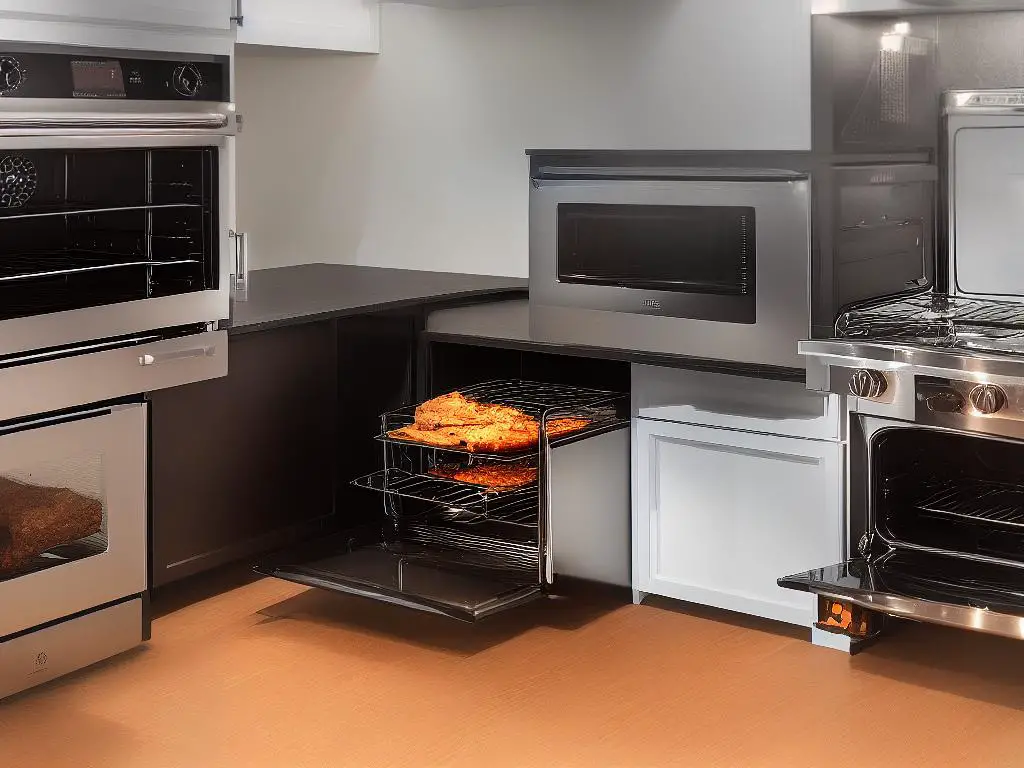
To ensure even baking, preheat your oven to the desired temperature before placing your cookies inside.It’s essential to use an oven thermometer to verify that your oven is heating to the correct temperature.Timing is crucial when baking cookies.Use a light-colored, heavy-gauge aluminum cookie sheet for even baking.To promote even baking, it’s essential to rotate your cookie sheet about halfway through the baking time.To determine whether your cookies are done baking, gently touch the tops or edges with a fingertip and observe the color.After removing the cookies from the oven, allow them to cool on the cookie sheet for 1-2 minutes before transferring them to a wire rack to cool completely.
Decorating and Presenting Cookies
Adding beautiful decorations and presenting your cookies with style can turn a simple treat into something truly special. Whether you’re preparing cookies for a special occasion or just looking to make everyday moments a little more memorable, the following tips will help you create stunning, mouthwatering sweets.1. Choose the right type of cookie: For best results, choose a type of cookie that works well with decoration. Sugar cookies, gingerbread cookies, and shortbread cookies are excellent choices for their smooth surfaces and firm texture, perfect for holding on to icing and other decorations.2. Prepare your decorating supplies: You’ll need a variety of tools and supplies to create beautiful cookie presentations, such as:
– Icing: Purchase ready-made icing or make your own using powdered sugar, milk, and food coloring. You may want to prepare several different colors to make your designs more eye-catching.
– Piping bags and tips: These make applying intricate designs much easier. Choose from a variety of tip shapes and sizes for different effects.
– Edible decorations: Sprinkles, edible glitter, sugar pearls, and candy shapes can all lend unique touches to your cookies.
– Food coloring pens: These can be used to draw detailed designs directly onto the surface of the cookie.3. Plan your designs: Take some time to plan your cookie designs before you start decorating. Consider the theme of your event or the personal preferences of the person you’re baking for to create thoughtful cookies that are sure to impress.4. Start simple: If you’re new to cookie decorating, start with simple designs and build your skills over time. Begin by piping a basic outline on the cookie, and then fill it in with icing. Once you gain confidence, you can try more complicated designs, such as patterns, writing, or intricate shapes.5. Use toothpicks for precision: For very fine details, try using a toothpick to carefully apply icing or other edible decorations.6. Let your icing dry: After decorating your cookies, allow the icing to dry completely – for at least an hour, but preferably overnight – before stacking or packaging them. This will help prevent smudging and ensure your designs stay intact.7. Store your cookies properly: To keep your cookies fresh and delicious, store them in an airtight container with parchment paper between the layers to prevent the decorations from sticking together.8. Present your cookies creatively: The way you present your cookies can greatly enhance their appeal. Consider some of the following ideas for a stunning presentation:
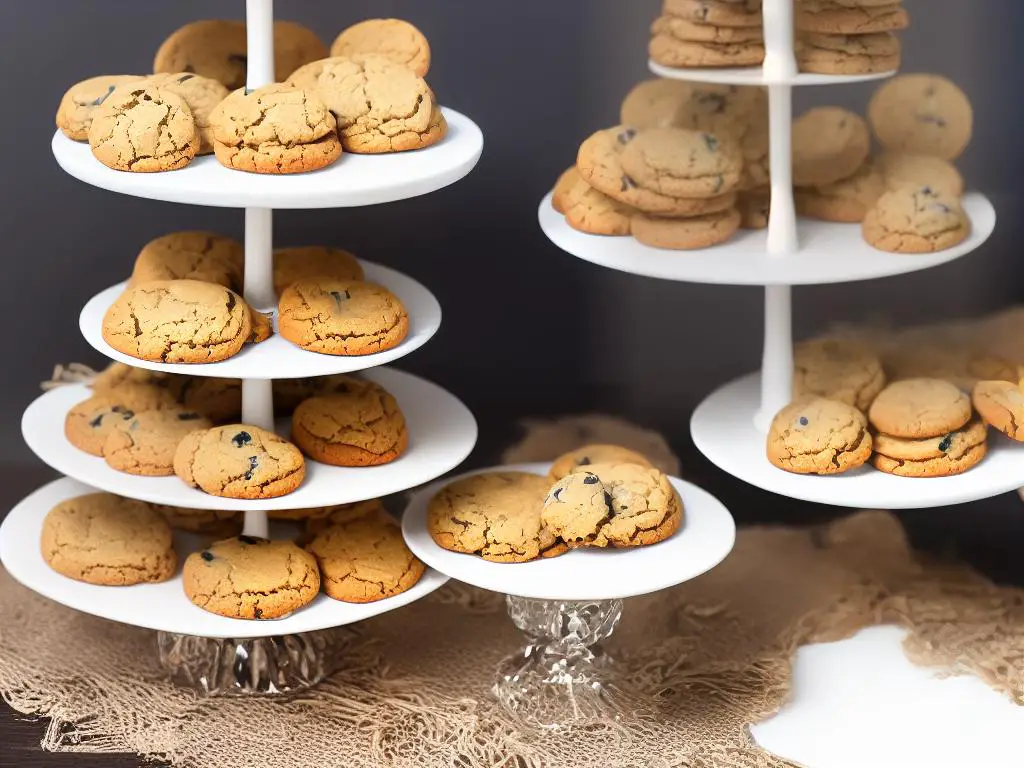
– Arrange your cookies on a tiered cake stand or platter for an elegant display. You can also use doilies, ribbons, and other decorations to dress up your presentation.
– Package your cookies in clear cellophane bags, tied with festive ribbon or twine. This is a great way to give cookies as gifts or party favors.
– Create a cookie bouquet by attaching cookies to lollipop sticks and arranging them in a decorated vase or container. This is a fun and unique alternative to a traditional bouquet of flowers.Remember, practice makes perfect! The more you experiment and decorate cookies, the better you’ll become at creating beautiful, unique designs. So grab your supplies, unleash your creativity, and start making some unforgettable cookies!
Storing and Freezing Cookies
Introduction
Baking cookies is a delightful experience for many, but storing and freezing them properly is crucial to maintain their flavor and texture. In this guide, we will discuss the best methods to store and freeze cookies, ensuring that they remain delicious and fresh-tasting for as long as possible. Follow these tips to keep your cookies tasting great for days or even weeks after baking.
Step 1: Allow cookies to cool completely
Before storing cookies, it’s essential to let them cool completely on a wire rack after taking them out of the oven. This step helps prevent condensation from forming in the storage container, which can lead to soggy or stale cookies.
Step 2: Choose the right container
Select an airtight storage container to keep your cookies fresh. Plastic containers, glass containers with airtight lids, or resealable plastic bags work well. Make sure the container is big enough to accommodate the cookies without squishing or breaking them.
Step 3: Layer cookies with wax paper
Place a sheet of wax paper or parchment paper at the bottom of the container. This layer will prevent cookies from sticking to the container and absorb any excess moisture. If you have multiple layers of cookies, place a sheet of wax paper between each layer to prevent them from sticking together or transferring flavors.
Step 4: Store cookies according to their type
Different types of cookies require different storage conditions. Here are some general guidelines:
- Soft cookies: Store in an airtight container to maintain their moisture.
- Crispy cookies: Place in a container with a loose-fitting lid or a cookie jar to allow a small amount of air circulation, helping keep their crispiness.
- Frosted cookies: Store in a single layer in an airtight container, ideally with wax paper dividing them if stacking is necessary. This helps prevent frosting from sticking or smudging.
Step 5: Keep cookies at room temperature
Store cookies at room temperature (around 68-72°F) in a cool, dry place, away from sunlight or heat. If stored properly, most cookies can last for 3-7 days, depending on their ingredients and freshness.
Freezing Cookies:
Step 1: Cool cookies completely
As mentioned earlier, let your cookies cool completely on a wire rack before freezing them. This helps prevent condensation and ice crystals from forming, which can affect the cookies’ texture.
Step 2: Wrap cookies individually
Wrap each cookie individually in plastic wrap or aluminum foil. This method helps protect the cookies from freezer burn and keeps them from sticking together. You can also flash-freeze cookies by placing them in a single layer on a tray and putting it in the freezer for 1-2 hours until they’re solid.
Step 3: Place wrapped cookies in a freezer-safe container
Use a plastic freezer-safe container or resealable freezer bag to store wrapped cookies. Ensure your container has a tight seal to prevent air from entering, which can cause freezer burn.
Step 4: Label and date the container
Use a marker or a label to write the cookie variety and date on the container. This helps keep track of the cookies and ensures you eat them before their quality diminishes. Most cookies can be frozen for up to three months.
Step 5: Thawing frozen cookies
To enjoy your frozen cookies, remove the desired amount from the freezer and let them thaw at room temperature. This process should take about 10-15 minutes for small cookies and 30 minutes for larger ones. For a crispy texture, you can also reheat them in an oven at 300°F for 5-10 minutes.
Conclusion:
Follow these storing and freezing tips to keep your cookies tasting delicious and fresh for an extended period. Proper storage and freezing techniques will help maintain the cookies’ flavor and texture, ensuring that you and your loved ones can enjoy them whenever a cookie craving strikes.
Exploring Cookie Recipes
Baking cookies is a fun and rewarding activity that not only produces delicious treats but also provides an opportunity to learn new skills and techniques.Start by exploring different cookie recipes from cookbooks, food blogs, and websites.As you explore various recipes, pay attention to different techniques and methods used in cookie baking.Depending on the recipe, cookies can have a soft and chewy, crisp and crunchy, or light and delicate texture.One of the best ways to explore cookie recipes is by experimenting with a variety of flavors and ingredients.Finally, have fun with the presentation of your cookies. You can shape your cookies using cookie cutters, create patterns on the surface, or drizzle with melted chocolate or frosting.Exploring and experimenting with cookie recipes can be a fun and rewarding way to expand your baking skills and discover new favorites.
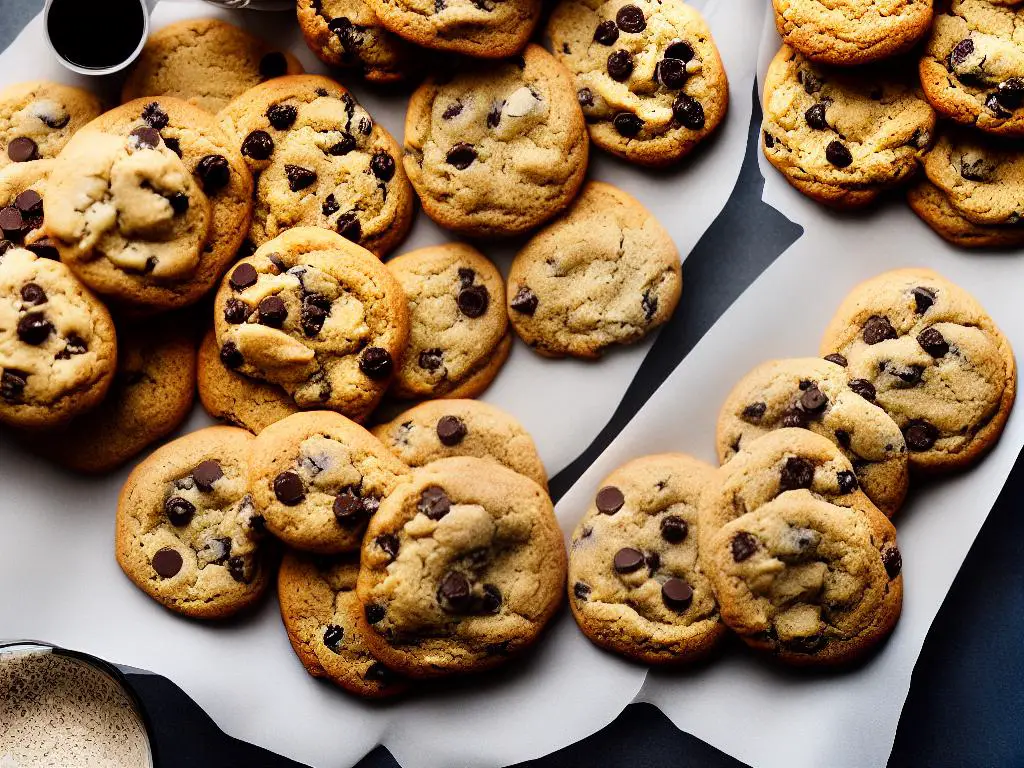
Armed with these cookie baking tips, you’re now ready to embark on your journey to create delicious, mouthwatering cookies that will delight your friends and family. Remember, practice makes perfect, so don’t be afraid to experiment with new recipes and techniques to find your signature cookie style. Happy baking!
