Mastering Flour Varieties: A Comprehensive Guide
Flour is a versatile and essential ingredient in many recipes, from creating the perfect loaf of bread to crafting delicate pastries. With countless types of flour available, each with its own properties and purposes, it can be overwhelming to navigate this vital ingredient. This guide will introduce you to different types of flour, including wheat varieties, ancient grain flours, and gluten-free alternatives, as well as tips for blending, storing, and using them in baking and cooking.
Introduction to Different Types of Flour
Introduction to Different Types of Flour:
Learn about the various types of flour, their properties, and purposes in baking and cooking.
All-Purpose Flour
- Properties: Refined wheat flour with medium protein content ranging from 10 to 12%. It is made from a combination of hard and soft wheat.
- Purpose: suitable for most recipes, including cookies, cakes, bread, and pie crusts. It is a versatile and readily available option in American kitchens.
Bread Flour
- Properties: With a protein content of 12 to 14%, bread flour is made from hard wheat, which gives it a high gluten content.
- Purpose: Ideal for yeast bread, bagels, and pizza dough, this flour will produce a chewier texture and better structure due to its high gluten content.
Cake Flour
- Properties: Containing only 7 to 9% protein, cake flour is finely milled from soft wheat, which results in a delicate crumb and a tender texture.
- Purpose: Perfect for cakes, especially light, tender, and fluffy ones like angel food cake, chiffon cake, and many traditional sponge cakes.
Pastry Flour
- Properties: With a protein content of 9 to 10%, pastry flour is made from soft wheat, making it a happy medium between cake flour and all-purpose flour.
- Purpose: Ideal for making pastries, pie crusts, biscuits, and cookies, pastry flour results in a tender yet flaky texture.
Whole Wheat Flour
- Properties: Unlike refined flours, whole wheat flour includes the whole grain of wheat, giving it a coarser texture, darker color, and higher protein content (13-14%).
- Purpose: Suitable for bread, muffins, and other baked goods, offering a nuttier and earthier taste, along with added nutritional benefits.
Self-Rising Flour
- Properties: A low protein (8-9%) soft wheat flour that has baking powder and salt already mixed in.
- Purpose: Perfect for pancakes, muffins, biscuits, and some cakes, self-rising flour creates a tender crumb and requires fewer additional ingredients.
Gluten-Free Flour
- Properties: Made from ingredients like rice, tapioca, almond, or coconut, gluten-free flours have varying protein levels and characteristics.
- Purpose: For individuals with gluten intolerances or dietary preferences, gluten-free flours can be used in place of traditional wheat flours for a wide variety of recipes, although the texture and taste may differ.
In conclusion, choosing the right type of flour is crucial in achieving the desired taste, texture, and structure in your baking and cooking. Experiment with these different types of flour and how they affect your recipes, and you’ll be on your way to becoming a more skilled and versatile home chef.
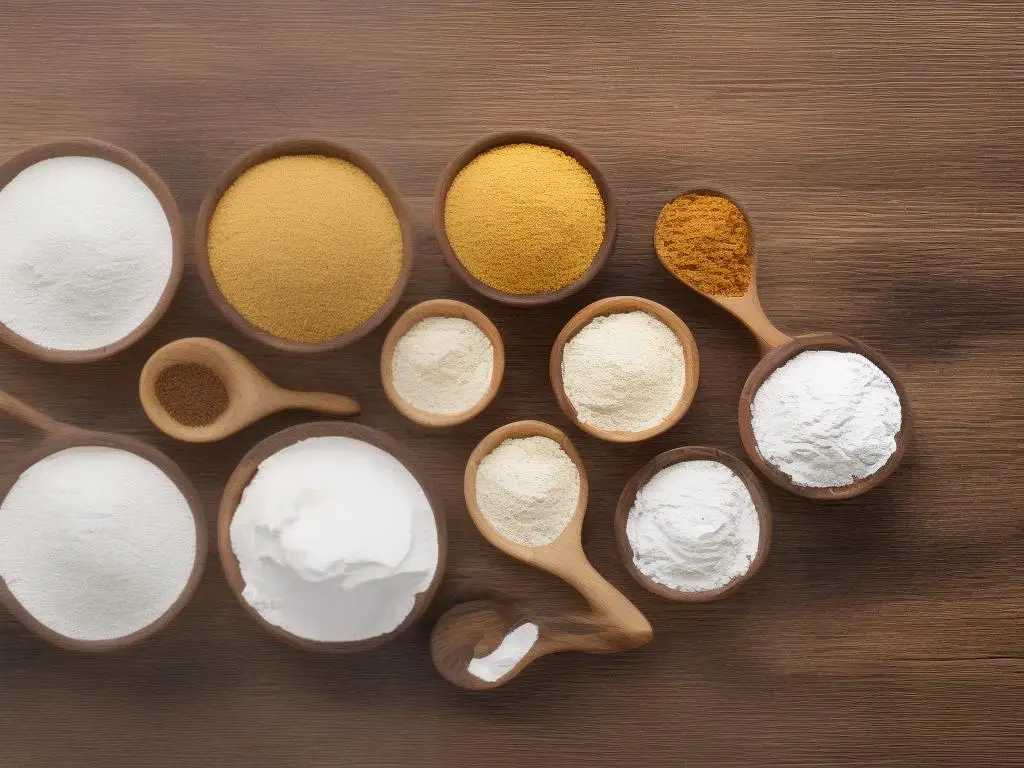
Wheat Flour: All-Purpose, Bread, and Pastry
Title: Understanding the Differences Between Wheat Flours: All-Purpose, Bread, and Pastry
Wheat flour is an essential ingredient used in various types of baking. However, not all types of wheat flour are alike. There are three main varieties that you may come across: all-purpose flour, bread flour, and pastry flour. Each of these flours has unique protein content, affecting the texture and consistency of the final product. Continue reading to understand the differences between these three types of wheat flours and their respective uses in baking.
1. All-Purpose Flour:
- Protein Content: about 10-12%
- Use: most common type of flour and is versatile; can be used in a wide range of baking recipes such as cookies, muffins, pancakes, waffles, and some bread recipes.
- Texture: produces a moderate amount of gluten, resulting in a tender crumb.
- Tips: All-purpose flour is the go-to choice for most recipes when no specific flour is mentioned. It is a blend of both high (hard wheat) and low (soft wheat) protein flours, helping create a balance of texture and structure.
2. Bread Flour:
- Protein Content: about 12-14%
- Use: best suited for yeast-based bread recipes such as white bread, dinner rolls, pizza crusts, and some rustic artisanal bread.
- Texture: has a higher protein content, resulting in more gluten formation, which provides a strong, elastic dough. This leads to a chewy and airy texture in the baked goods.
- Tips: Bread flour absorbs more liquid compared to all-purpose flour, so you may need to adjust your recipe accordingly. The high protein content and strength make it an excellent choice for bread recipes that need structure and support.
3. Pastry Flour:
- Protein Content: about 8-10%
- Use: ideal for delicate baked goods such as pie crusts, tart shells, light cakes, and pastries.
- Texture: has a lower protein content, producing less gluten, which results in tender, soft, and delicate baked goods.
- Tips: Pastry flour is made primarily from soft wheat, making it a lighter and finer-textured flour. When using pastry flour, be careful not to overmix the batter or dough, as doing so will make your baked goods tough due to gluten development.
In conclusion:
Understanding the differences between all-purpose, bread, and pastry flours will help elevate your baking skills, producing the right texture in your baked goods. Always be sure to use the appropriate flour for your recipe, and don’t hesitate to experiment and find your favorite combinations. Happy baking!
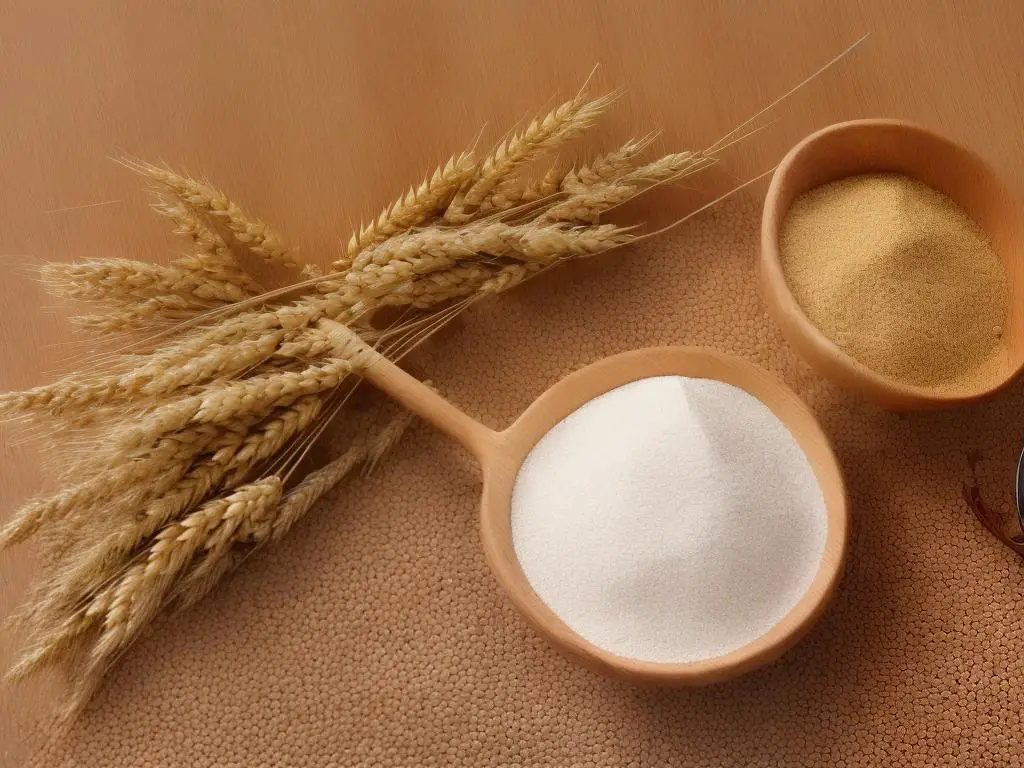
Whole Wheat and Gluten-Free Flours
Title: Exploring Whole Wheat and Gluten-Free Flours: Nutritional Benefits and Usage
Different types of flours offer unique nutritional benefits as well as a variety of textures and flavors for your baked goods. In this guide, we will explore whole wheat flour and gluten-free alternatives, such as almond, coconut, and rice flours, and learn how to use them effectively in your cooking.
I. Whole Wheat Flour
- Nutritional Benefits:
- Whole wheat flour is made from grinding the entire wheat kernel, including the bran, endosperm, and germ, which provides more nutrients compared to all-purpose flour.
- It is an excellent source of fiber, protein, vitamins, and minerals such as iron, calcium, and magnesium.
- The fiber in whole wheat flour helps with digestion and can lower the risk of heart disease, diabetes, and certain types of cancer.
- Usage:
- Whole wheat flour can be used as a substitute for all-purpose flour in recipes, but some adjustments may be needed.
- To start, try replacing half of the all-purpose flour with whole wheat flour in your recipes.
- Whole wheat flour tends to absorb more liquid, so you may need to add extra liquid to your recipes to achieve the desired consistency.
- The flavor of whole wheat flour is stronger and nuttier than all-purpose flour, which may affect the final result of your dish.
II. Gluten-Free Flours
- Almond Flour
- Nutritional Benefits:
- Almond flour, made from ground almonds, is high in protein, healthy fats, and vitamins like vitamin E.
- It is low in carbohydrates and has a lower glycemic index than wheat flour, making it a suitable choice for those who are watching their blood sugar or on low-carb diets.
- Usage:
- Almond flour can be used in a variety of baking recipes such as cookies, muffins, and pancakes.
- It tends to be more crumbly than wheat-based flours, so a binding agent like eggs or flaxseed meal may be needed in your recipes.
- Nutritional Benefits:
- Coconut Flour
- Nutritional Benefits:
- Coconut flour is made from dried, ground coconut meat and is high in fiber, healthy fats, and protein.
- It is low in carbohydrates and has a lower glycemic index than wheat flour, making it a great option for those watching their blood sugar or on low-carb diets.
- Usage:
- Coconut flour is highly absorbent, so you will need to use less flour and more liquid in your recipes compared to wheat flour.
- It imparts a mild coconut flavor to your baked goods, which may be excellent for some recipes but may not work for all.
- Nutritional Benefits:
- Rice Flour
- Nutritional Benefits:
- Rice flour is made from finely ground rice and is a good source of carbohydrates and some B vitamins.
- It is naturally gluten-free and can be used as a substitute for wheat flour in many recipes.
- Usage:
- Rice flour works well for making gluten-free pasta, dumplings, and pancakes.
- It may result in a slightly different texture in baked goods compared to wheat flour; combining it with other gluten-free flours may yield better results.
- Nutritional Benefits:
Conclusion:
Whole wheat and gluten-free flours offer a range of nutritional benefits and can add variety to your cooking and baking. Experiment with these flours in your recipes to discover new flavors and textures, and make the necessary adjustments to achieve the desired results. Enjoy exploring the world of alternative flours and the health benefits they can provide.
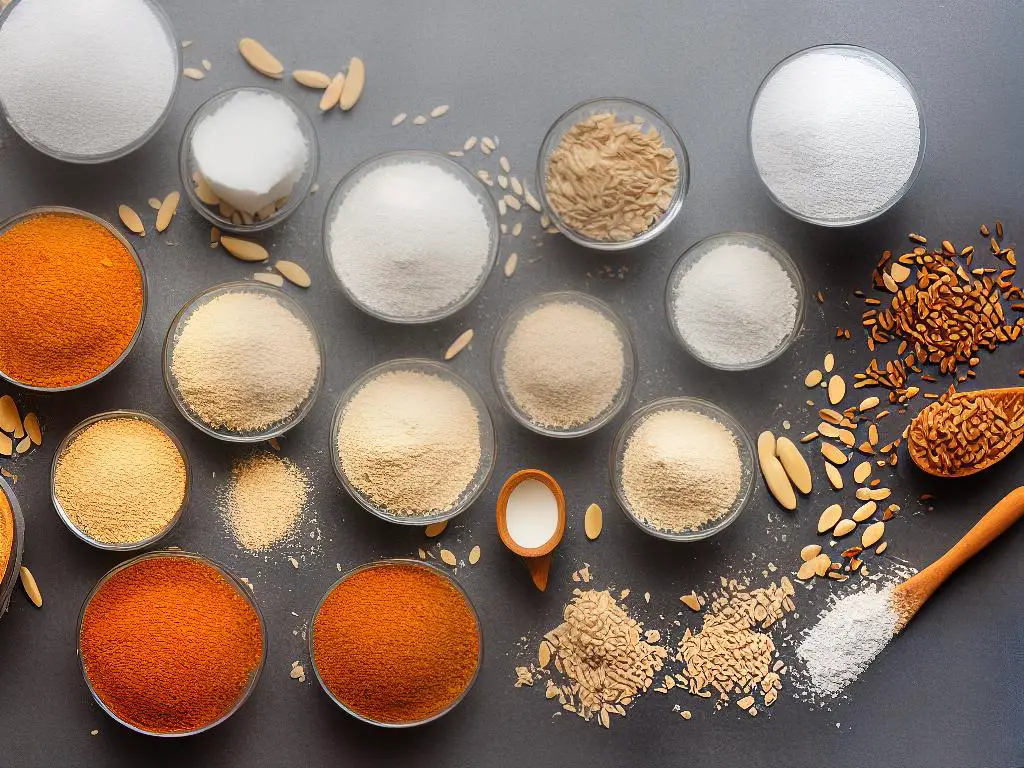
Ancient Grain Flours: Spelt, Kamut, and Einkorn
Title: Exploring Ancient Grain Flours: Spelt, Kamut, and Einkorn
Introduction:
Ancient grain flours have been making a comeback in recent years due to their unique flavors, textures, and health benefits that set them apart from modern wheat flour. Today, we’ll dive into the world of three of these ancient grains: spelt, Kamut, and einkorn, and provide some tips on how to incorporate them into your cooking and baking.
1. Spelt Flour
Spelt is an ancient grain that originated in Europe over 7000 years ago. It has a slightly nutty flavor and is higher in protein and nutrients than traditional wheat flour. Spelt is also easier to digest, making it a good option for those who are sensitive to regular wheat.
How to use spelt flour:
- Baking: You can substitute spelt flour for whole wheat flour in most recipes. Start by using a 1:1 ratio, but keep in mind that spelt absorbs more liquid than wheat. If your dough becomes too dry, add a little more liquid to reach the desired consistency.
- Pancakes & Waffles: Replace half of the all-purpose flour in your favorite pancake or waffle recipe with spelt flour for added texture and flavor.
- Bread: Spelt flour is great for making hearty, rustic loaves of bread. If you’re new to baking with spelt, find a recipe specifically designed for spelt flour, as it behaves differently than wheat flour when it comes to gluten development.
2. Kamut Flour
Kamut, also known as Khorasan wheat, is an ancient grain that originated in the Middle East. It’s larger in size than modern wheat and has a buttery, nutty flavor. Kamut is known for being higher in protein, minerals, and antioxidants compared to regular wheat flour.
How to use Kamut flour:
- Baking: Substitute Kamut flour for half of the all-purpose or whole wheat flour in your favorite baked goods recipes to add a unique flavor and golden color.
- Pasta: Kamut flour works well in homemade pasta. Use a 1:1 ratio with regular all-purpose flour or follow a recipe specifically designed for Kamut flour.
- Flatbreads: Kamut flour is great for making flatbreads like naan or pita. Use a blend of Kamut and all-purpose flour for best results.
3. Einkorn Flour
Einkorn is considered the oldest cultivated wheat variety, dating back over 10,000 years. It has a slightly sweet, earthy flavor and is rich in minerals, antioxidants, and protein. Einkorn flour contains less gluten than other wheat flours, making it easier to digest for some people.
How to use Einkorn flour:
- Baking: Einkorn flour can be used in place of all-purpose or whole wheat flour in most recipes but may require slight adjustments to the liquid and rising time. Begin by substituting 50% of the original flour with einkorn flour and adjust as needed.
- Pastry: The delicate flavor of einkorn flour makes it ideal for pastries like pie crusts, scones, and cookies. Experiment with replacing some or all of the all-purpose flour with einkorn flour in your favorite pastry recipes.
- Pancakes & Muffins: Einkorn flour works well in pancakes, muffins, and other quick bread recipes. Find a recipe specifically designed for einkorn flour or start by substituting half of the original flour with einkorn and adjust as necessary.
Conclusion:
Introducing ancient grain flours like spelt, Kamut, and einkorn into your cooking and baking not only adds unique flavors and textures to your dishes but also offers potential health benefits. Take your time to experiment and adjust your recipes as needed to find the perfect balance of taste and texture that these ancient flours have to offer. Happy baking!
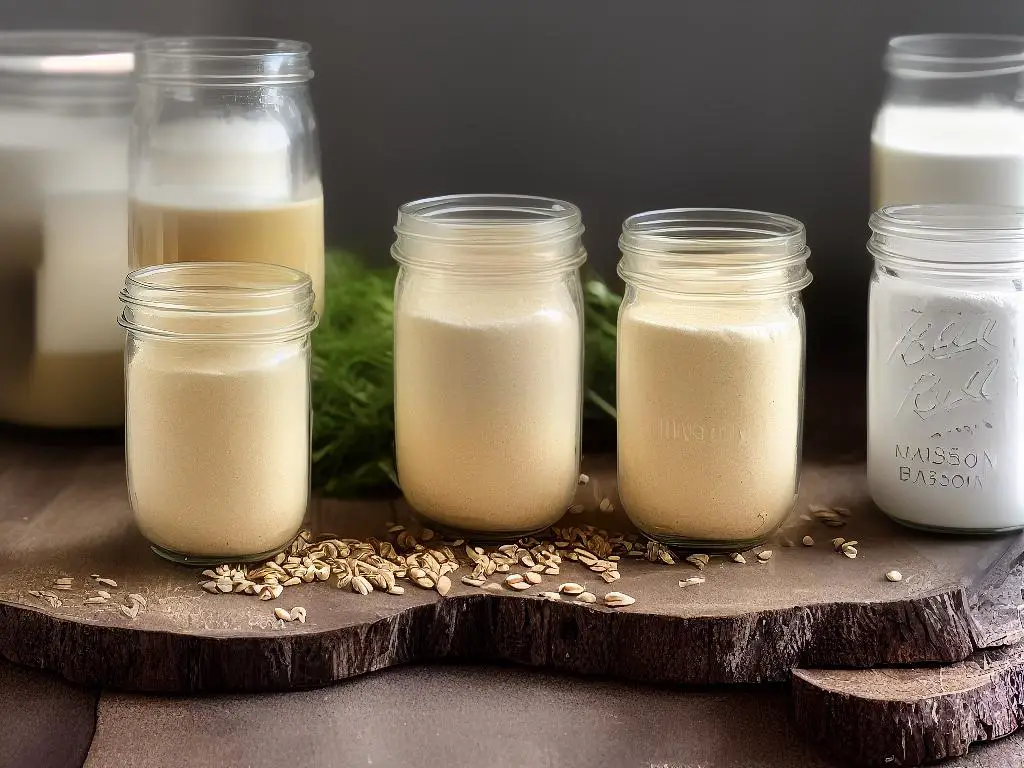
Specialty Flours: Chickpea, Rye, and Buckwheat
Using Specialty Flours: Chickpea, Rye, and Buckwheat
Learning how to use specialty flours like chickpea, rye, and buckwheat can elevate your cooking and baking skills by introducing new textures, flavors, and nutritive values. Each flour has distinctive characteristics, making it suitable for different types of cuisines and recipes.
1. Chickpea Flour:
Chickpea flour, also known as garbanzo bean flour or besan, is made from ground chickpeas. It is gluten-free, high in protein, and rich in vitamins and fiber.
Cuisines:
- Chickpea flour is commonly used in Middle Eastern, Indian, and Mediterranean dishes.
Uses:
- Flatbreads: Chickpea flour is a popular ingredient for flatbreads, such as socca or farinata. Mix chickpea flour, water, and a bit of olive oil to form a smooth batter, then pour into a hot, greased skillet. Cook until browned and crispy.
- Batters: Chickpea flour is ideal for batters, such as those used for frying vegetables or fish. Blend chickpea flour with water and desired spices for a light, crisp coating.
- Vegan egg substitute: Mix chickpea flour with water to create a vegan egg substitute for frittatas, quiches, or omelets.
- Indian dishes: Chickpea flour is a staple in several Indian dishes, such as pakoras, laddoos, and dhoklas.
- Thickeners: Chickpea flour can be used to thicken soups, sauces, and gravies by incorporating it directly or by making a roux.
2. Rye Flour:
Rye flour is made from ground rye berries and comes in various levels of coarseness, from whole grain to refined white rye flour. It contains less gluten than wheat flour, making it less elastic, but adding a complex, earthy flavor.
Cuisines:
- Rye flour is commonly used in Nordic, German, and Eastern European cuisines.
Uses:
- Breads: Rye flour is often combined with wheat flour when making rye or pumpernickel bread, as well as traditional Scandinavian crispbreads.
- Pancakes: Incorporate rye flour into your pancake batter for a denser, more flavorful breakfast option.
- Crackers: Rye flour’s unique flavor and texture make it perfect for creating homemade crackers.
- Sourdough starter: Rye flour can be used to make a robust sourdough starter that adds depth to your homemade breads.
3. Buckwheat Flour:
Despite its name, buckwheat flour is not made from wheat and is naturally gluten-free. It comes from ground buckwheat groats and has a rich, nutty flavor.
Cuisines:
- Buckwheat flour is commonly used in Japanese, French, and Eastern European cuisines.
Uses:
- Soba noodles: Buckwheat flour is the primary ingredient in Japanese soba noodles. To make them, mix buckwheat flour with water and a small amount of wheat flour, if desired. Knead and roll out into thin sheets, then cut into noodles.
- Crepes: French galettes, or savory crepes, are traditionally made with buckwheat flour, giving them a slightly darker appearance and hearty flavor. Use buckwheat flour in combination with water and a bit of egg to create the crepe batter.
- Pancakes and waffles: Combine buckwheat flour with other flours for more nutritious and flavorful pancakes or waffles.
- Gluten-free baking: Use buckwheat flour in combination with other gluten-free flours and binders for gluten-free baked goods, such as cookies, muffins, or brownies.
Remember that each type of specialty flour has unique properties, so it may take some practice and experimentation to achieve the desired taste and texture in your recipes. Don’t be afraid to adapt recipes and mix different flours to create a personalized touch to your cooking and baking.
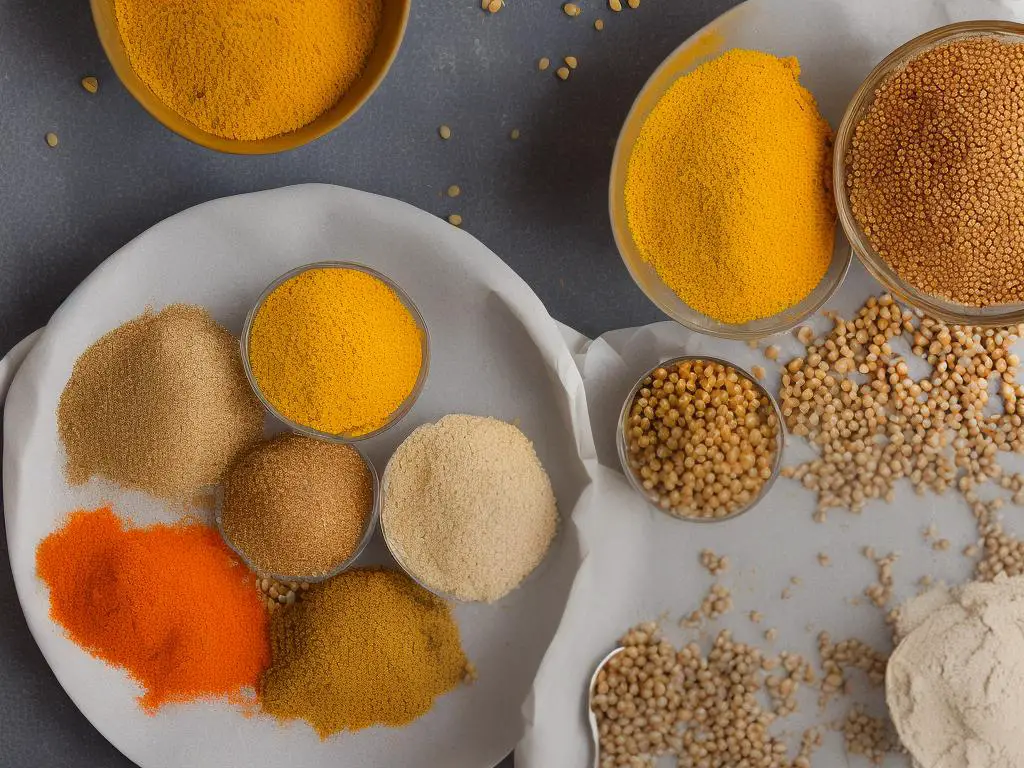
Blending Flours for Customized Baking
Title: Blending Flours for Customized Baking
Discover how to create your own custom flour blends for unique flavors, textures, and dietary needs.
Introduction:
Blending flours can elevate your baking game by providing enhanced textures, flavors, and accommodating various dietary needs. By mixing different types of flours, you can create your own flour blend that is perfect for the recipes you love. This guide will help you understand how to mix and match various flours like a pro.
1. Understand the Basics of Flour Types:
Before you start blending, it’s important to understand the properties of different flours. The main types of flours used in baking are:
- All-purpose flour: This is a versatile and widely used flour with a medium protein content. It works well for most baked goods like cakes, cookies, and bread.
- Bread flour: This flour has a higher protein content, resulting in a chewier texture. It’s great for yeast bread and pizza dough.
- Cake flour: With a lower protein content, this flour is perfect for delicate and tender baked goods like sponge cakes and pastries.
- Whole wheat flour: This flour has higher fiber and protein content, and it adds a robust, nutty flavor to baked goods.
- Gluten-free flours: For those with gluten sensitivity or celiac disease, gluten-free flours like almond, coconut, rice, or oat flour can be used in baking.
2. Determine Your Desired Outcome:
Consider the type of baked goods you want to make and the properties you want in your flour blend. For example, if you want a light and airy cake, then you’ll want to use a blend with a higher percentage of low-protein flours like cake flour. If you’re looking for a denser and more rustic bread, you might want to include whole wheat flour in your blend.
3. Start with a Base Flour:
Pick a primary flour that will make up the majority of your blend. Most likely, this will be an all-purpose flour or a gluten-free alternative like rice flour. This base flour will provide a foundation for your blend.
4. Experiment with Additional Flours:
Now is the time to get creative! Start adding secondary flours to your base flour, keeping in mind the properties of each flour. You can start with a ratio of around 80% base flour and 20% secondary flour, then adjust accordingly based on your desired outcome.
5. Testing Your Blend:
Before you start baking, mix up a small batch of your flour blend. Test it in a simple recipe, such as pancakes or biscuits, to get a feel for how the blend behaves. This will help you determine if you need to adjust the ratios of your flours before using the blend in more elaborate recipes.
6. Keep Notes and Refine:
As you test your custom flour blend, make notes on what works and what doesn’t. This way, you can refine your blend over time and continue to perfect it for your favorite recipes.
Conclusion:
Blending flours for customized baking allows you to tailor your recipes to your preferences and dietary needs, ensuring that you can enjoy delicious and unique baked goods every time. With a little experimentation and knowledge of the different types of flours available, you can create your go-to blend for all your baking adventures.
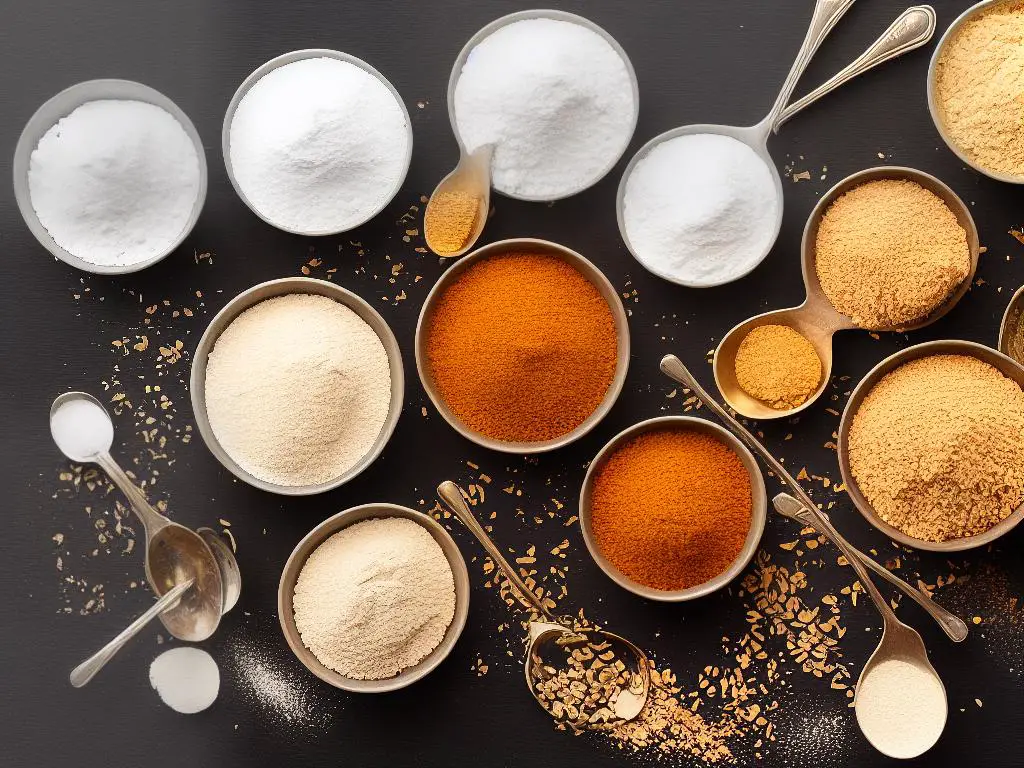
Storage and Shelf Life of Flours
Title: Storage and Shelf Life of Flours
Learn how to properly store different types of flours to maintain their freshness and quality.
Introduction:
Flours are the backbone of many delicious recipes, but not all flours are created equal. Different types of flours serve different purposes and have various shelf lives. Proper storage is crucial to maintaining the flavor and quality of your flours. Here are some guidelines for the storage and shelf life of various types of flours.
All-Purpose Flour:
- Storage: Keep all-purpose flour in an airtight container, such as a plastic tub or glass jar with a tight-fitting lid.
- Shelf Life: When stored properly, all-purpose flour can last up to 12 months in a cool, dry, and dark area. If stored in the fridge, it can last up to 2 years.
Whole Wheat Flour:
- Storage: Due to its higher fat content, whole wheat flour should be stored in an airtight container in the refrigerator or freezer to prevent it from going rancid.
- Shelf Life: Whole wheat flour can last up to 3 months in the fridge or up to 6 months in the freezer.
Cake Flour:
- Storage: Store cake flour in a cool, dry, and dark place, such as a pantry, in an airtight container.
- Shelf Life: When stored properly, cake flour can last up to 12 months.
Bread Flour:
- Storage: Keep bread flour in an airtight container in a cool, dry, and dark place.
- Shelf Life: Bread flour will maintain its quality for up to 12 months when properly stored.
Almond Flour:
- Storage: Almond flour should be stored in an airtight container in the refrigerator or freezer to retain its freshness and prevent it from becoming rancid.
- Shelf Life: In the fridge, almond flour can last up to 6 months. In the freezer, it can last up to 12 months.
Coconut Flour:
- Storage: Coconut flour should be stored in an airtight container in a cool, dry, and dark place.
- Shelf Life: When properly stored, coconut flour can last up to 12 months.
Rye Flour:
- Storage: Store rye flour in an airtight container in the refrigerator or freezer to keep it fresh and prevent it from going rancid.
- Shelf Life: Rye flour can last up to 6 months in the refrigerator or up to 12 months in the freezer.
Rice Flour:
- Storage: Keep rice flour in an airtight container in a cool, dry, and dark place.
- Shelf Life: When properly stored, rice flour can last up to 12 months.
General Tips for Storing Flour:
- Avoid exposing flour to heat, moisture, or direct sunlight. These elements can cause the flour to spoil more quickly.
- Write the date of purchase and the type of flour on the storage container. This will help ensure that you use the flour before it expires.
- Always check for signs of spoilage before using flour. If the flour has an off smell, has changed color, or contains any pests or signs of mold, discard it immediately.
In Summary:
Properly storing your flour is essential to maintaining its freshness and making the most out of your baking endeavors. By following these simple guidelines, you can ensure that your flours retain their quality, taste, and texture for as long as possible.
Hands-On Practice: Baking and Cooking
Title: Hands-On Practice: Baking and Cooking with Different Types of Flour
Introduction:
Exploring various types of flour can open up a whole new world of flavors, textures, and nutritional benefits in your baking and cooking. In this hands-on practice, we will dive into three different types of flour – all-purpose, whole wheat, and almond – and provide you with distinct recipes to showcase each of their unique properties and flavors.
Equipment and Ingredients:
To embark on this flavorful journey, you will need the following equipment and ingredients:
- Measuring cups and spoons
- Mixing bowls
- Whisk
- Silicone spatula
- Baking sheet and parchment paper
- Oven
For All-Purpose Flour:
Recipe: Buttermilk Pancakes
Ingredients:
- 2 cups all-purpose flour
- 2 tablespoons granulated sugar
- 1/2 teaspoon salt
- 1 teaspoon baking powder
- 1/2 teaspoon baking soda
- 2 cups buttermilk
- 1/4 cup melted unsalted butter
- 2 large eggs
Instructions:
- In a large mixing bowl, whisk together flour, sugar, salt, baking powder, and baking soda.
- Add the buttermilk, melted butter, and eggs, carefully stirring just until the mixture is combined (no overmixing, as this will make the pancakes tough).
- Preheat a non-stick skillet or griddle over medium-high heat.
- Pour 1/4 cup worth of batter onto the heated surface and cook until bubbles appear on the surface, then flip and cook until golden brown.
- Serve immediately with your favorite toppings.
For Whole Wheat Flour:
Recipe: Whole Wheat Bread
Ingredients:
- 3 cups whole wheat flour
- 1/4 cup granulated sugar
- 1 1/2 teaspoons salt
- 3 teaspoons instant yeast
- 1/4 cup vegetable oil
- 1 1/4 cups warm water
Instructions:
- In a large mixing bowl, combine whole wheat flour, sugar, salt, and instant yeast.
- Add the vegetable oil and warm water, mixing until a dough forms.
- Knead the dough for 10-12 minutes, until smooth and elastic.
- Form the dough into a ball and place it in a lightly oiled bowl. Cover with a clean towel and let it rise in a warm place for about 1 hour, or until doubled in size.
- Preheat the oven to 350°F (175°C) and grease a 9×5-inch loaf pan.
- Punch down the dough, then shape it into a log and place it in the loaf pan. Cover with a towel and let it rise for another 30 minutes.
- Bake for 30-35 minutes, until the bread is golden brown and sounds hollow when tapped. Remove from the oven and let it cool before enjoying.
For Almond Flour:
Recipe: Almond Flour Chocolate Chip Cookies
Ingredients:
- 2 cups almond flour
- 1/2 teaspoon baking soda
- 1/4 teaspoon salt
- 1/4 cup melted coconut oil
- 1/4 cup maple syrup
- 1 teaspoon vanilla extract
- 1/2 cup chocolate chips
Instructions:
- Preheat the oven to 350°F (175°C) and line a baking sheet with parchment paper.
- In a mixing bowl, whisk together almond flour, baking soda, and salt.
- Add the melted coconut oil, maple syrup, and vanilla extract, stirring until well combined.
- Fold in the chocolate chips.
- Scoop tablespoon-sized balls of dough onto the lined baking sheet, spacing them about 2 inches apart.
- Bake for 10-12 minutes, or until the edges are slightly golden. Allow the cookies to cool on the baking sheet before enjoying.
Conclusion:
By experimenting with different types of flour in these hands-on recipes, you will experience the unique properties and flavors that each type of flour brings to your baked goods. This practice will surely broaden your culinary horizons and allow you to better understand the versatility of flours in the kitchen. Happy baking and cooking!
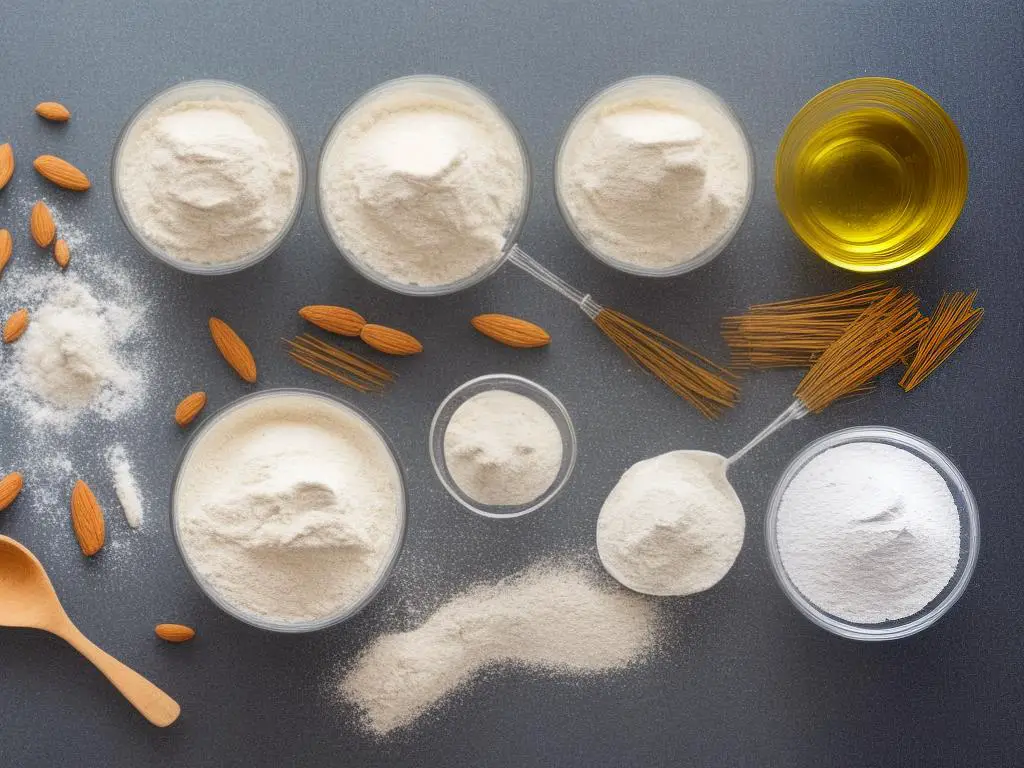
Armed with a deeper understanding of various flours and their unique characteristics, you’re now ready to indulge your culinary creativity. Whether you’re looking to recreate classic recipes or explore new flavors, incorporating different flours into your baking and cooking escapades will unlock a world of textures and tastes. Don’t hesitate to give these flours a try in your recipes, and remember to experiment with blending for even more customized creations. Happy baking!
