
Ultimate Cookie Storage Tips: Keep Cookies Fresh
Whether you’re a seasoned baker or a cookie enthusiast, understanding proper storage methods for your sweet treats is essential to maintaining their freshness and flavor. This comprehensive guide will walk you through the various types of cookies, the importance of airtight containers, ideal storage environments, layering techniques, and many more topics to help you master the art of cookie storage. Dive in and discover how to keep your cookies tasting delicious and looking perfect for any occasion.
Types of Cookies
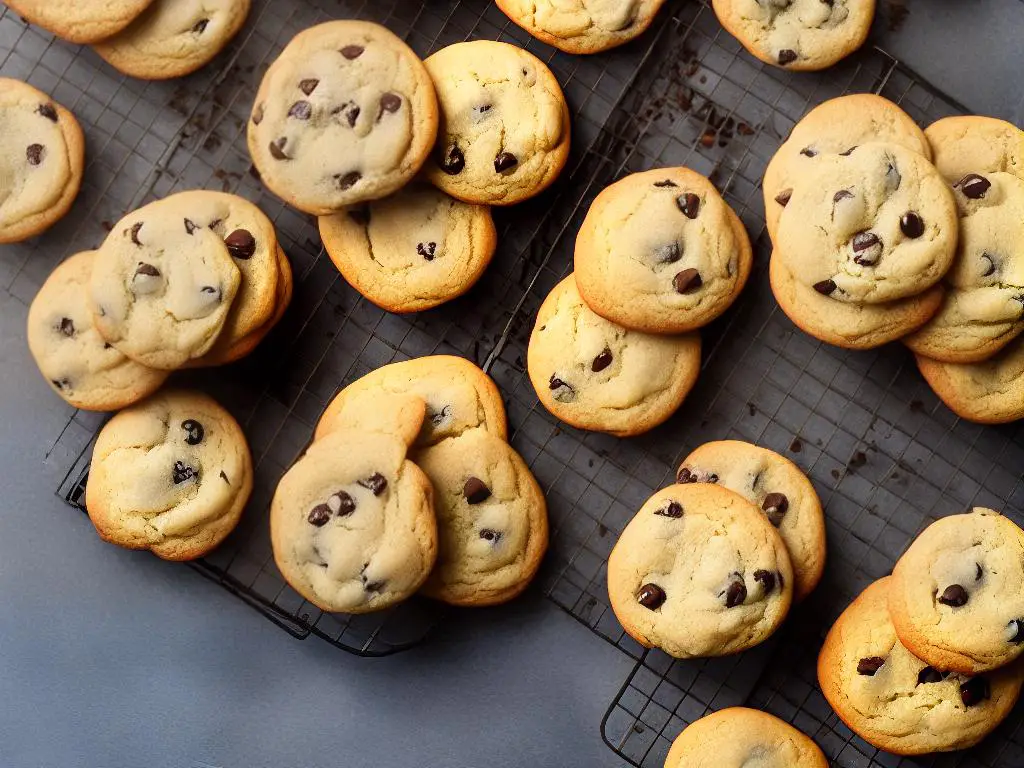
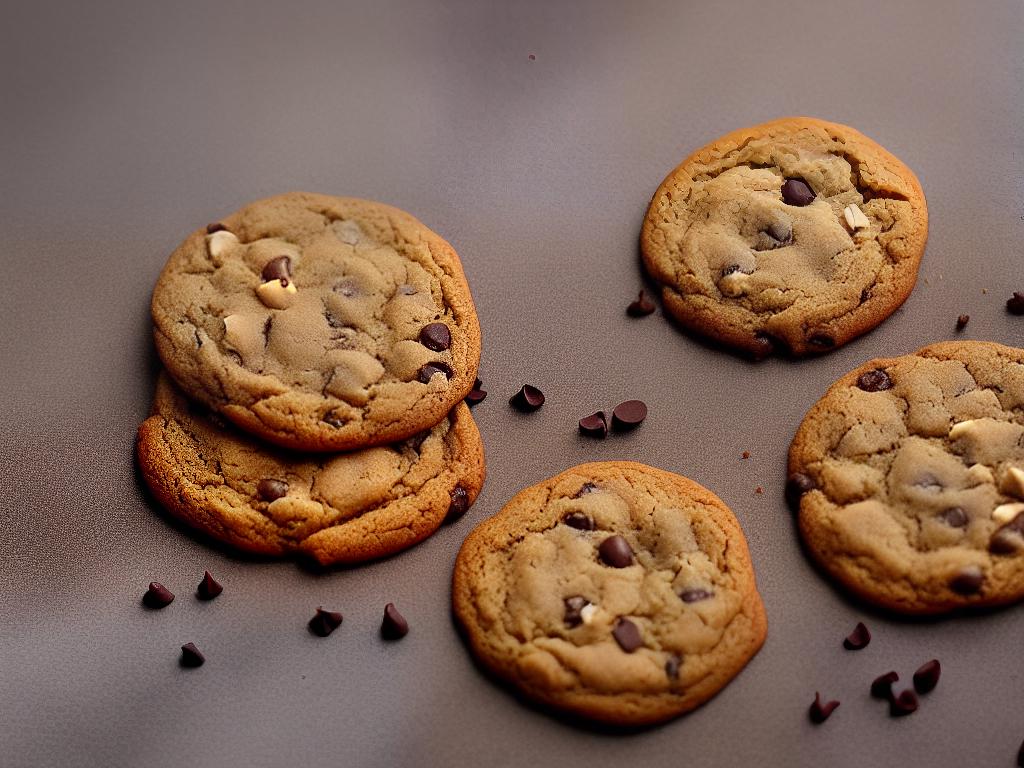
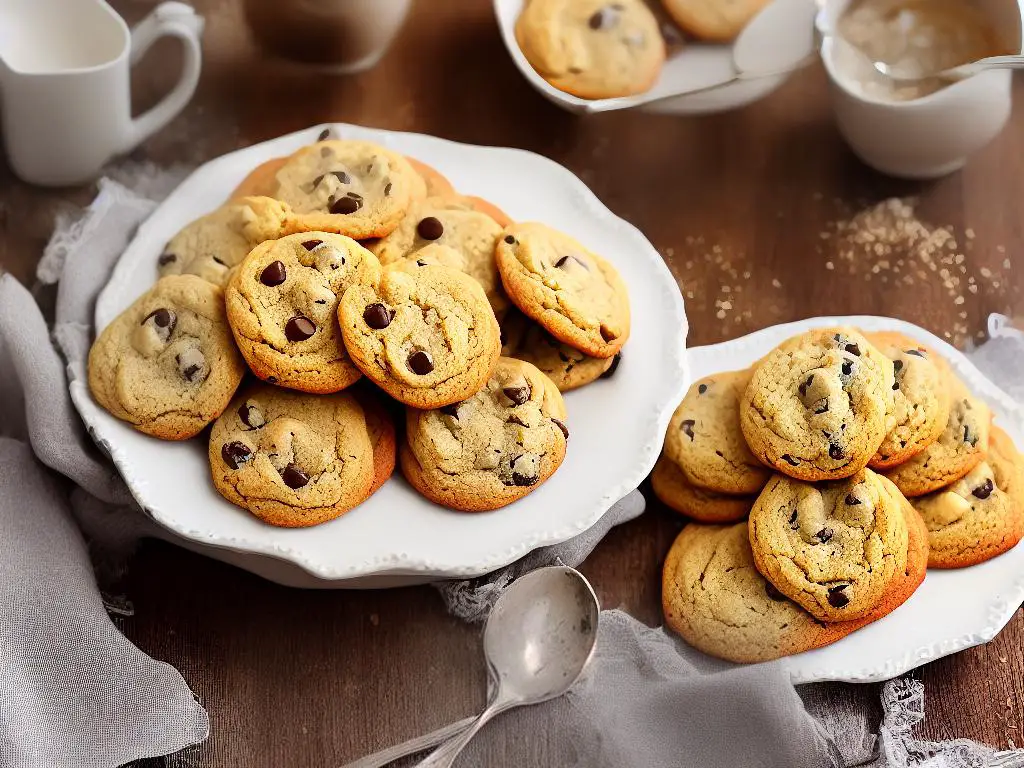
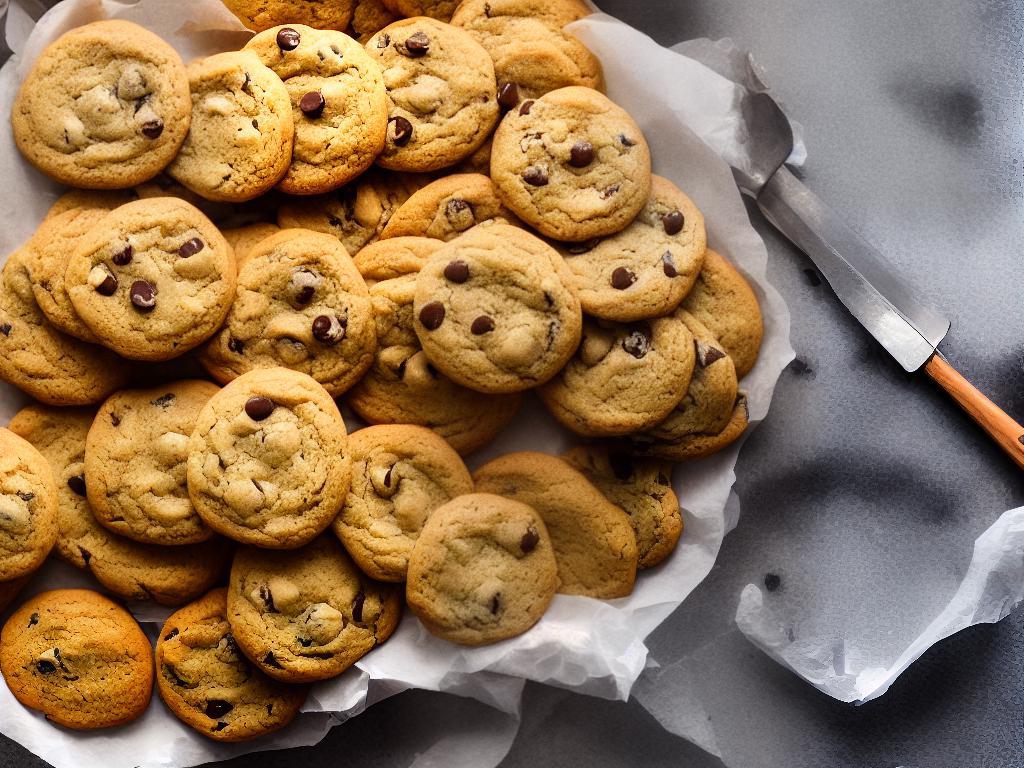
Cookies are a delicious treat enjoyed by millions of people around the world. Whether you’re baking them from scratch, buying them from a bakery, or enjoying them at a friend’s house, it’s important to know how to store your cookies to maintain their taste and texture. Different types of cookies have different storage requirements, so it’s important to familiarize yourself with the various textures and what storage methods work best for each. In this guide, we will explore soft, crispy, and chewy cookies, and share tips for storing them to maintain their quality.Soft cookies have a tender and moist texture that many people love. They often include ingredients like brown sugar, honey, or molasses, which help to retain moisture in the cookies.- Store soft cookies in an airtight container with a slice of bread. The bread will release moisture, helping to keep the cookies soft and moist.- Avoid storing soft cookies with crispy cookies, as the moisture from the soft cookies will make the crispy cookies lose their crunch.- If your cookies become too stale or hard, you can briefly microwave them for about 5-10 seconds to refresh their moisture and softness.Crispy cookies are known for their crunchy texture and often have a higher ratio of sugar and butter than soft cookies. Some popular types of crispy cookies include shortbread, gingersnaps, and sugar cookies.- Store crispy cookies in an airtight container, such as a metal or plastic cookie tin.- If your crispy cookies lose their crunch due to moisture, you can revitalize them by placing them in a low-heat oven (around 250°F) for a few minutes. Keep a close eye on your cookies to ensure they don’t over-bake or become too hard.- Avoid storing crispy cookies with soft or chewy cookies as their different texture preferences will compromise each other’s ideal storage conditions.Chewy cookies have a dense and chewy texture, often achieved by using a higher ratio of brown sugar, eggs, or liquid sweeteners. Popular chewy cookies include chocolate chip, oatmeal raisin, and peanut butter cookies.- Store chewy cookies in an airtight container with a piece of wax paper or parchment paper between layers to prevent them from sticking together.- Storing them with a slice of bread helps maintain their chewy texture in a similar way as it does for soft cookies, but consider their sensitivity to changes in texture.- Do not store chewy cookies with crispy cookies, as they will draw moisture from the chewy cookies and cause them to harden and lose their desirable texture.In conclusion, properly storing your cookies will help maintain their taste, texture, and overall quality. Knowing your cookie types and following these simple storage tips will ensure that your soft, crispy, and chewy cookies remain delicious and satisfying. Enjoy your freshly baked or purchased cookies with confidence, knowing they are stored in a manner that will keep them as tasty as possible!
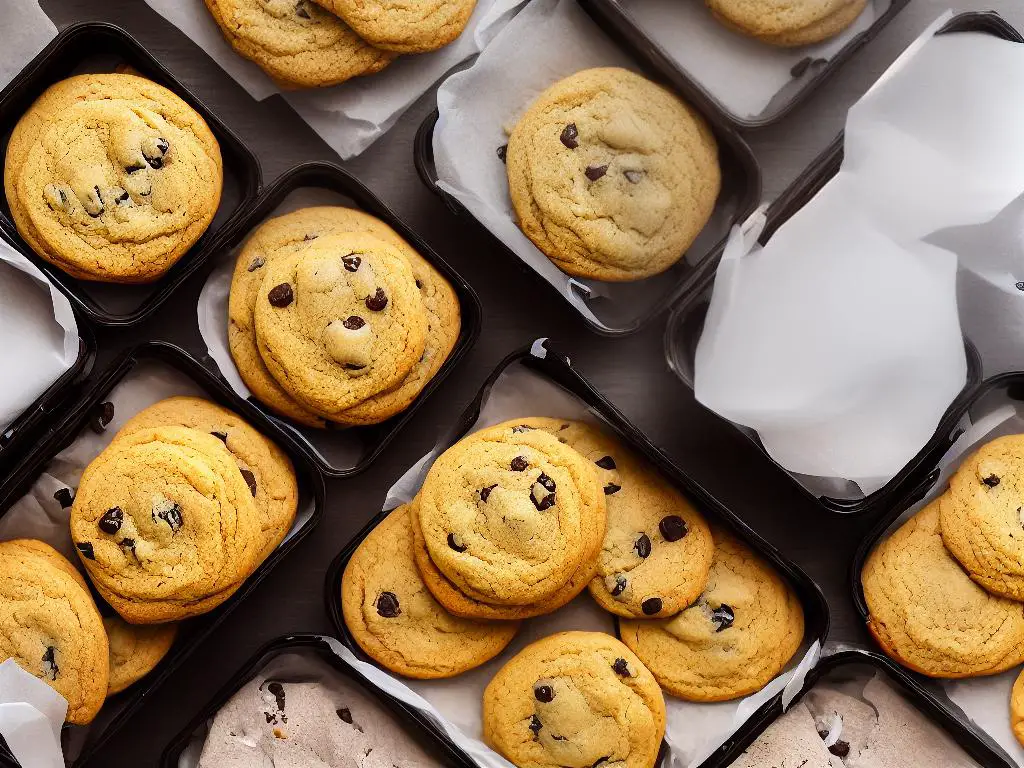
Proper Airtight Containers
Using airtight containers is essential for maintaining the freshness and quality of your homemade cookies. Storing cookies in improper containers can make them go stale, lose flavor, or even become moldy. The key to preserving your cookies’ delicious taste and texture is to choose the right airtight container. In this guide, we will explore various container options such as Tupperware, glass jars, and cookie tins. Follow these tips to keep your cookies fresh and delicious for longer!1. Use an airtight container: The most important factor in maintaining freshness is to use a container with an airtight seal. An airtight container prevents air from entering and keeps your cookies fresh for an extended period.2. Choose a size-appropriate container: To prevent excess airflow around your cookies, pick a container that is close in size to the batch of cookies you made. Avoid using a container too large, as excess empty space can cause your cookies to go stale more quickly.3. Tupperware: Tupperware is a popular choice for airtight containers because it comes in various shapes and sizes, making it easy to find one that works well for your cookies. Make sure the Tupperware has a tight-fitting lid, which creates a seal to prevent air from entering.4. Glass jars: Glass jars with airtight seals, like mason jars, make an excellent option for storing cookies. The glass material keeps cookies fresh and is easy to clean. Look for jars with rubber or silicone seals to ensure a true airtight seal.5. Cookie tins: Cookie tins, or metal containers with tight-fitting lids, are another option for storing cookies. They are best suited for small-batch cookies, and their sturdy construction makes them suitable for stacking in a pantry or cupboard.6. Store cookies at room temperature: Keep your airtight container at room temperature to maintain freshness. Avoid placing the container in direct sunlight or near a heat source, as this can cause the cookies to become overly soft or spoil.7. Separate different cookie types: If storing different types of cookies, use separate containers to ensure that the flavors and textures do not mix. For example, store crisp cookies separately from chewy cookies to prevent them from becoming soft.8. Label your container: If you make different types of cookies regularly, consider labeling your containers with the cookie type and the date they were made. This will help you easily identify which cookies are freshest and need to be eaten first.9. Check for freshness: Whenever you open your airtight container, check the cookies’ texture, aroma, and color to ensure they are still fresh. Dispose of any cookies that appear stale or moldy.
Ideal Storage Environment
Temperature: In order to keep your cookies fresh and maintain their flavor and texture, it’s crucial to store them at room temperature. Ideally, the temperature should be between 65°F and 72°F (18°C to 22°C). If your kitchen gets too warm, you can place the cookies in a cooler area, such as a pantry or a cupboard away from direct heat sources like stoves or ovens.Humidity: Cookies need a certain level of humidity to maintain their freshness. In general, less humidity is better for crisp cookies, while slightly more is best for soft cookies. However, excessive humidity can cause cookies to become soggy or stale. To control humidity, store cookies in an airtight container or resealable plastic bag with a piece of bread or a slice of apple. This will help maintain the desired level of humidity while also preventing your cookies from becoming too dry or too moist.Light: Exposure to direct sunlight can cause cookies to become warm, which can lead to staleness and changes in texture. To protect your cookies from sunlight, store them in a dark, closed container or a cupboard away from windows or other light sources.Air circulation: Proper air circulation is essential for maintaining the freshness of cookies. Make sure your cookies are not packed too tightly in their storage container, as this can cause them to become soft and soggy. Instead, place a piece of parchment paper or wax paper between layers of cookies to prevent them from sticking together and to allow for air circulation.Proper container: The ideal container for storing cookies should be airtight and made of food-grade material, such as plastic, glass, or metal. It’s essential to ensure that the container is clean, dry, and odor-free before placing the cookies inside.Separating different types of cookies: If you have multiple types of cookies (e.g., crisp and soft, or cookies with different flavors), store them separately in different containers to prevent them from absorbing each other’s flavors and textures.Freezing for long-term storage: If you want to store cookies for an extended period (more than two weeks), consider freezing them. Wrap each cookie individually in plastic wrap or aluminum foil before placing them in an airtight container or resealable plastic bag. Label the bag or container with the date and type of cookies before freezing. When you’re ready to enjoy them, simply allow the cookies to thaw at room temperature for around 30 minutes.
Layering Cookies
Introduction
Layering cookies with parchment paper or wax paper is a simple yet effective technique to prevent them from sticking together and maintaining their individual integrity. By following these easy steps, you’ll be able to store your cookies and keep them fresh for longer without compromising their taste or structure.
Materials Needed:
- Cookies (freshly baked or pre-made)
- Parchment paper or wax paper
- Scissors
- Airtight container or storage tin
Instructions
-
- Step 1: Prepare your cookies
If your cookies are freshly baked, let them cool completely on a cooling rack before attempting to store them. This will ensure that they don’t become soggy or fragile when stored. If you are using pre-made cookies, ensure they are at room temperature before layering them.
-
- Step 2: Measure and cut parchment paper or wax paper
Measure the length and width of your airtight container or storage tin where you will store your cookies. Using scissors, cut the parchment or wax paper into squares or rectangles big enough to fit the internal dimensions of your container. You will need one piece of paper for each layer of cookies, plus one extra piece for the bottom of the container.
-
- Step 3: Line the bottom of container
Place one piece of parchment or wax paper on the bottom of the container. This will prevent the cookies from sticking to the base and make it easy to remove them later.
-
- Step 4: Arrange the first layer of cookies
Place your cookies on the lined bottom of the container, making sure to leave some space between each cookie to avoid them sticking together.
-
- Step 5: Add a layer of parchment paper or wax paper
Place another piece of parchment or wax paper on top of the first layer of cookies. Make sure the paper is big enough to cover all the cookies completely.
-
- Step 6: Continue layering cookies and paper
Repeat steps 4 and 5 until you have filled your container or used all your cookies. Remember to always separate each layer of cookies with a piece of parchment or wax paper to prevent them from sticking together.
-
- Step 7: Seal container
Close the airtight container or storage tin tightly to keep your cookies protected from air, moisture, and outside contaminants.
-
- Step 8: Store the container
Store your container in a cool, dry place away from direct sunlight or heat. This will extend the freshness and quality of your cookies.
Conclusion
By following these simple steps, you can easily layer and store your cookies with parchment or wax paper. This method will help maintain the taste, freshness, and individual integrity of your cookies, ensuring they remain delicious and enjoyable for longer periods.

Separating Flavors
Storing cookies correctly is essential to preserve their freshness, texture, and most importantly, their distinct taste. Different flavored cookies can influence each other when stored together, resulting in an undesired mingling of flavors. Follow these simple steps to ensure your cookies maintain their unique flavors.To store cookies effectively, use airtight containers made from materials that do not absorb flavors, such as glass, plastic, or stainless steel. Avoid using materials like wood or fabric, as they can absorb flavors and lead to flavor mingling.Before storing your cookies, separate them into groups according to their distinct flavors. Common categories include:
– Chocolate-based cookies
– Vanilla-based cookies
– Fruit-flavored cookies
– Nut-based cookies
– Spiced cookies (such as gingerbread or cinnamon)To prevent mingling of flavors, store each flavor category in a separate container. Make sure each container is clean and dry before placing the cookies inside.
Tip: If you have limited containers, you can also use resealable plastic bags or wrap each cookie flavor group separately in plastic wrap or aluminum foil.To ensure you can easily identify cookies later, label your containers or plastic bags with the flavor type and date of storage. This will also help you keep track of how long the cookies have been stored and their freshness.Keep your separated cookies in a cool, dry place away from direct sunlight, such as a pantry or cupboard. Avoid storing them in the refrigerator, as it can cause changes in the cookie’s texture.
Freezing Cookies
Freezing cookies is a fantastic way to enjoy your favorite baked treats for a more extended period. With the right preparation, packaging, and thawing techniques, your cookies will maintain their taste, texture, and freshness for up to three months.Before attempting to freeze cookies, it’s crucial that you allow them to cool entirely after baking. If you freeze cookies while they’re still warm, condensation will form, which can negatively affect the quality and texture.Not all cookies are suitable for freezing. Cookies with thick, chewy, or cakey textures generally freeze well. However, delicate cookies such as meringues or thin, crispy cookies may not retain their quality after freezing.To prevent freezer burn and ensure freshness, cookies should be individually wrapped in plastic wrap, wax paper, or aluminum foil.Packing cookies in an airtight container or a resealable plastic freezer bag is essential for maintaining freshness and preventing odors from penetrating the cookies.Place your packaged cookies into the freezer, preferably in a flat, stable area that won’t be disturbed regularly.When you’re ready to enjoy your cookies, remove the desired number of cookies from the freezer and let them thaw at room temperature, still wrapped.
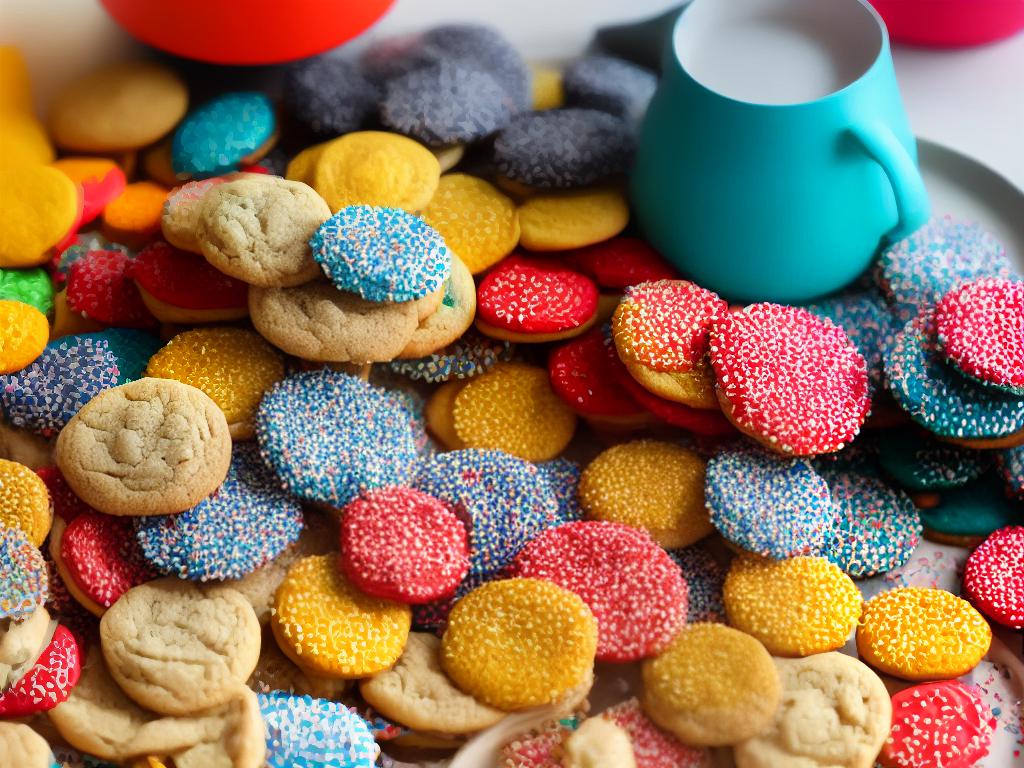
Storing Decorated Cookies
Storing decorated cookies can be a bit tricky, but with the right tips and techniques, you can preserve the beautiful appearance, mouthwatering texture, and scrumptious taste of your creations. Follow these steps to ensure your decorated cookies remain fresh and delightful.1. Allow cookies to dry or set:
After decorating your cookies, let them sit at room temperature for several hours or overnight to allow the icing or decorations to harden fully. This step is particularly important for cookies decorated with royal icing, which needs ample time to set.2. Choose the right storage container:
Select an airtight container, preferably one with a flat bottom, for cookie storage. The container should be large enough to accommodate your cookies without squishing them or stacking them too high.3. Layer cookies with parchment paper:
Line the bottom of your container with parchment paper. Place a single layer of completely dry and set cookies on the parchment paper, ensuring they do not touch each other. Add another sheet of parchment paper on top of the cookies, then repeat with the next layer of cookies. Keep doing this until your container is full or your cookies are all inside. The parchment paper will help prevent cookies from sticking to one another and damaging the decoration.4. Store cookies in a cool, dry place:
Choose a cool, dark, and dry place to store your cookie container—such as a pantry or cabinet. Avoid exposing the container to direct sunlight or humidity, which can compromise the quality of your cookies. Storing cookies at room temperature is best, as refrigeration can cause condensation and negatively affect the texture and taste of your cookies.5. Separate cookies with strong flavors:
If you’ve made cookies with potent flavors or aromas (like gingerbread or mint), store them in a separate airtight container to prevent the flavors from transferring to milder cookies.6. Avoid freezing decorated cookies:
While you can freeze undecorated cookies to prolong their shelf life, freezing decorated cookies is generally not recommended. The process of freezing and thawing can cause the decorations to become soggy or damaged.7. Enjoy within a reasonable time frame:
Decorated cookies are best enjoyed within one to two weeks of baking. The longer cookies are stored, the more likely they are to lose their freshness and appeal.By following these tips and techniques, you can store your decorated cookies without compromising their appearance, texture, or taste, ensuring that every bite is as delicious as the moment they emerged from the oven. Happy baking and storing!

Reviving Stale Cookies
Reviving Stale Cookies – Making Your Treats Taste Fresh Again
Stale cookies don’t have to go to waste! With a few simple techniques, you can bring your cookies back to life and restore their freshness. In this guide, we will go through methods such as microwaving, baking, and using moisture sources to transform those stale treats into delicious snacks.
Materials Needed:
- Stale cookies
- Microwave-safe plate
- Bread (optional)
- Apple slice (optional)
- Clean kitchen towel
- Oven
- Oven-safe pan
- Aluminum foil or parchment paper
- Ziplock bags or airtight container
Method 1: Microwaving
- Place a stale cookie on a microwave-safe plate.
- Microwave the cookie for 10-15 seconds on medium to high power. Keep an eye on the cookie as it warms up to prevent it from becoming too hot or burning.
- Carefully remove the plate from the microwave, as it may be hot. Let the cookie cool for a couple of minutes to allow it to regain its original texture.
Method 2: Baking
- Preheat your oven to 300°F (150°C).
- Place your stale cookies on an oven-safe pan lined with aluminum foil or parchment paper. Make sure the cookies are laid out in a single layer.
- Heat the cookies in the oven for 3-5 minutes, or until they become slightly crispy and warm to touch.
- Remove the cookies from the oven and allow them to cool on the pan for a few minutes before transferring them to a wire rack to cool completely.
Method 3: Using Moisture Sources
- Place your stale cookies in a ziplock bag or an airtight container.
- Add either a slice of bread or an apple slice to the container with the cookies. This will help add moisture back into the cookies.
- Seal the container or ziplock bag and let it sit overnight. The cookies will absorb the moisture from the bread or apple slice, restoring their freshness.
- Remove the cookies from the container and enjoy your refreshed treats!
Conclusion:
Don’t let stale cookies go to waste! By using these methods, you can restore their texture and taste, making them enjoyable once again. Remember to store your cookies in an airtight container to keep them fresh for a more extended period. Happy snacking!
Expiration and Shelf Life
Cookies are a delicious treat enjoyed by people of all ages. To keep them fresh and tasty, it’s essential to know about their expiration and shelf life.
Types of cookies and their shelf life:
- Soft cookies: These cookies have a moist texture and generally last from 3-5 days at room temperature in an airtight container. Examples include oatmeal raisin, sugar cookies, and muffins.
- Crisp cookies: These cookies are crunchy and will generally stay fresh for 1-2 weeks in an airtight container at room temperature. Examples include gingersnaps, biscotti, and shortbread cookies.
- Bar cookies and brownies: These moist treats last for around 3-4 days at room temperature in an airtight container. For longer storage, consider refrigerating or freezing them.
- Store-bought cookies: Most commercially produced cookies have preservatives, which extends their shelf life. Check the “best by” or “use by” date printed on the package for a guideline on their freshness.
Recognizing signs of expiration:
- Appearance: Stale cookies may become discolored or develop a white, powdery substance on the surface, indicating they are no longer fresh.
- Texture: Soft cookies may become hard and dry, while crisp cookies might lose their crunch and become chewy or tough.
- Smell: Cookies past their prime can develop an unpleasant odor, indicating that they are no longer safe to eat.
- Mold: If you see any mold on your cookies, discard them immediately, as the mold can cause health problems if ingested.
Tips for prolonging cookie freshness:
- Proper storage: Store cookies in an airtight container at room temperature, away from direct sunlight. Avoid storing them near heat sources or in damp environments.
- Use wax or parchment paper: Layer cookies between sheets of wax or parchment paper in the storage container to prevent them from sticking together.
- Refrigeration: For longer-lasting cookies, consider refrigerating them. Soft cookies can typically be refrigerated for up to 7 days, while crisp cookies may last up to 3 weeks.
- Freezing: Cookies can be frozen for up to 3 months if wrapped tightly in plastic wrap or aluminum foil. Thaw them at room temperature before enjoying.
By following these guidelines, you can ensure that your cookies remain fresh and enjoyable for as long as possible. Always remember to practice good food safety and discard any cookies that show signs of expiration or spoilage. Happy baking!
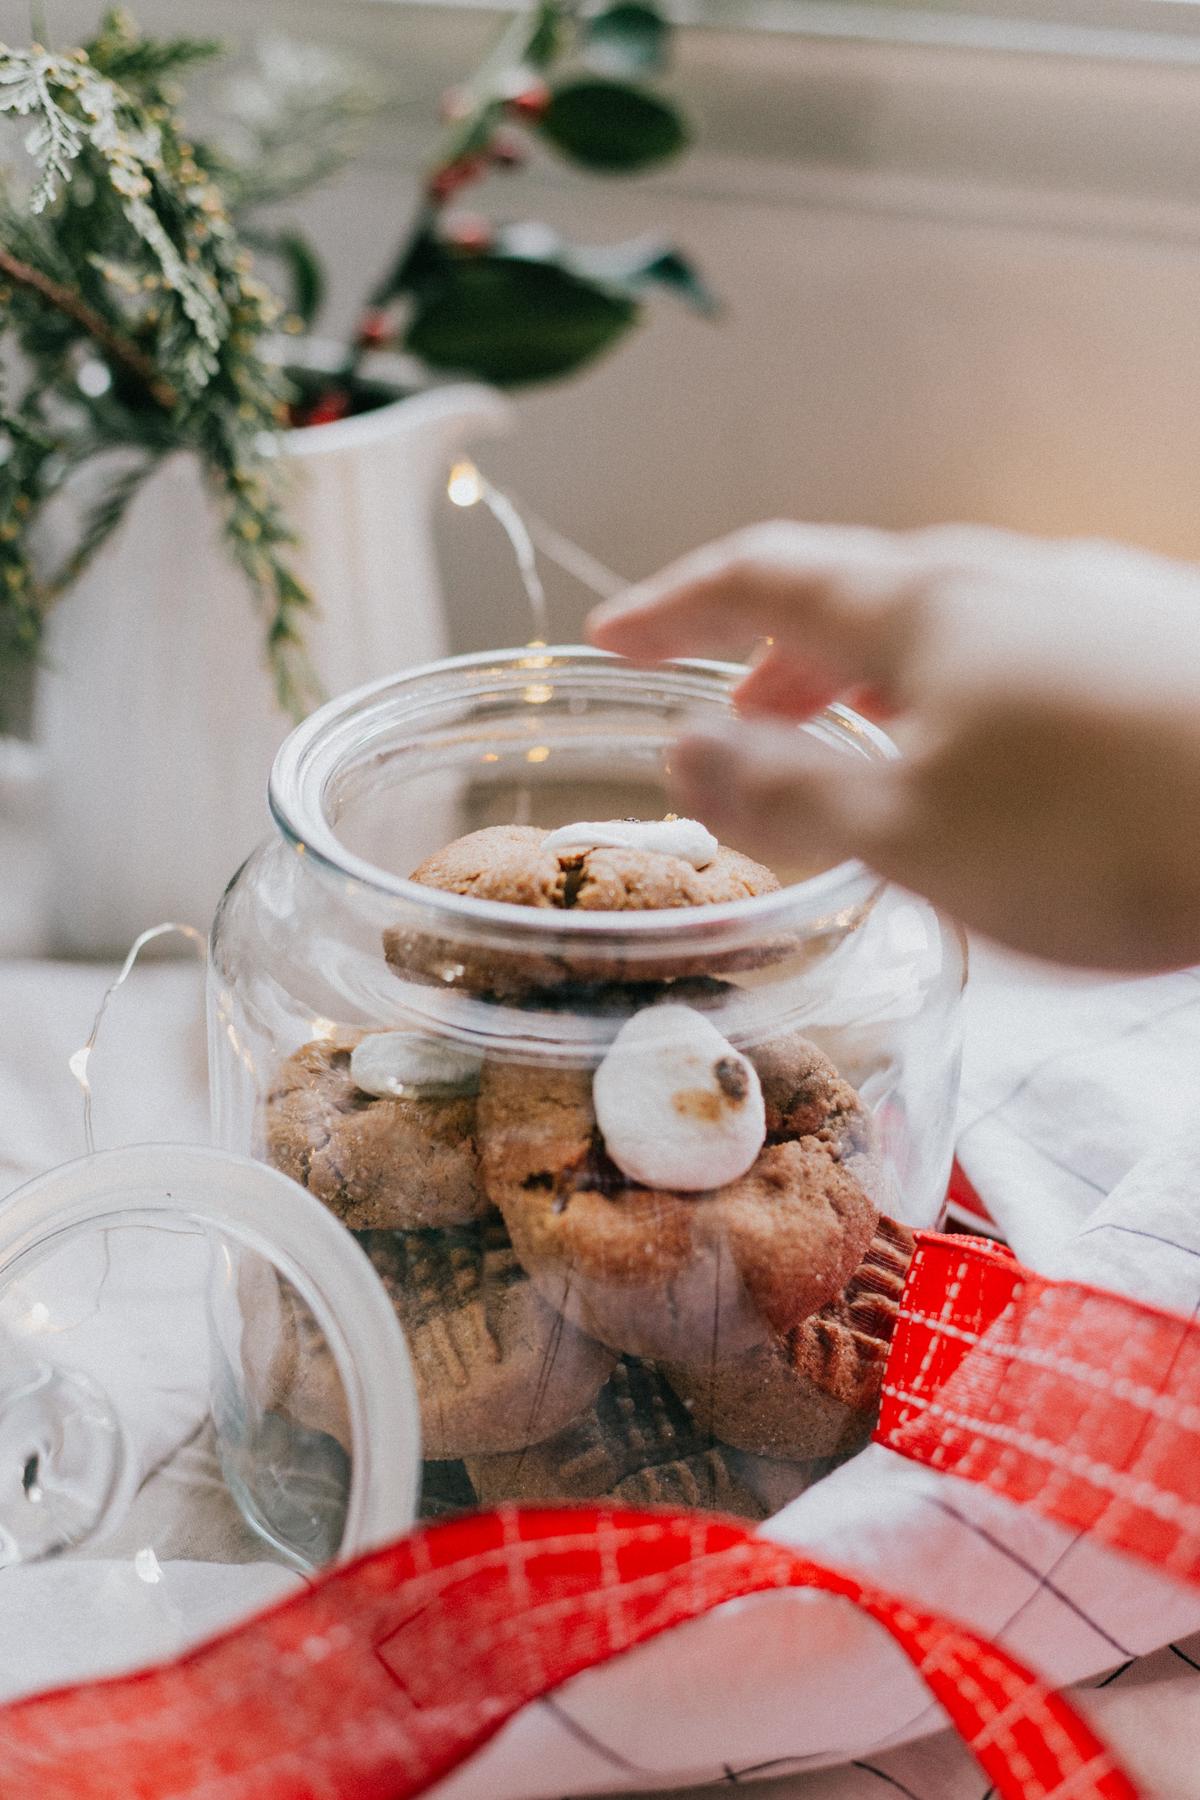
Photo by priscilladupreez on Unsplash
Homemade vs. Store-Bought
Introduction: Homemade and store-bought cookies each have their own unique qualities, flavors, and textures. One significant aspect that sets them apart is their storage requirement and shelf life. In this article, we will discuss the key differences between the two types, as well as the implications of using natural versus artificial preservatives.I. Homemade Cookies: A. Storage Tips: 1. Allow cookies to cool completely on a wire rack before storing them. This helps prevent them from becoming soggy due to condensation. 2. Use an airtight container to store homemade cookies. A glass or plastic container with a tight-fitting lid is ideal. To prevent breakage and maintain freshness, consider placing parchment paper or wax paper between the layers of cookies. 3. Store different types of cookies separately to avoid mixing flavors and textures. 4. Keep homemade cookies at room temperature, away from direct sunlight or heat sources. In general, they can last for about 1-2 weeks, though this may vary depending on the ingredients and recipe used. 5. If you wish to store homemade cookies for an extended period, freezing them is a great option. Wrap each cookie individually in plastic wrap and then store them in an airtight container or a resealable freezer bag. They can last for up to 3 months in the freezer. To enjoy, simply thaw them at room temperature. B. Shelf Life: 1. Homemade cookies typically have a shorter shelf life than store-bought cookies because they lack artificial preservatives. 2. The specific ingredients used in the cookie recipe will also impact shelf life. For example, cookies made with butter and fresh fruit will not last as long as cookies made with shortening and dried fruit.II. Store-Bought Cookies: A. Storage Tips: 1. Keep store-bought cookies in their original packaging or transfer them to an airtight container for optimal freshness. 2. Store them at room temperature, away from direct sunlight or heat sources. 3. Check the expiration date on the package to determine the shelf life of the cookies. B. Shelf Life: 1. Store-bought cookies generally have a longer shelf life than homemade cookies because they contain artificial preservatives. 2. The type of cookie and the specific brand will determine its exact shelf life. Most store-bought cookies can last for several months, though it’s important to follow the recommended expiration date to ensure optimal taste and texture.III. Natural vs. Artificial Preservatives: A. Natural Preservatives: 1. Homemade cookies typically rely on natural preservatives like salt, sugar, and acidity in ingredients such as lemon juice and vinegar. 2. These natural preservatives help extend shelf life but are not as effective as artificial preservatives. 3. Using natural preservatives also means homemade cookies often have a healthier, less processed ingredient list. B. Artificial Preservatives: 1. Store-bought cookies often contain artificial preservatives such as BHA, BHT, and TBHQ, which help extend their shelf life. 2. Artificial preservatives can prevent the growth of mold, bacteria, and help maintain the texture and flavor of the cookies. 3. While these preservatives are generally recognized as safe by the FDA, some consumers prefer to avoid them due to potential health concerns or dietary restrictions.Conclusion: Both homemade and store-bought cookies have their pros and cons when it comes to storage and shelf life. Homemade cookies usually offer a fresher and less processed option, but they have a shorter shelf life due to the lack of artificial preservatives. Store-bought cookies often last longer, but they may contain artificial preservatives that some consumers would prefer to avoid. Understanding the differences between the two types and following proper storage practices will help you enjoy your favorite cookies for as long as possible.
Health and Safety Guidelines
Health and Safety Guidelines for Cookie Storage
Proper cookie storage is essential to ensure the safety and freshness of your baked goods. In this guide, we will discuss the necessary health and safety guidelines to follow when storing cookies to prevent any health risks and ensure a delightful consumption experience.
Cool cookies completely before storing:
After baking your cookies, place them on a cooling rack and allow them to cool completely before storing. Placing warm cookies into a storage container can create condensation, making them soggy and promoting bacterial growth.
Choose the right storage container:
Select a storage container with a tight-fitting lid to keep cookies fresh and prevent exposure to air and moisture, which can lead to spoilage. Food-grade plastic, glass, or metal containers are ideal for this purpose.
Separate cookies by type:
Keep different types of cookies in separate storage containers to preserve their unique flavors and textures. For example, store crisp cookies separately from soft, moist cookies to prevent them from becoming soggy.
Use wax or parchment paper:
Layer cookies with sheets of wax or parchment paper between them in your storage container to avoid cookies sticking together or transferring flavors between different types of cookies.
Store cookies at room temperature:
Keep cookies in a cool, dry place at room temperature, away from direct sunlight or heat sources. Storing baked treats in a pantry or cupboard is preferable. Most cookies can last up to 5-7 days when stored properly at room temperature.
Refrigerate or freeze for longer storage:
If you wish to store cookies for an extended period, consider freezing them. Place cooled cookies in an airtight container, with wax or parchment paper between layers, and freeze for up to 3 months for optimal freshness.
Practice good hygiene:
Wash your hands thoroughly before handling cookies, and always use clean utensils and containers for storage to prevent contamination with bacteria or other pathogens.
Check for spoilage:
Monitor the shelf life of your cookies and discard any that show signs of spoilage, such as mold growth, off-odors, or a change in texture that indicates they have become stale or have been exposed to moisture.
Conclusion:
By following these health and safety guidelines for cookie storage, you can ensure that your baked goods remain fresh, safe, and delicious for you and your loved ones to enjoy. Happy baking and storing!
Creative Storage Ideas
Tiered stands are a perfect storage solution for displaying and serving cookies in an attractive way. They come in various designs and materials, giving you many options to choose from. Here’s how to use them:
- Select a tiered stand that complements the overall décor of your room or fits the theme of the event.
- Arrange cookies in layers on the stand, starting with the largest cookies on the bottom tier and working your way up to the smallest cookies on the top tier.
- You can also use the stand to separate cookies by type or flavor, keeping them organized and easy to access for guests.
Cake plates make for a unique and stylish way to display and serve cookies. Follow these steps for a chic display:
- Choose a cake plate that complements the appearance or theme of the event or room.
- Arrange the cookies in a circle, starting from the outside and working your way inward, creating multiple layers if needed.
- Use a cake dome or cover to keep the cookies fresh and protected from dust or other contaminants.
- You can also put a folded napkin or a piece of parchment paper under the cookies to prevent them from sticking to the plate and make cleanup easier.
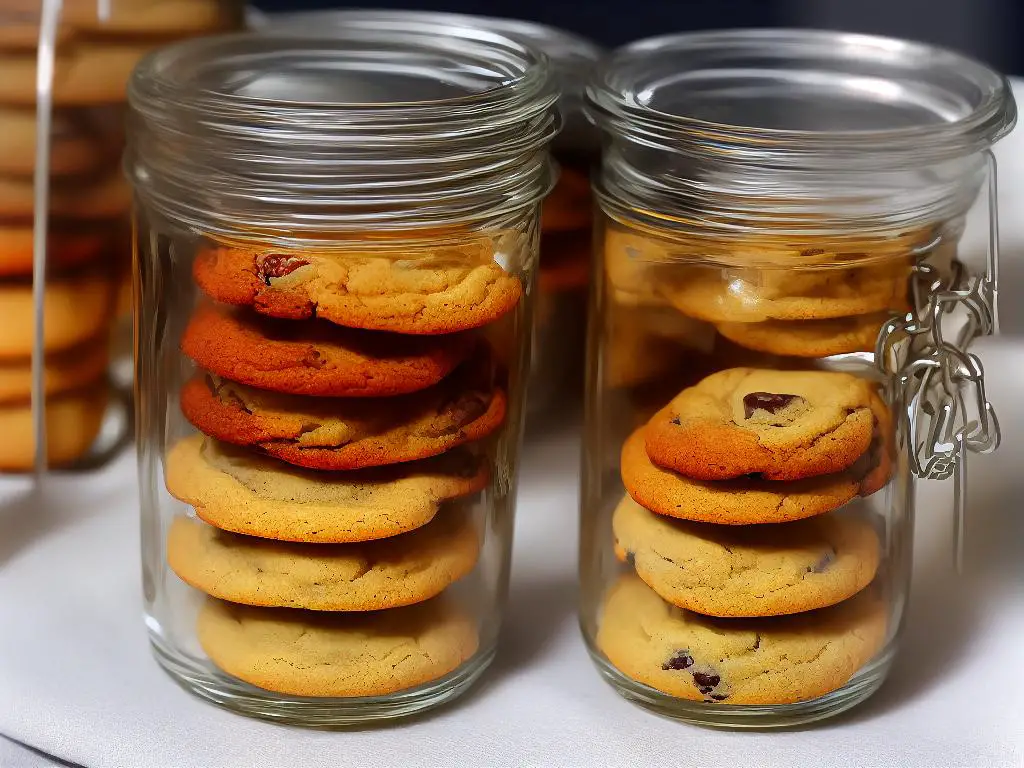
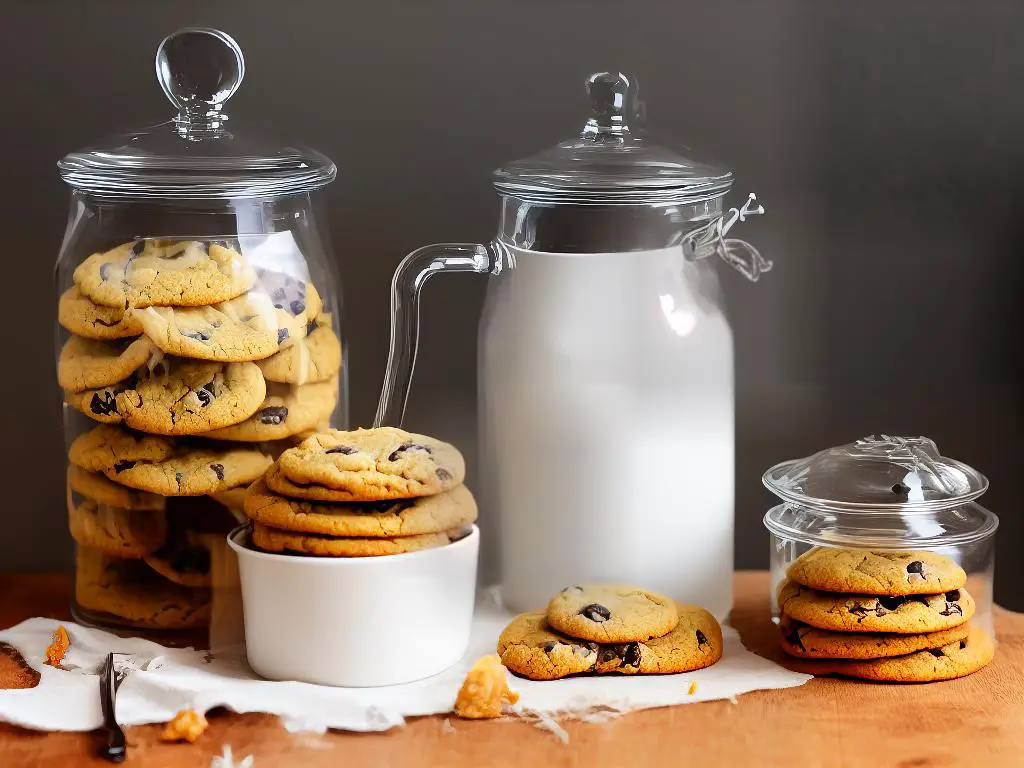
A decorative cookie jar not only serves as a storage solution but can also add charm to your space. Here’s how to utilize them:
- Select a cookie jar that suits your personal style or the theme of the event. This can include vintage, modern, or even seasonal designs.
- Fill the jar with cookies, layering them as needed to maximize storage space.
- Place the jar on a counter or table for easy access and an attractive presentation.
Using glass canisters for cookie storage allows you to showcase your creations while keeping them fresh. Follow these tips:
- Choose canisters with airtight seals to maintain freshness.
- Opt for canisters of varying sizes for an interesting display.
- Fill the canisters with different types of cookies, and arrange them on a countertop or shelf.
- Consider adding a label or tag to each canister, indicating the type of cookie inside.
Create your own customized cookie platter for a fun and unique storage solution. Here’s how:
- Find a large, shallow dish or tray that will serve as the base for your platter.
- Use small containers, such as ramekins or cupcake liners, to separate and organize cookies on the platter.
- Place the cookies in the containers, arranging them as desired.
- Place the platter on a table or countertop for easy access and an appealing presentation.
In conclusion, there are many innovative and attractive storage solutions for displaying and serving cookies. Whether it’s tiered stands, cake plates, decorative cookie jars, glass canisters, or DIY cookie platters, these ideas can enhance any event or room while keeping your cookies fresh and easily accessible.
Food Allergen Considerations
Proper food storage is essential to keeping your baked goods fresh and delicious. However, if you or someone in your home has food allergies, properly storing cookies containing common allergens like nuts and gluten is crucial. These allergen considerations will help ensure the safety of those with food allergies while still allowing you to enjoy your favorite treats.Begin by determining which common food allergens are present in your cookies. Some examples of common allergens include peanuts, tree nuts, milk, eggs, wheat (gluten), soy, and sesame seeds. Be aware of the ingredients in your baked goods and make sure everyone in your household is aware of the allergens present.To store cookies containing allergens, invest in quality, airtight containers to prevent cross-contamination. This will help prevent allergens from transferring to other foods and keep your cookies fresh.Clearly label each container with the name of the cookie and the allergens it contains. Make sure the labels are easily visible and legible to avoid confusion. You can use different colored labels for different allergens for ease of identification.To keep allergens separated, designate specific shelves in your pantry or refrigerator for cookies containing allergens. This will ensure that allergen-free foods stay safe and eliminate the risk of cross-contamination.If you store multiple containers of cookies containing allergens, avoid stacking the containers directly on top of one another to minimize the risk of allergen transfer.It’s important to educate family members and guests about the proper storage system in place and the dangers of cross-contamination. Make sure everyone in your household knows where the allergen-containing baked goods are stored and how to identify which cookies contain allergens.When baking cookies containing allergens, clean your countertops, baking trays, and utensils thoroughly with soap and hot water before and after preparation to prevent cross-contamination. This applies to both allergen-containing and allergen-free cookies, as even trace amounts of allergens may cause a reaction for some individuals.Allergen-containing cookies should be consumed within a timely manner. Regularly check your baked good containers to ensure cookies are eaten before going stale or expiring. Discard any expired or poor-quality cookies.
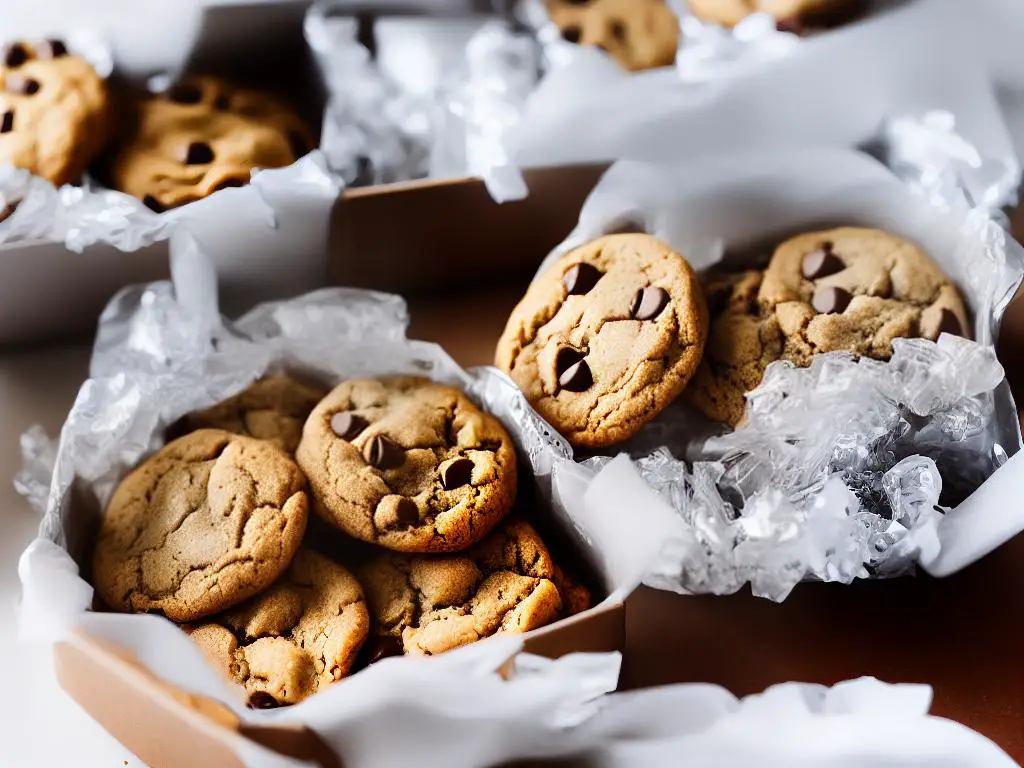
Cookie Care Packages
Sending cookies to your loved ones in a care package is a thoughtful and delicious way to show your appreciation or celebrate special occasions. To ensure your cookies arrive fresh and intact, follow these simple but essential cookie storage and packaging tips.1. Choose the right type of cookies: Select cookies that are sturdy and have a low moisture content. Ideal choices include sugar cookies, shortbread, biscotti, and gingerbread cookies. Avoid soft, fragile, or moist cookies like whoopie pies, macarons, or cake-like cookies, as they can become crushed or stale quickly.2. Allow cookies to cool completely: Before packing your cookies, let them cool completely on a wire rack to prevent moisture from being trapped, which can lead to soggy or stale cookies.3. Wrap cookies individually: To keep the cookies intact and maintain their freshness during transit, it’s best to wrap them individually. Use plastic wrap, aluminum foil, or wax paper to secure each cookie, making sure they’re wrapped tightly.4. Group cookies by type: If you’re sending multiple types of cookies, keep each type separate to avoid flavors from mixing. For instance, don’t package mint-flavored cookies with chocolate chip cookies to prevent taste mingling.5. Use a sturdy container: Choose a strong, airtight container for packing your cookies, like plastic Tupperware, a tin, or a well-sealed cardboard box. This will keep your cookies fresh and provide protection during shipping.6. Cushion your cookies: Layer the bottom of your container with bubble wrap, crumpled wax paper, or tissue paper for added cushioning. Place a single layer of cookies on top, then add another layer of cushioning material. Continue layering cookies and cushioning until the container is full. Ensure that the top layer of cookies is also covered with cushioning, so they don’t move around during shipping.7. Fill empty spaces: If there’s any remaining space in the container after packing your cookies, fill it with more cushioning material to minimize movement.8. Seal your container: Seal the container with a tight-fitting lid or tape it securely shut to keep air out and preserve freshness.9. Protect the container in a shipping box: Place your cookie container in a slightly larger shipping box, leaving at least an inch of space on all sides for additional padding. Fill the empty spaces with bubble wrap, packing peanuts, or crumpled newspaper to ensure the container is snug and secure.10. Label your package: Clearly address the package and write “Fragile” or “Handle with Care” on both the top and bottom of the box. This alerts postal workers to handle the package gently to reduce the risk of breakage.11. Choose a fast shipping method: The quicker your cookies arrive, the fresher they’ll be. Opt for a priority or express shipping method to ensure your cookies reach their destination as soon as possible.With these tips, your cookie care packages are more likely to arrive fresh, intact, and ready to be enjoyed by your loved ones!
After exploring this guide, you’ll be well-equipped with the knowledge and techniques to store all kinds of cookies, ensuring their freshness, flavor, and integrity. From freezing and reviving stale cookies to displaying and sending them in creative ways, the tips revealed here will not only guarantee the utmost cookie enjoyment but also add a touch of culinary expertise to your baking journey. Happy storing!
