Ultimate Guide to Ravioli Maker Attachments
Have you ever indulged in a plate of freshly made ravioli, savored the unique flavors, and wondered how you could recreate this culinary treasure in your own kitchen? Look no further, as this guide will provide you with all the insights on ravioli maker attachments to help you embark on your ravioli-making journey. From understanding the different types of attachments to knowing their compatibility with popular pasta machines, discovering an array of ravioli filling ideas, and mastering the use and maintenance of these tools, get ready to impress your loved ones with delicious, homemade ravioli.
Types of Ravioli Maker Attachments
Ravioli maker attachments come in various forms, with the most popular ones being manual and electric attachments, as well as stand-alone ravioli makers. These devices help you quickly and easily create uniform, perfectly filled ravioli right in your own kitchen. Depending on your preferences and level of expertise, you can choose the right type of ravioli maker attachment that best fits your needs.
Manual Ravioli Attachments
Manual ravioli attachments are perfect for those who prefer a hands-on approach and enjoy the process of making pasta from scratch. These attachments are usually compatible with most pasta machines, such as the Atlas pasta machine or KitchenAid pasta roller, and allow the user to control the speed and thickness of the pasta dough. They typically consist of a roller with ravioli molds on one side, and a detachable crank handle on the other. As the pasta sheet is fed through the roller, the filling is manually placed onto the molds, and the crank handle is turned to seal and cut the ravioli. With a bit of practice, you can master the technique and enjoy the satisfaction of making traditional, homemade ravioli.
Electric Ravioli Maker Attachments
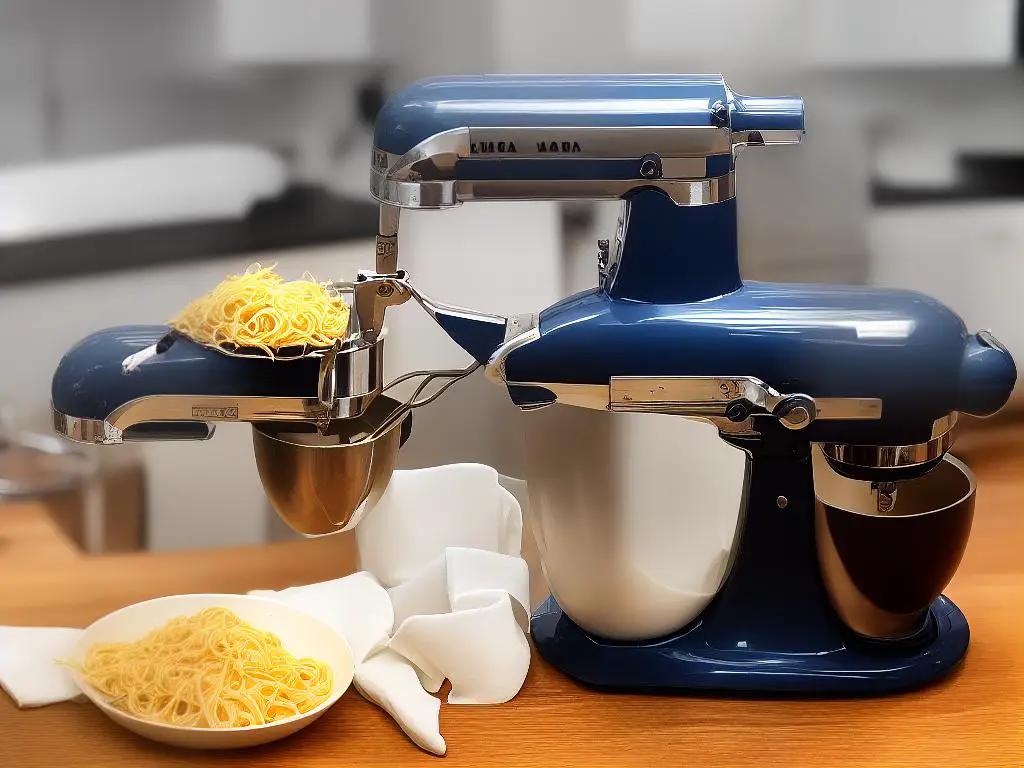
Electric ravioli maker attachments, on the other hand, are designed to simplify and speed up the process. They are particularly well-suited for those who like to make large quantities of ravioli or who do not have the time or inclination to hand-crank a manual attachment. These attachments are powered by an electric motor, which usually connects to a compatible stand mixer, such as the KitchenAid mixer. Once connected, the attachment automatically rolls and cuts the pasta dough into ravioli, saving time and energy. The user only needs to feed the pasta sheet and filling into the designated slots, and the machine takes care of the rest.
Stand-alone Ravioli Makers
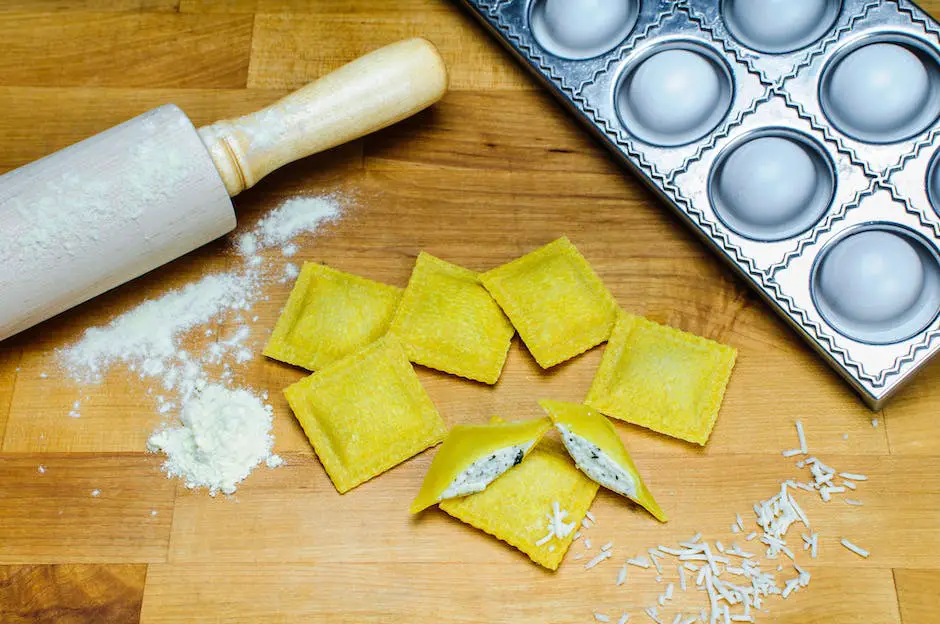
Stand-alone ravioli makers are typically manual devices that do not require compatibility with an existing pasta machine or stand mixer. These self-sufficient gadgets often have a tray with ravioli molds and a matching roller or press to cut and seal the pasta. To use these stand-alone makers, you simply place a sheet of pasta dough over the tray, add the filling into the designated wells, and cover it with another sheet of pasta. Then, you press down on the roller or cutter to create individual ravioli, which can then be easily removed from the tray.
Novelty Gadgets
In addition to the more common types of ravioli maker attachments, there are also novel tools, such as ravioli stamps or handheld press devices. These alternatives require a bit more manual effort, as individuals need to cut the pasta into individual squares, position the filling in the center, and press the pasta squares together, sealing the edges with a fork, stamp, or press. While these varieties may not yield the same uniform outcomes as more advanced attachments, they can still offer a fun, hands-on experience for pasta enthusiasts looking for a different approach to ravioli making.
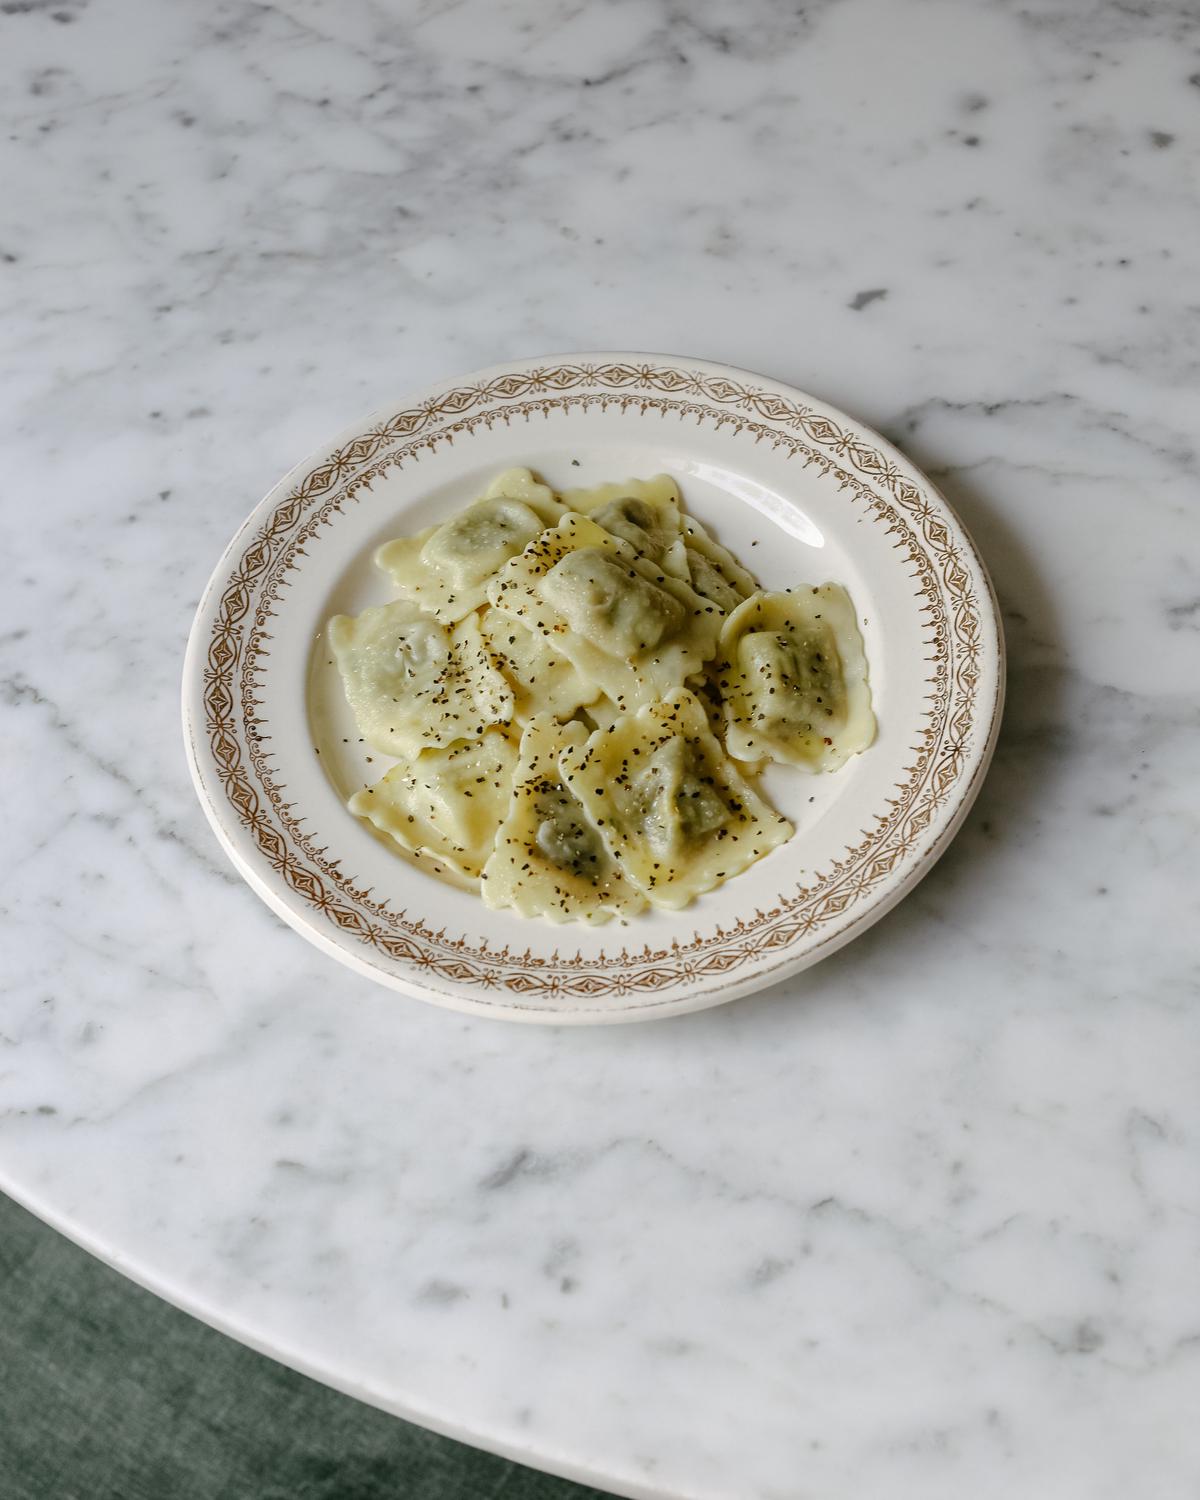
Photo by charlesdeluvio on Unsplash
Compatibility with Pasta Machines
When it comes to making homemade ravioli, a ravioli maker attachment for your pasta machine can simplify the process, resulting in uniform and professional-looking ravioli. It’s essential to consider compatibility when selecting a ravioli maker attachment because an incompatible device may not fit or function optimally with your pasta machine.
For instance, KitchenAid provides a ravioli maker attachment specifically designed for use with its stand mixers. Similarly, the well-known Italian brand Marcato also has a ravioli maker attachment exclusively for its Atlas pasta machines. Likewise, Imperia, another reputable Italian pasta machine manufacturer, offers various ravioli maker attachments that are compatible with its pasta machines.
When choosing a ravioli maker attachment, carefully read the product description and user reviews to ensure compatibility with your pasta machine. In conclusion, compatibility is a critical factor in selecting the perfect ravioli maker attachment for your pasta machine. By investing time in finding a compatible attachment, you’ll be on your way to crafting delicious, homemade ravioli in your own kitchen.
How to Use a Ravioli Maker Attachment
Once you have chosen the right ravioli maker attachment for your pasta machine, it’s time to create delicious homemade ravioli by following a few simple steps. Begin by preparing your pasta dough: mix flour and eggs, and gradually add water until the dough forms a ball. Knead the dough for about 10 minutes or until it becomes smooth and elastic. Then, allow the dough to rest, covered, for at least 30 minutes prior to rolling it out. This ensures that your dough is properly prepared for use with your ravioli maker attachment, setting the stage for a delightful homemade pasta experience.
After your pasta dough has rested, it’s time to roll it out into thin sheets by using a pasta roller attachment or a manual pasta machine. Be sure to dust the dough with flour every time you pass it through the roller to prevent sticking. You want your dough to be thin and pliable – ideally about 1/16-inch to 1/32-inch thick. Once the desired thickness is achieved, dust the sheet with flour and let it rest for a few minutes to slightly dry, which will help when using the ravioli maker attachment.
Now that your pasta sheets are prepared, it’s time to use the ravioli maker attachment. Attach the ravioli maker to your stand mixer, and set it up according to the manufacturer’s instructions. Place a pasta sheet onto the ravioli maker’s hopper, making sure it’s centered and covers the entire width of the attachment. Slowly feed the sheet through the maker as it shapes and seals your ravioli. It’s important to maintain an even pace, as going too fast may cause the dough to tear or the filling to escape.
As your ravioli exit the attachment, gently separate them from each other and place them onto a semolina-dusted tray or parchment paper to prevent sticking. If any ravioli appear not to be sealed properly, gently press the edges together with your fingers to ensure a good seal. Be sure to work quickly, as the pasta may dry out if left exposed to air for too long. Once all your ravioli are made, you can either cook them immediately or freeze them for later use.
To achieve perfect homemade ravioli, it’s essential to become familiar with the ravioli maker attachment and keep a few helpful tips in mind. First, ensure that your pasta dough is well-kneaded and rested, as this gives it the right texture and makes it easier to work with. Second, create a filling that isn’t too wet, since excess moisture can lead to soggy or leaking ravioli. Lastly, it’s important to be patient when using the ravioli maker attachment; rushing through the process may result in torn, misshapen, or improperly sealed ravioli.
Ravioli Filling Ideas and Recipes
When it comes to preparing delicious ravioli fillings, traditional meat-based options are always a crowd-pleaser. These typically consist of a mixture of ground meat, such as beef, veal, or pork, combined with flavorful additions like garlic, onion, and fresh herbs. One popular recipe combines ground beef and pork with sautéed onions, garlic, and a touch of red pepper flakes for a subtle heat. These ingredients are then mixed with freshly grated Parmesan cheese and breadcrumbs to create a savory, meaty filling that pairs perfectly with a tomato-based marinara sauce.
Another ravioli filling idea capitalizes on the ever-popular pairing of spinach and ricotta cheese. In this vegetarian option, cooked spinach is combined with creamy ricotta cheese, grated Parmesan, and an egg to bind the mixture together. A touch of nutmeg brings out the flavors of the spinach, creating a delicate, light filling for your homemade ravioli. This spinach and ricotta ravioli is delightful when served with a simple garlic and butter sauce or a creamy tomato sauce.
If you’re looking for a more upscale and unique ravioli filling, you might consider incorporating seafood, such as shrimp or crab. For example, a shrimp and mascarpone cheese filling is both indulgent and flavorful. To make this filling, cooked, finely chopped shrimp are mixed with smooth mascarpone cheese, minced shallots, and fresh lemon zest. The result is a bright, zesty, and luxurious ravioli filling that pleasantly surprises your taste buds. Finish off these seafood ravioli with a light lemon and white wine sauce for an elegant, restaurant-quality dish.
Vegan ravioli fillings are also possible using a ravioli maker attachment. One popular option is a combination of caramelized onions, sauteed mushrooms, and tofu-based ricotta cheese. The tofu ricotta is made by blending firm tofu with nutritional yeast, garlic, lemon juice, and fresh basil. This nutritious and dairy-free filling is packed with umami flavor from the caramelized onions and mushrooms, making it a delicious and satisfying option for vegans and non-vegans alike.
If you’re a fan of homemade pasta and looking to explore new seasonal recipes, consider trying your hand at making pumpkin and sage ravioli using a ravioli maker attachment. This autumn-inspired vegetarian filling is a delightful combination of roasted pumpkin puree, freshly grated Parmesan cheese, and chopped sage leaves. The slight sweetness of the pumpkin is expertly balanced by the sharpness of the Parmesan and the assertive, earthy flavor of the sage. To elevate your dish, serve these pumpkin and sage ravioli with a brown butter sauce and a sprinkle of toasted, chopped hazelnuts for added crunch and complexity.

Cleaning and Maintenance
As you venture into the world of ravioli making, it’s crucial to keep your ravioli maker attachment clean and well-maintained to ensure its longevity and functionality. Proper cleaning not only promotes better performance but also guarantees food safety by removing lingering food particles that could lead to bacteria build-up. To keep your attachment in prime condition, always have a soft, small brush on hand, specifically designed to reach and clean the crevices of the attachment, and enjoy a delicious, safe, and enjoyable pasta-making experience.
Before starting the cleaning process, disconnect the ravioli maker attachment from your stand mixer to prevent any accidents. Begin by removing any large, visible food particles or dough remnants that may have stuck to the attachment during the process of making ravioli. This can be done by gently tapping the attachment and using a soft brush to dislodge any stubborn pieces. Be cautious when using any sharp objects to remove these particles, as they can damage the surface of the attachment.Once the larger pieces of dough and filling have been removed from the ravioli maker attachment, it’s essential to clean the entire surface to remove any residual matter. Using a damp cloth, gently wipe down the surfaces of the attachment, taking care to clean each corner and crevice. For hard-to-reach areas, consider using a cotton swab or small brush to clean with precision. Most ravioli maker attachments aren’t dishwasher safe, so avoid immersing them in water to prevent damage. Check your attachment’s user manual to confirm the proper cleaning process.Regular maintenance goes hand-in-hand with cleaning and ensuring the ravioli maker attachment’s long life. Inspect the attachment periodically, checking for any loose or damaged parts that may need repair or replacement. With continued use, the moving components may require lubrication to maintain smooth operation. It’s essential to only use food-grade lubricant to avoid any potential contamination of the ravioli. If the attachment requires disassembly for cleaning or maintenance, ensure that you follow the manufacturer’s guidelines to prevent damage.Proper storage of your ravioli maker attachment is a critical aspect of maintaining its functionality. Ensuring that you store the attachment in a dry, cool area, away from direct sunlight or moisture, will help prevent its materials from degrading over time. By taking the necessary precautions with cleaning, maintenance, and storage, you can extend the life of your ravioli maker attachment, guaranteeing its continued ability to produce delightful and delicious homemade ravioli.
Where to Buy and Price Range
When looking to purchase a ravioli maker attachment for your kitchen, consider online shopping platforms such as Amazon, eBay, and Walmart, which offer an extensive range of options. Detailed product descriptions, customer reviews, and ratings on these websites can help you decide on the best ravioli maker attachment according to your needs and budget. Moreover, these platforms often feature discounts, deals, and promotions to make ravioli maker attachments available at competitive prices. The added convenience of doorstep delivery and hassle-free return policies from these websites ensures a satisfying shopping experience should your product not meet your expectations.
For those who prefer brick-and-mortar shopping, retail stores like Bed Bath & Beyond, Williams Sonoma, and Sur La Table are excellent destinations for finding ravioli maker attachments. These stores specialize in kitchen gadgets and accessories, and their knowledgeable staff can provide valuable guidance on selecting the most suitable ravioli maker attachment based on your cooking needs and appliance compatibility. Moreover, shopping in-store allows you to inspect the product thoroughly and verify its quality and functionality before making a purchase.
As for the price range of ravioli maker attachments, it varies depending on the brand, material, and overall quality of the attachment. Entry-level and basic ravioli maker attachments can be found at prices as low as $20-$40, providing an affordable option for casual home cooks. Mid-range options, featuring more durable materials and additional functionality, typically cost between $40-$100. On the higher end, professional-grade attachments from reputable brands like KitchenAid and Marcato Atlas can range from $100-$200, offering enhanced performance and longevity, suitable for those who frequently make ravioli or own a small food business.
While researching ravioli maker attachments, it is essential to consider factors such as compatibility with your existing appliances, ease of use, and cleaning requirements. For example, some ravioli maker attachments are designed exclusively for use with specific brands or models of pasta machines, such as KitchenAid stand mixers, while others are standalone gadgets that can be operated manually. Moreover, some attachments may be dishwasher-safe or require hand-washing, so be sure to select an option that aligns with your cleaning preferences.
In conclusion, purchasing a ravioli maker attachment can be an excellent investment for those who enjoy making homemade pasta. By exploring the different buying options available both online and in retail stores, comparing the varying price ranges, and considering factors such as compatibility, functionality, and maintenance, you can find the perfect ravioli maker attachment that meets your needs and complements your kitchen.
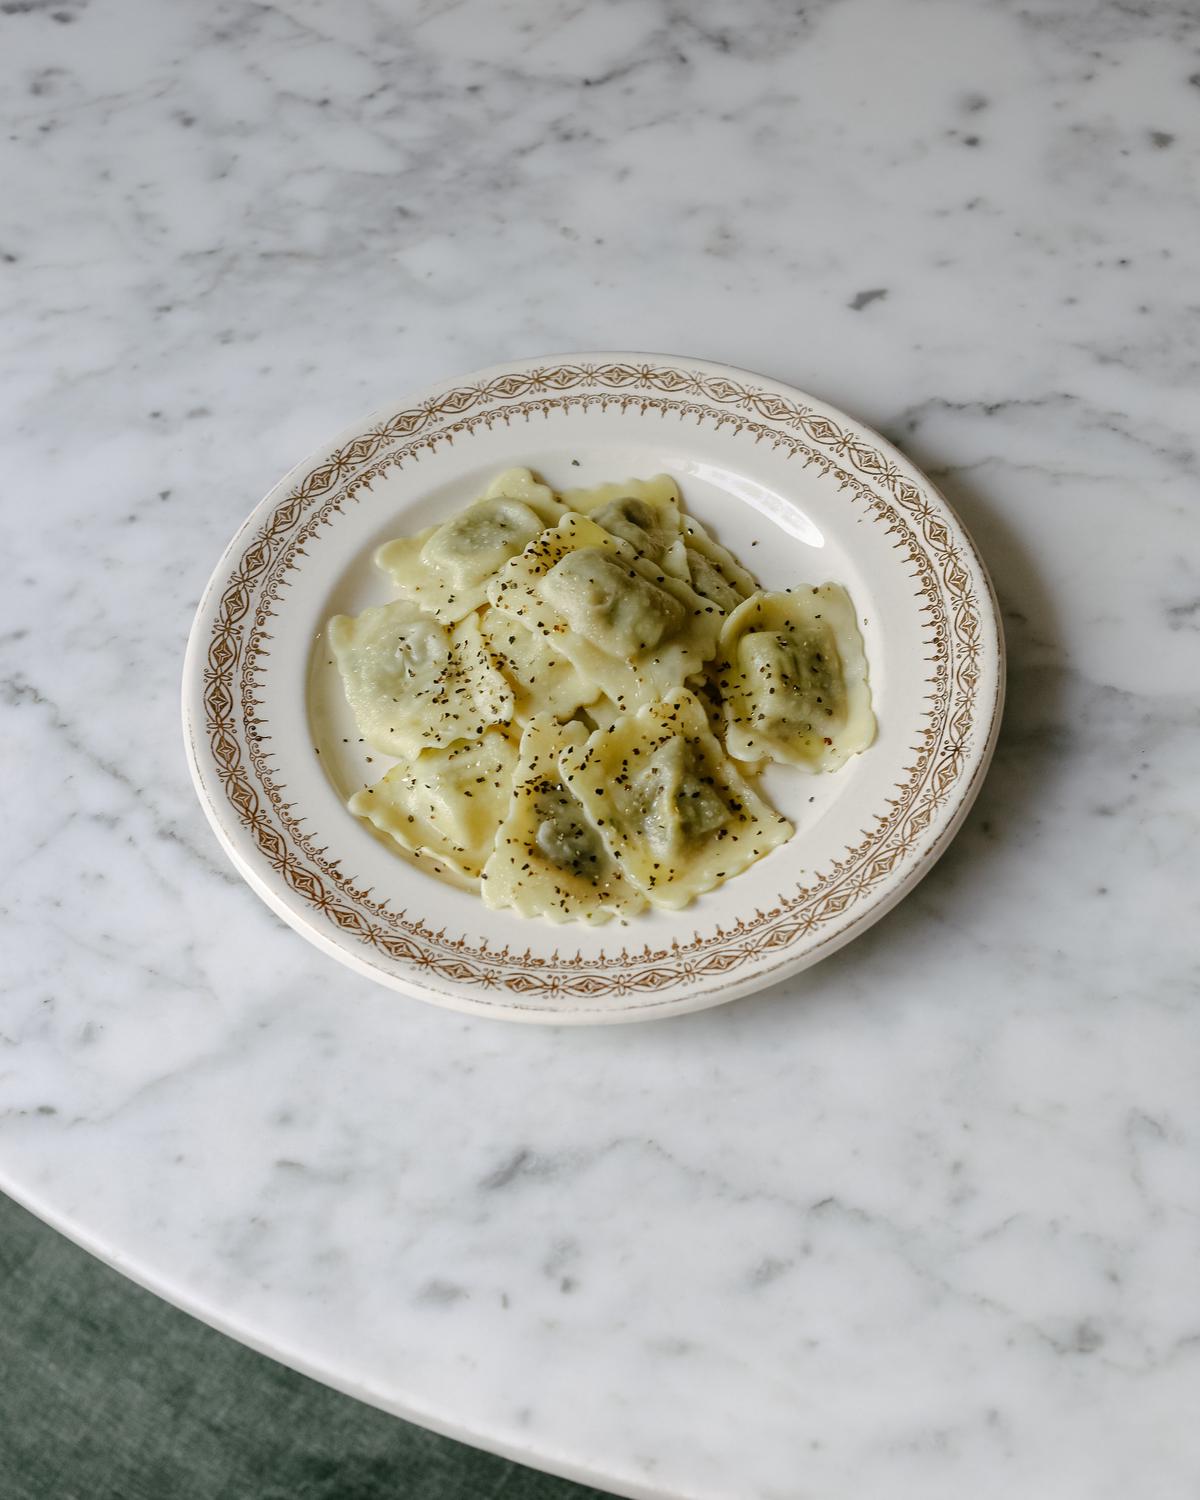
Photo by charlesdeluvio on Unsplash
With the knowledge gained about ravioli maker attachments, their compatibility with popular pasta machines, and how to apply perfect technique, you can confidently begin creating your own delightful ravioli dishes. Explore the many filling ideas and recipes mentioned, and feel free to experiment with unique ingredients to make it your own. Always remember to clean and maintain your ravioli maker attachment properly to ensure its longevity, so that you can continue to delight in the magic of homemade ravioli for years to come. Happy ravioli making!
